Getting Started With Ableton Push 2: A Beginner-Friendly Guide
If you’ve just unboxed the Ableton Push 2, you might feel a mix of excitement and mild intimidation. That large, colorful grid of pads looks powerful, but pressing the wrong button can lead to confusion if you don’t know where to start. The good news is that Push 2 isn’t actually that complicated once you understand its logic. It is designed to be an extension of Ableton Live, not a separate plugin or synthesizer.
This beginner-friendly tutorial will walk you through the absolute basics. We aren’t going to dive into complex MIDI mapping or advanced sound design just yet. Instead, we will focus on getting your first beat playing, recording some melodies, and understanding the flow between Live and the hardware controller.
Connecting Push 2 to Ableton Live
Before you can play anything, you need to establish the connection. Push 2 is USB-powered, so plug one end into the controller and the other into your computer. If you are using a newer version of Ableton Live (version 9.1 or later), the software should automatically detect the device.
If it doesn’t, go to Live > Preferences > Link/MIDI. Under "MIDI Ports," ensure that "Push" is enabled for both "Track" and "Remote." You should see the button lights on Push turn green, indicating a successful connection. If you see two instances of Push, make sure to enable the one labeled "Push" and disable "Push 2" or vice versa, depending on which one shows up as the primary controller in the Live control surface setup. A strict rule here: always close other music software that might be hijacking the USB connection.
Understanding Session View and Clips
Ableton Live has two main views: Session and Arrangement. Push 2 is heavily optimized for Session View. Think of Session View as a grid of clips—short musical phrases—that you can trigger, loop, or combine in real-time.
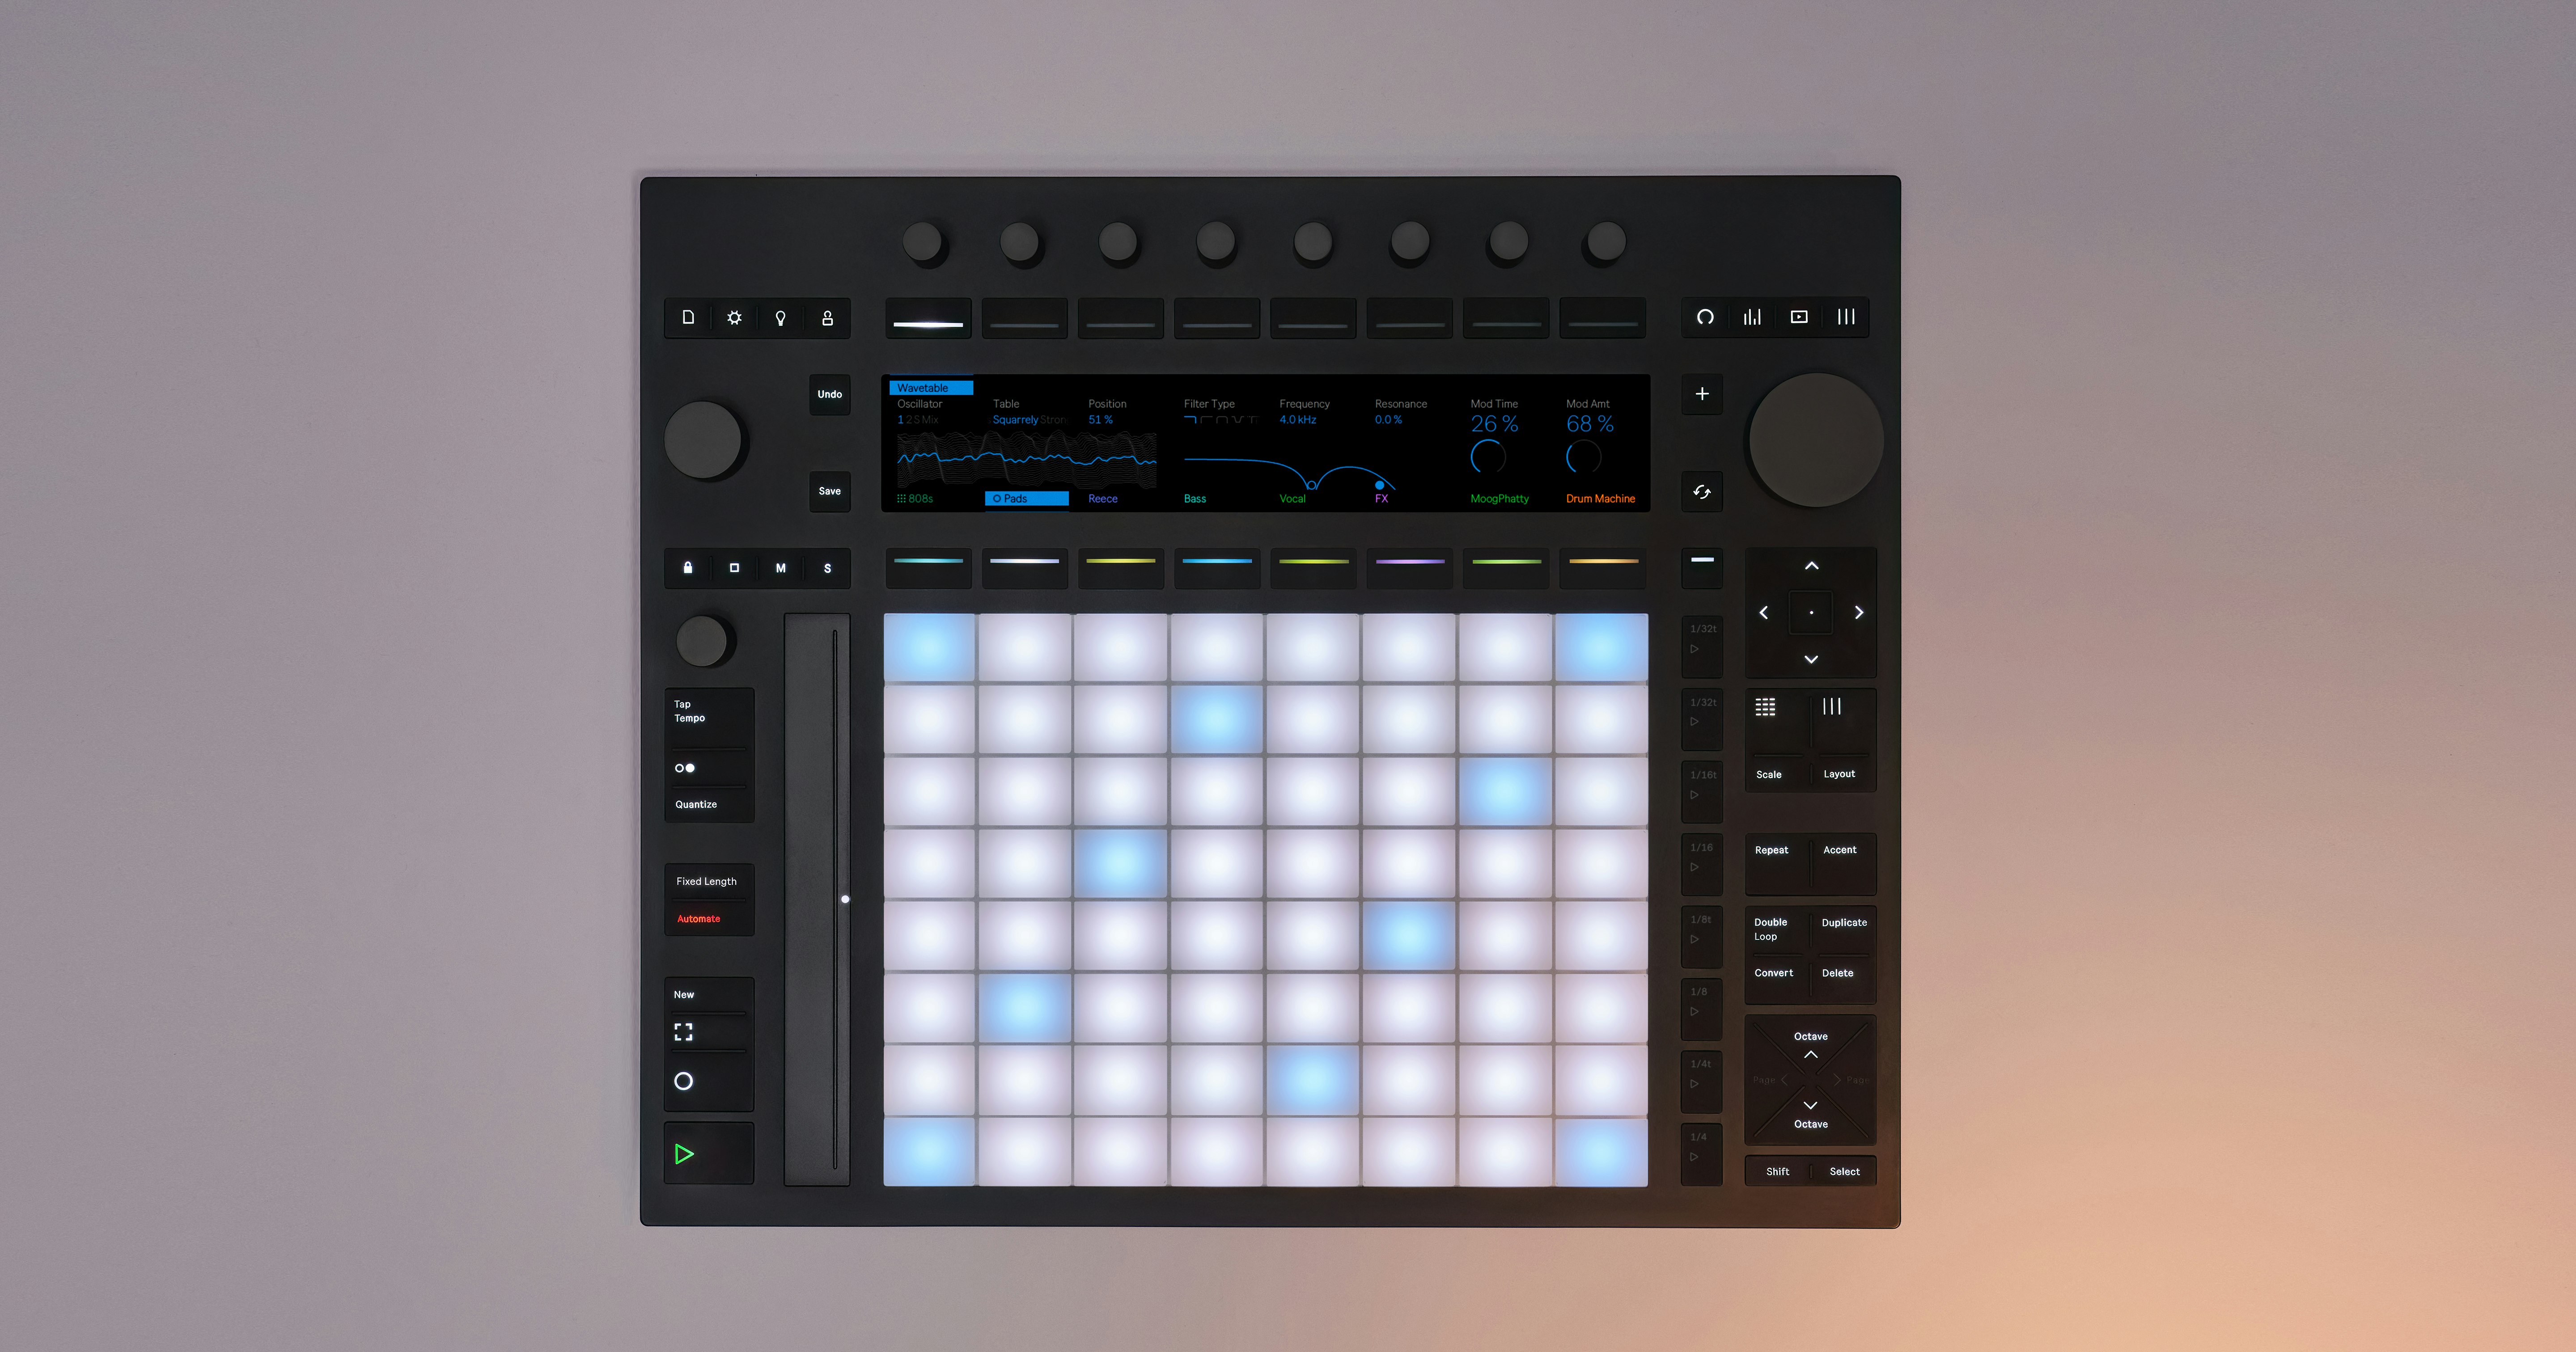
When you launch a set with Push 2, the eight rows and eight columns of pads correspond to the clips in your Live Session View. Each row represents a different instrument or track, while each column represents a variation of that part. For example, row one might be your kick drum, with column one being a basic four-on-the-floor beat and column two being a syncopated variation.
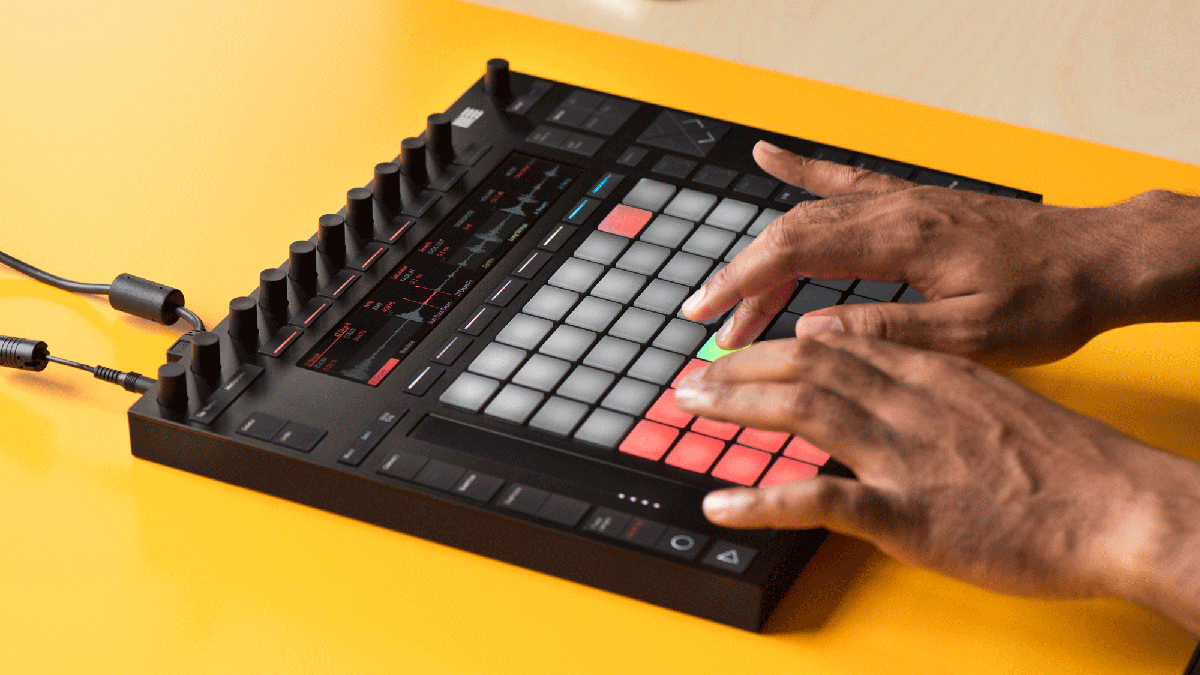
Press any pad to play the corresponding clip. Press it again to stop it. This is the most fundamental action you will perform. Try selecting a few clips and triggering them manually to get a feel for the velocity sensitivity. The harder you hit the pad, the louder the note or drum hit will be. This tactile response is what makes Push unique compared to a standard computer mouse.
Playing Notes and Melodies
Pads 1 through 16 are versatile. Depending on which mode you are in, they can play drums, notes, scales, or chords. By default, if you are on a MIDI instrument track, these pads will play notes. The bottom left corner of the display screen shows the current key and range.
To change the octave, use the "Octave Up" and "Octave Down" buttons located on the side. The "Key & Scale" button allows you to set a specific musical key. This is incredibly helpful for beginners because it locks your playing to a specific scale, meaning you can’t accidentally play a "wrong" note. This takes the pressure off if you don’t know music theory inside out.
Try this: Select a synth track in Live. Press the "Notes" button on Push. Play the lowest four pads black (they will light up white when you press them). As you get comfortable, try playing the upper pads to create simple melodies. Remember, Push is just an input device. The sound is generated by the instruments in your Ableton Live set.
Recording Your First Loop
Listening to clips is fun, but creating your own material is where the magic happens. Push 2 makes recording incredibly intuitive. Let’s say you want to record a new melodic line over an existing drum loop.
First, select the clip slot where you want to record. Make sure the record arm button for that track is lit up in Live. Then, press the record button on Push 2. The clip will start recording immediately. Play your notes on the pads. Stop recording by pressing the stop button or pressing the clip again.
One pro tip: you can trigger clips and record at the same time. Press the record button, hold down a drum clip, and play your melody. This allows you to build arrangements on the fly, jamming with your own recorded parts. It feels like being in a band with yourself.
Essential Tips for Beginners
- Learn the Buttons: The buttons on the top left of the Push control the view. Notes switches to piano input, Drums switches to drum pad layout, and Chord allows you to play complex chords with a single pad press.
- Use the Touch Strip: The touch strip on the right is useful for modulating effects or playing leads. Swipe up or down to control parameters, or play it like a guitar neck for pitch bends.
- Don’t Ignore the Display: The 5-inch display is your map. It always tells you what mode you are in and which clip is selected. If you are confused, look at the screen. It often solves the mystery.
- Save Your Set: Push works best with a template. Create a simple set with a kick, snare, hi-hats, and a synth. Save this as your default. Having instruments ready saves you time and lets you focus on creation.
Mastering Push 2 takes practice, but you don’t need to learn everything at once. Start with triggering clips. Then move to playing notes. Finally, experiment with recording. The hardware is designed to encourage experimentation, so feel free to press buttons and see what happens. Most actions are reversible, and the worst that can happen is a slightly odd sound. Happy producing.
Frequently Asked Questions
Does Push 2 work with other DAWs besides Ableton Live?
Technically, yes, but it is highly limited. Push 2 is built specifically for Ableton Live. While you can use it as a generic MIDI controller in software like Logic Pro or FL Studio, you will lose all the integration features. The pads will likely only send basic MIDI notes, and you won’t have access to the clip launching, instrument parameter control, or the seamless Live integration that makes Push special.
Is Push 2 good for live performance?
Absolutely. Many professional DJs and producers use Push 2 for live shows. The tactile control over clips, the ability to record on the fly, and the reliable USB connection make it a robust performance tool. It allows you to improvise and create new arrangements in real-time, which is often more engaging for an audience than simply pressing "play" on a pre-produced track.
Do I need to know music theory to use Push 2?
No, you don’t need extensive music theory knowledge. The visual feedback on the pads and the screen helps guide you. Features like the Key & Scale mode ensure you stay in key, even if you are just tapping around. However, having a basic understanding of tempo and rhythm can help you organize your clips more effectively.
How do I change the volume of individual tracks?
You can use the mixer section on Push 2. When you are in the Mixer mode (activated by the corresponding button), the eight faders and knobs allow you to adjust volume, pan, and send levels for the selected tracks. This is faster than opening a separate mixer window in Ableton Live.