How to Align Your Car at Home in Simple, Safe Steps
Feeling that pulling sensation while steering, or noticing uneven tire wear? Before you book a pricey shop visit, you can try a basic alignment yourself. It’s not rocket science, just a handful of tools, a bit of patience, and a willingness to get under the hood (or at least the wheels).
What a Wheel Alignment Actually Involves
In essence, alignment makes sure the tires point where they’re supposed to—parallel to each other and perpendicular to the ground. The three key angles are:
- Camber: Tilt of the wheel inward or outward when viewed from the front.
- Caster: Forward or backward tilt of the steering axis, visible from the side.
- Toe: How much the front of the tires point toward or away from each other.
When these angles drift, you’ll notice a wandering feel, a crooked steering wheel, or premature tread wear.
Tools You’ll Need
- Flat surface (garage floor or driveway)
- Jack and jack stands
- Turn‑table or a piece of plywood with a straight edge
- Tape measure or laser distance meter
- Adjustable wrench or socket set (for tie‑rod adjustments)
- Pen and paper for notes
Step‑by‑Step Alignment Guide
1. Prep Your Car
Park on a level spot, engage the parking brake, and let the engine cool. Remove any heavy loads—no need to align a car that’s carrying a full trunk of groceries.
2. Lift the Front Wheels
Jack up the front axle, secure both wheels on jack stands, and spin them gently to ensure they’re free of debris. You’ll be working with the wheels off the ground, so safety first.
3. Set Up a Reference Line
Lay a long piece of straight wood or a metal pipe against the front of the tires, aligning it with the vehicle’s centerline. Tape a piece of masking tape across the tread at the 12‑o’clock position on each tire; this gives you a visual cue for toe.
4. Measure Toe
Measure the distance between the front edges of the two tape marks. Then, measure the distance between the rear edges. Subtract the rear measurement from the front; a positive number means the tires toe‑in, a negative number means toe‑out. Most passenger cars aim for 0–1/8 inch (≈3 mm) toe‑in.
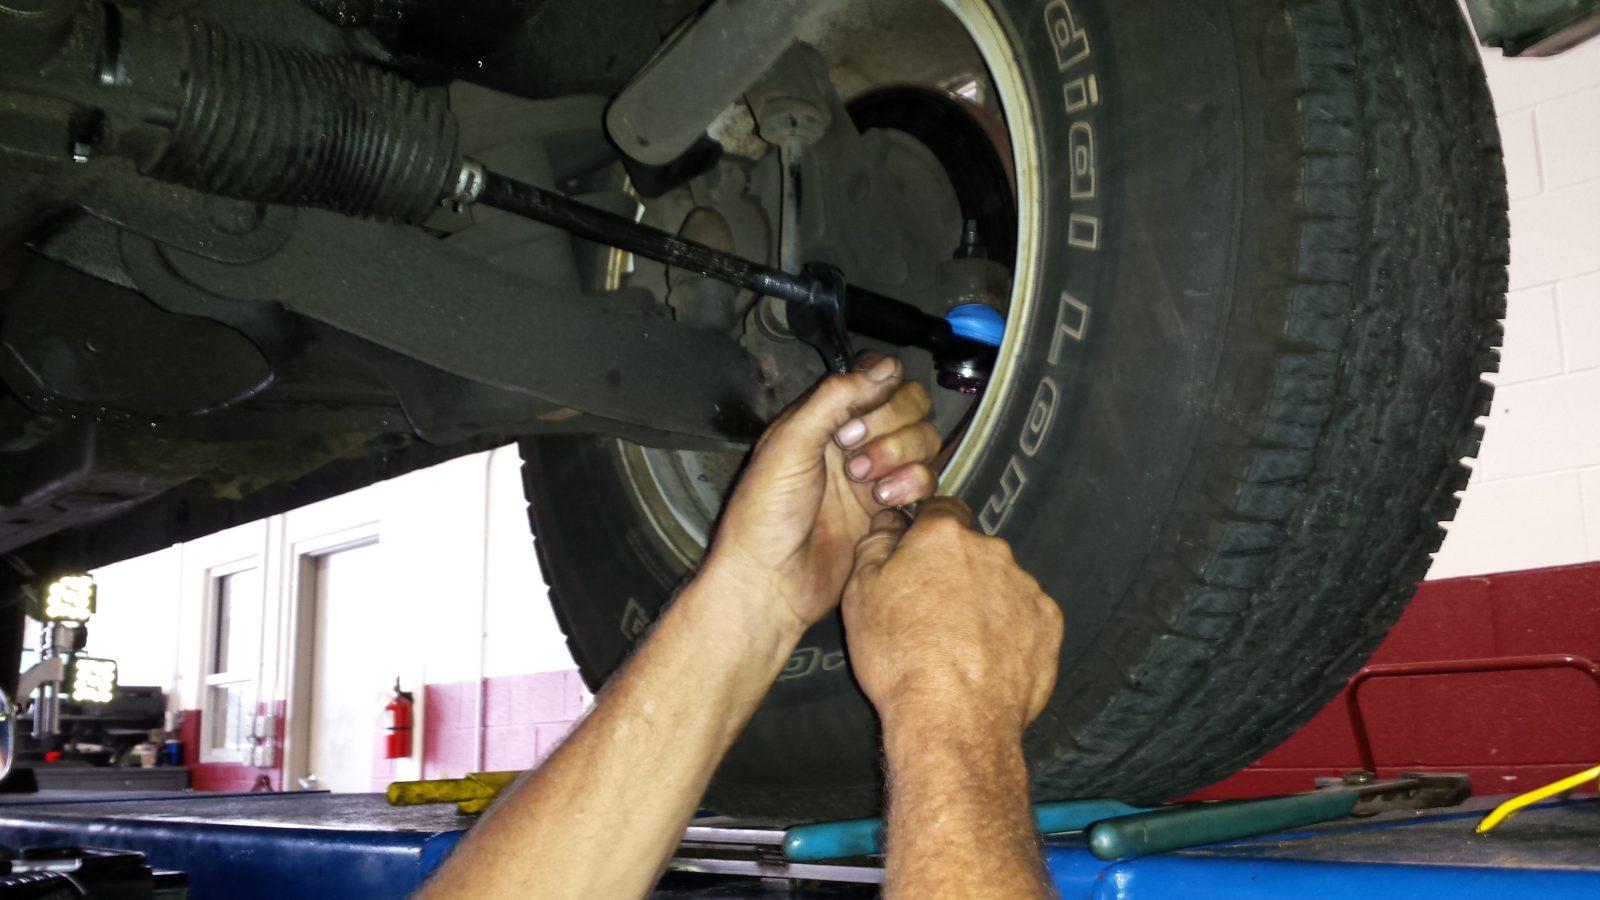
5. Adjust Tie‑Rod Length
Locate the tie‑rod ends on the steering rack. Loosen the lock nut just enough to turn the adjusting sleeve. Turn clockwise to bring the front of the wheel inward (reducing toe‑out), counter‑clockwise to push it outward. After each tweak, retighten the lock nut and re‑measure.
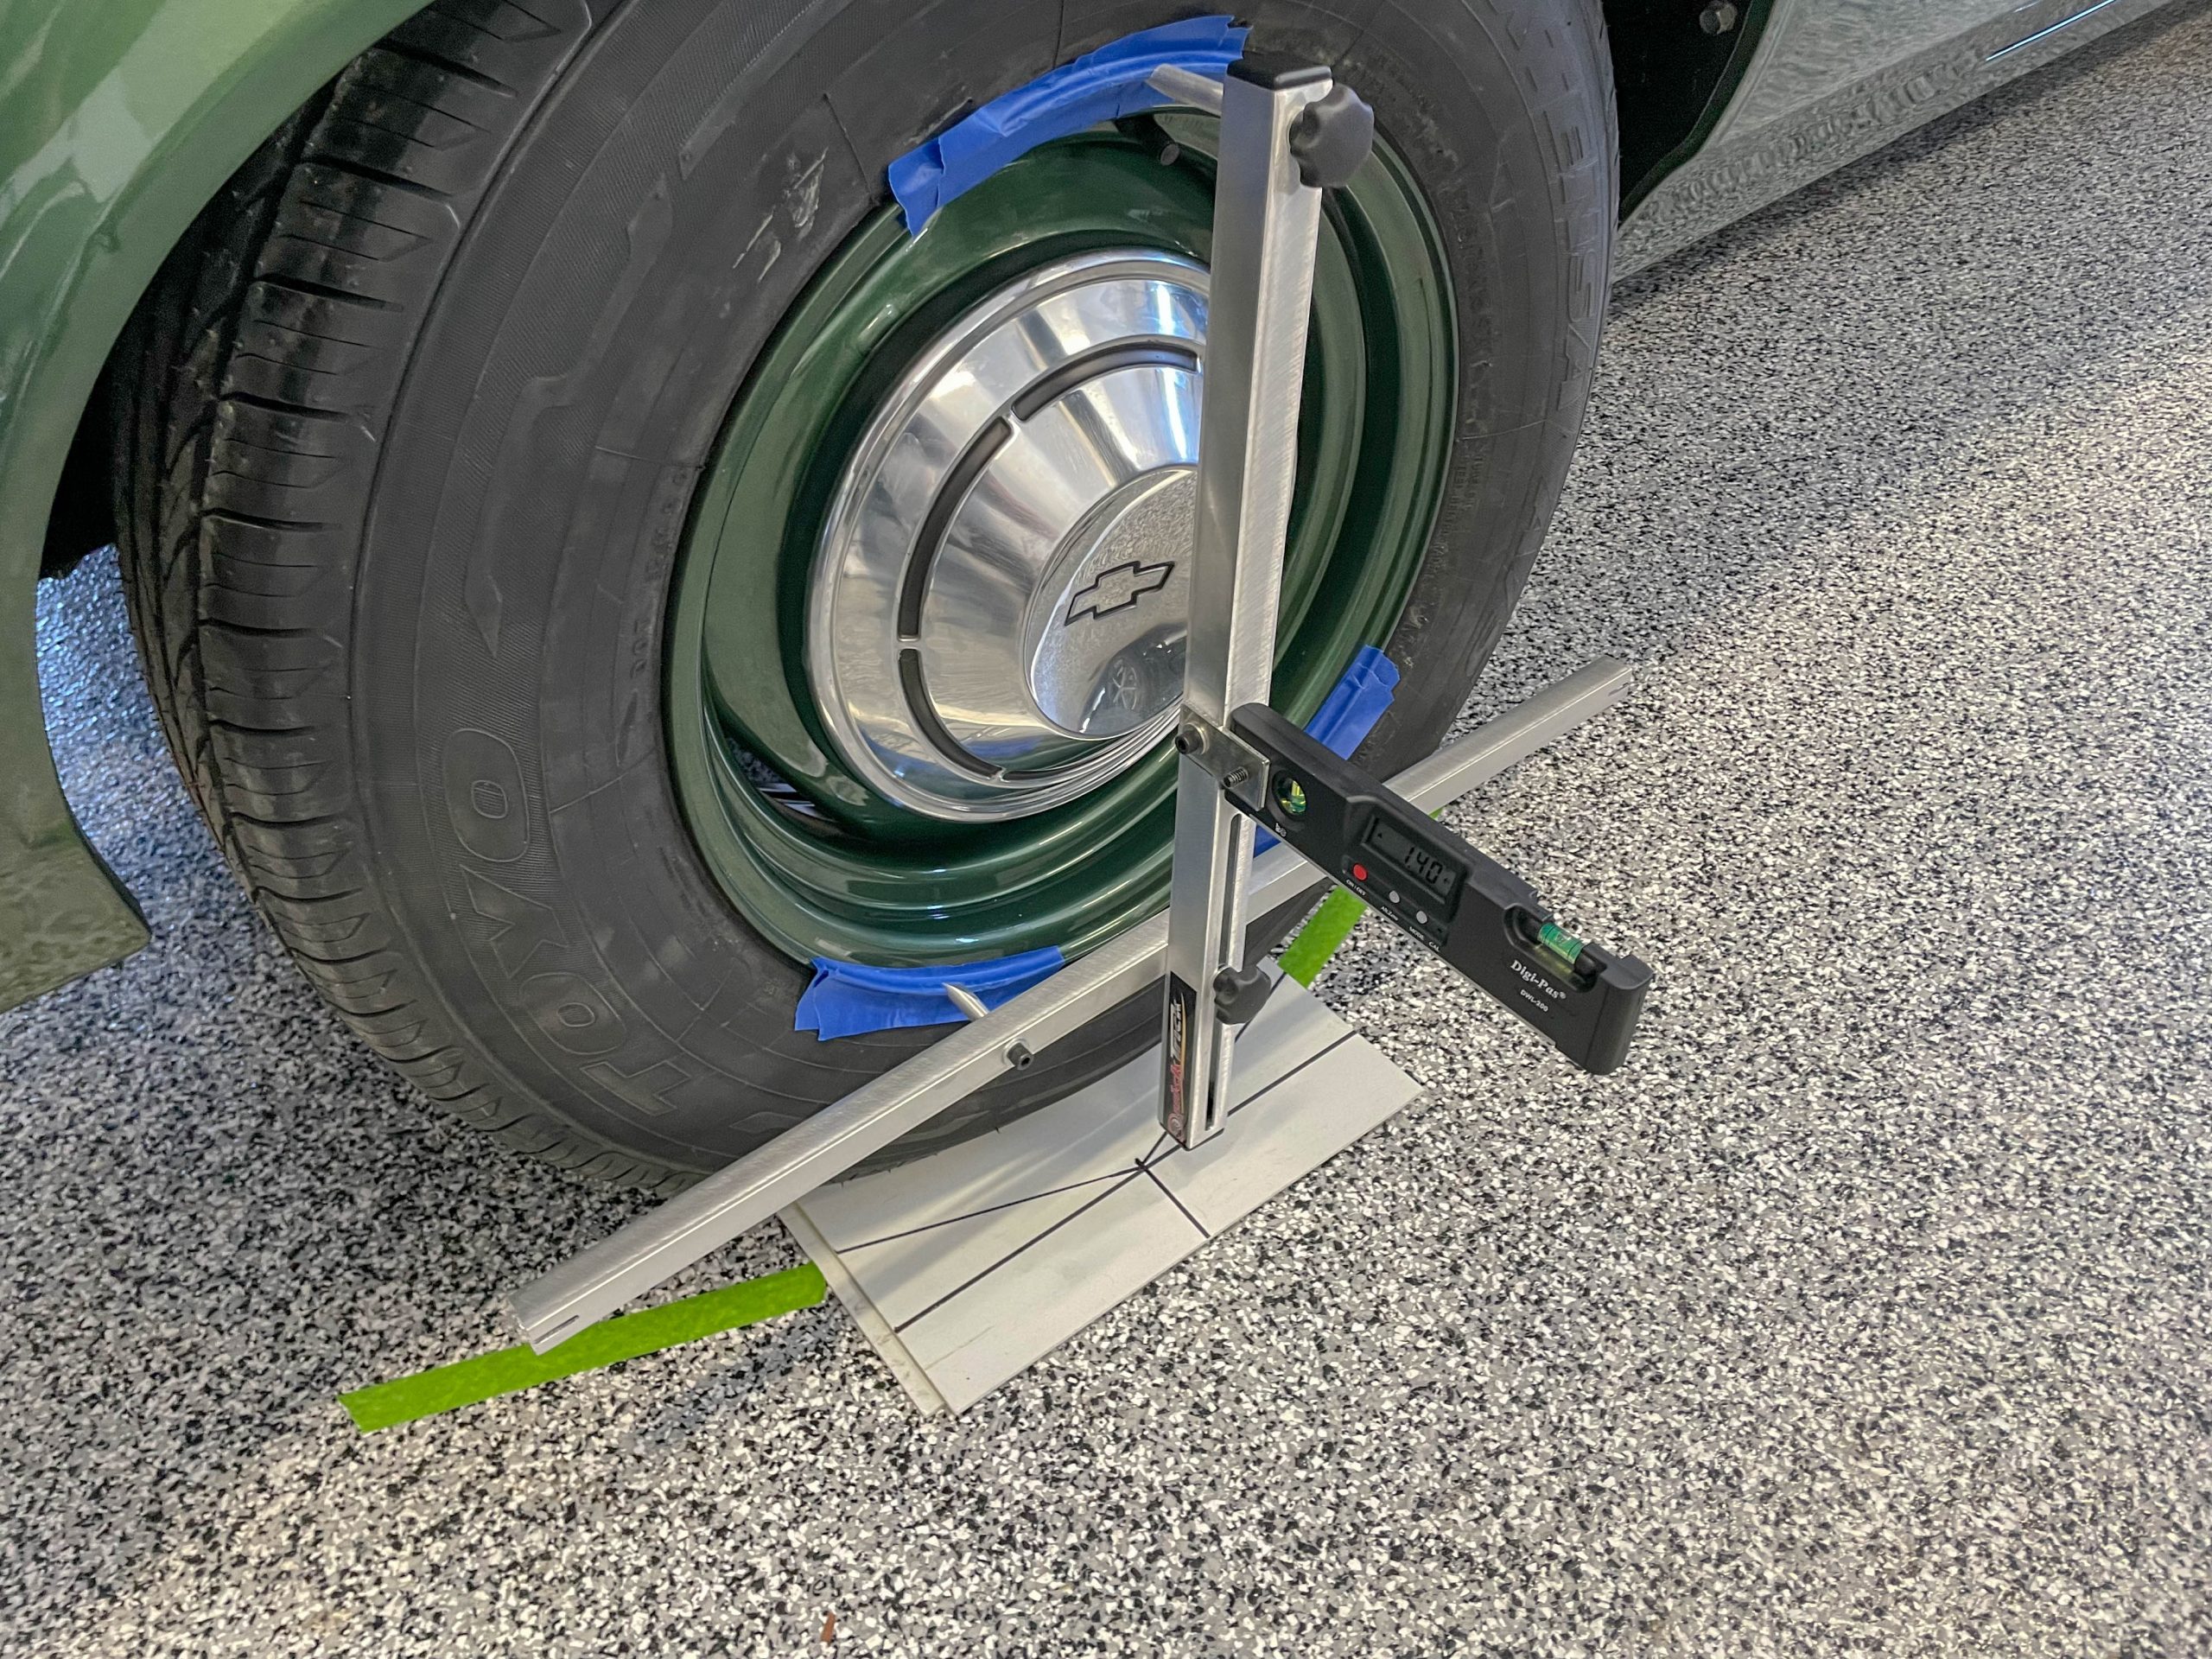
6. Check Camber
Stand behind the car and look at the tire’s top edge. If it leans inward, you have negative camber; outward indicates positive camber. Some vehicles have camber adjustment bolts on the strut or control arm. Small turns (¼ of a turn) usually shift camber by about 0.5°. Aim for the manufacturer’s spec, typically -0.5° to +0.5° for most sedans.
7. Verify Caster (Optional)
Caster isn’t often adjustable on everyday cars, but if you have an adjustable rack, you can measure it by pulling the steering wheel straight ahead, then using a level on the strut mount. Most DIYers skip this step unless the steering feels unusually loose.
8. Test Drive
Lower the car, tighten all nuts, and take a short drive around the block. The steering wheel should stay centered, and the car should track straight without pulling. If you still feel drift, re‑check your measurements—tiny errors add up.
When to Call a Professional
Even the most diligent DIYer hits limits. If you notice:
- Persistent pulling despite adjustments
- Uneven tire wear after a few weeks
- Loose steering feel or vibrations at higher speeds
it’s a good cue to head to a shop. Professional alignment uses laser‑guided machines that can fine‑tune angles beyond the reach of basic tools.
Tips to Keep Your Alignment Spotless
- Rotate tires every 6,000 – 8,000 km; this helps maintain even wear.
- Avoid hitting potholes or curbs—impact can knock angles out of spec.
- Check alignment after major suspension work, such as replacing shocks.
- Keep a quick‑reference sheet in your glove box with your car’s factory specs.