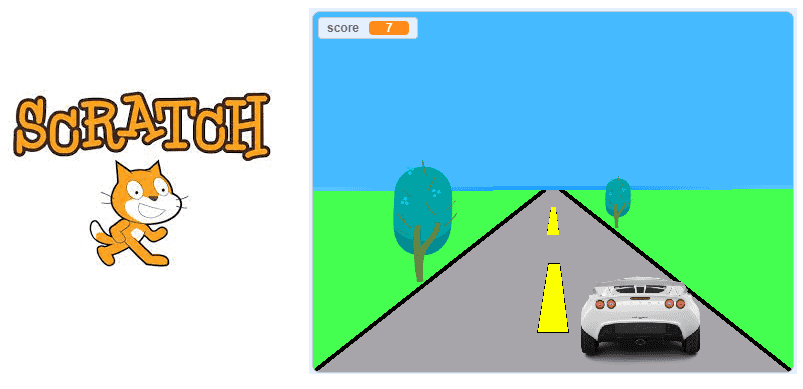
How to Build a Simple Car Game in Scratch: A Beginner’s Guide
Scratch is the perfect sandbox for anyone who wants to dip a toe into game development without wrestling with complex code. If you’ve ever imagined steering a pixel‑perfect car across a scrolling road, you’re in the right place. This guide walks you through the entire process—from setting up the stage to polishing the final gameplay—using only the drag‑and‑drop blocks Scratch provides.
Why Scratch Works for Car Games
First off, Scratch’s visual interface mirrors the logic of traditional programming, so the concepts you learn here translate well later on. Moreover, the built‑in sprites, sound library, and easy‑to‑use motion blocks make a racing prototype feel like a weekend hobby rather than a full‑blown project.
Gathering Your Resources
- Backdrop: Choose a road‑oriented backdrop (you can draw one or import a free image).
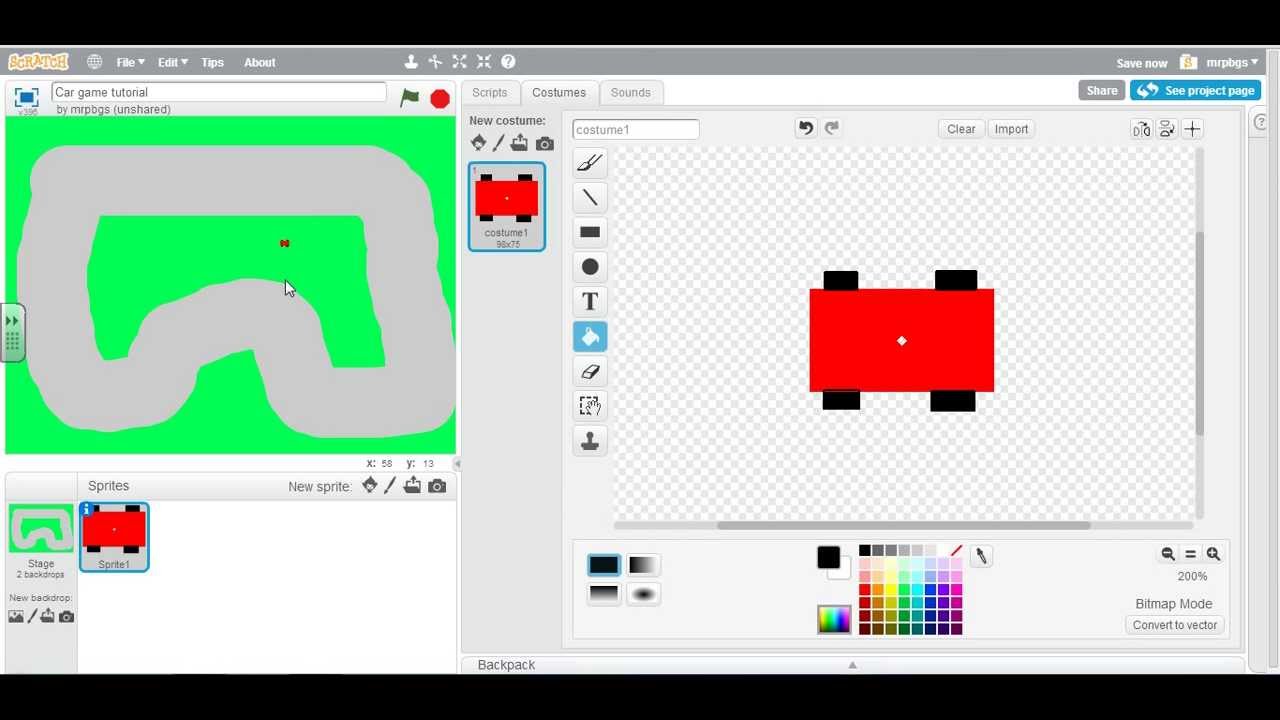
- Car sprite: Either select the classic “car” from Scratch’s library or upload a custom PNG with transparent background.
- Obstacle sprites: Simple shapes like cones, other cars, or oil slicks work well for testing.
- Sounds: Engine revs, collision boops, and a victory chime add polish without much effort.
Setting Up the Stage
Start a new project and delete the default cat sprite—nothing says “racing” like a feline.
Next, click Choose a Backdrop and pick or create a scrolling road. A common trick is to use two identical road backdrops and swap them to simulate endless movement.
Making the Car Move
The core of any racing game is responsive controls. Here’s a straightforward script you can attach to the car sprite:
- When
green flagclicked →go to x: -150 y: -100(starts near the bottom left). - Forever loop:
- If
key [right arrow] pressed?→change x by 5 - If
key [left arrow] pressed?→change x by -5 - If
key [up arrow] pressed?→change y by 5 - If
key [down arrow] pressed?→change y by -5
- If
This gives the car basic four‑directional movement. Feel free to tweak the “5” value for faster or slower handling.
Adding a Scrolling Road
To give the illusion that the car is speeding forward, move the backdrop instead of the car. Attach this script to the stage:
- When
green flagclicked →set [road y v] to 0 - Forever loop:
change [road y v] by -3(makes the road scroll down)- If
(road y) < -180→set [road y v] to 0(reset to top) -
go to y: (road y)(apply the variable to the backdrop’s position)
Adjust the speed (the “-3” value) to match your car’s pace; you don’t want the background outrunning the vehicle.
Creating Obstacles
Obstacles keep the game interesting. Duplicate an obstacle sprite a few times and give each a random start position off the top of the screen. Here’s a simple script for a single obstacle:
- When
green flagclicked →go to x: (pick random -200 to 200) y: 180 - Forever loop:
change y by -4(moves downwards)- If
y < -180→go to x: (pick random -200 to 200) y: 180(recycle) - If
touching [Car]?→ broadcast[game over]
Copy this script to as many obstacles as you like; a handful keeps the screen lively without overwhelming a beginner.
Handling Collisions and Game Over
When the car meets an obstacle, you’ll want to pause the action and show a simple “Game Over” message.
- Create a new backdrop named “Game Over” with large text.
- In the stage, add:
- When I receive
[game over]→stop all - Then
switch backdrop to [Game Over]
- When I receive
If you’d like a chance to restart, add a button sprite that, when clicked, triggers a broadcast [restart] and resets the positions of the car and obstacles.
Polishing with Sound and Score
A score counter gives players something to chase. Create a variable called Score and increase it inside the obstacle script each time the obstacle passes the bottom of the screen:
- When
y < -180→change [Score] by 1and play a short “ding” sound.
For a more immersive feel, add an engine loop that plays while the car is moving. Use a when [key pressed] block to start the sound and a when [key released] block to stop it.
Testing and Tweaking
Run the project with the green flag and watch the gameplay. Ask yourself:
- Does the car feel responsive enough?
- Is the road scrolling at a comfortable speed?
- Are collisions detected reliably?
Minor adjustments—like increasing the obstacle fall speed or widening the road lanes—can dramatically improve the experience.
Next Steps: Adding Depth
Once the basic version runs smoothly, consider these easy upgrades:
- Level progression: After a certain score, increase obstacle speed or add new obstacle types.
- Power‑ups: A temporary shield sprite that gives the car invulnerability for a few seconds.
- Background music: Loop a short, upbeat track to keep the vibe lively.
Each addition reinforces core programming ideas while keeping the project manageable for a newcomer.
Wrapping Up
Building a car game in Scratch may feel like a modest undertaking, but the skills you pick up—variables, broadcasting, conditional logic—lay a solid foundation for any future coding adventure. Grab the platform, follow the steps above, and before long you’ll have a playable race track to show off to friends or to use as a springboard for more ambitious projects.
![Create A Car Racing Scratch Game [Step-by-Step Guide] - BrightChamps Blog](https://brightchamps.com/blog/wp-content/uploads/2022/03/How-To-Make-A-Car-Racing-Game-In-Scratch.png)