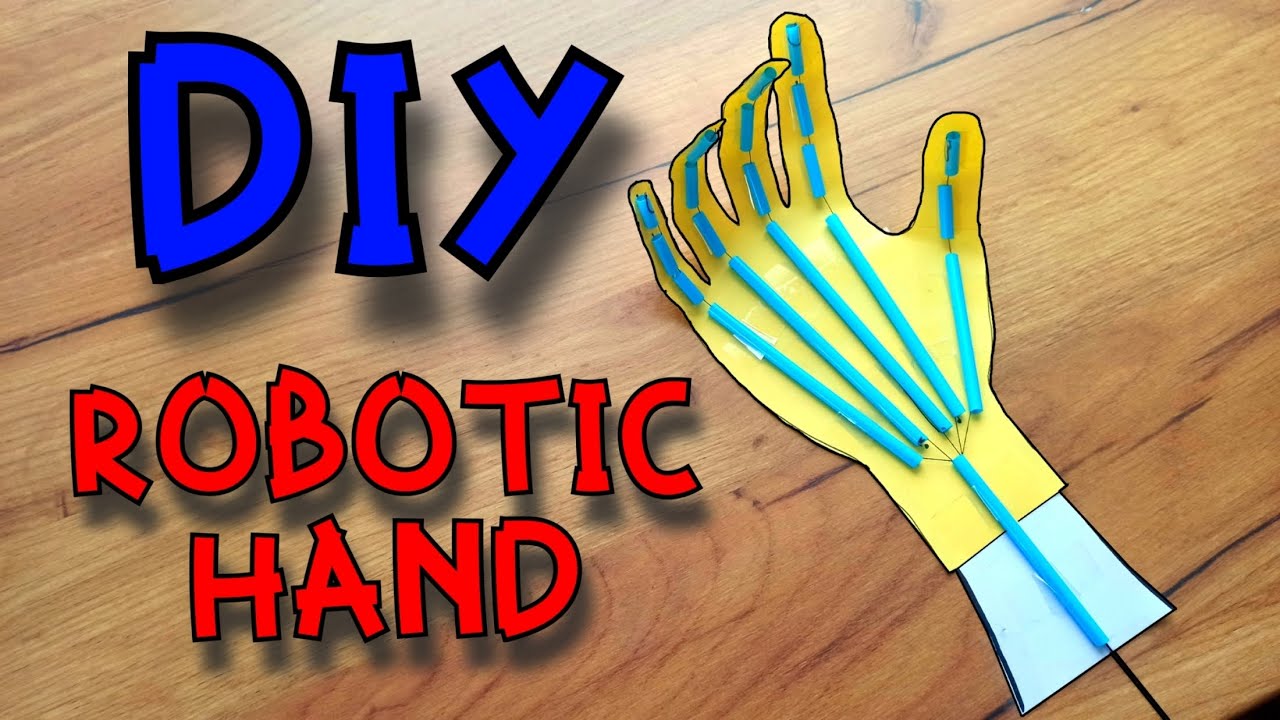
How to Build Your Own DIY Prosthetic Hand at Home Now
Picture this: you’ve got a spare weekend, a modest budget, and a genuine curiosity about how a hand can move without a living palm. Instead of scrolling through endless videos, why not roll up your sleeves and create a functional prosthetic yourself? Below is a hands‑on guide that walks you through the process, from picking the right components to polishing the final grip.
What You’ll Need
- 3D‑printed or laser‑cut frame – PLA, PETG, or lightweight aluminum sheets work well.
- Micro‑servo motors (2‑4 depending on finger articulation)
- Arduino Nano or compatible microcontroller
- Flex sensors or pressure‑sensing resistors for the grip
- Battery pack (Lithium‑polymer 3.7 V, 1500 mAh is a good start)
- Wires, heat‑shrink tubing, and a small soldering iron
- Velcro straps or silicone liners for comfort
- Basic tools: screwdriver set, drill, pliers, and sandpaper
If you’re new to 3D printing, many online repositories already host free hand‑frame models. Download one, tweak the dimensions to match your forearm, and print it in two halves for easier assembly.
Understanding the Basics
A prosthetic hand typically mimics three motions: open, close, and a limited wrist rotation. The key is translating an electrical signal—usually from a muscle’s contraction—into a mechanical action. In a DIY build, we replace sophisticated myoelectric sensors with flex sensors that you can bend with a simple clasp or a residual limb.
Step‑by‑Step Build Process
Designing the Frame
Start by measuring the length from your elbow to where you want the hand to sit. Add a few millimetres for clearance; you’ll thank yourself when the glove doesn’t pinch. Place the finger sockets evenly—symmetry matters for balance, but a slight tweak can improve comfort against your skin.
Once the CAD file is ready, export it as an STL and feed it into your slicer. Layer height around 0.2 mm gives a sturdy yet quick print. Remember to include small tabs for screw holes; they’ll hold the servos in place later.
Assembling the Mechanics
With the frame printed, the next step is installing the servos. Position one motor at the base of each finger (or share a single motor across adjacent fingers for a simpler design). Secure them with M3 screws and a dab of epoxy if you need extra grip.
Run the output shaft through the finger joints using a tiny cable tie or a 3D‑printed pulley. When the servo turns, the cable pulls the fingertip down, creating a closed grip. Test each finger manually before wiring up the controller.
Adding Sensors and Controls
Flex sensors are essentially variable resistors that change resistance when bent. Attach one to a wrist strap that you’ll squeeze to close the hand. Connect the sensor’s ends to the Arduino’s analog input, and calibrate the values in the sketch (typically a range from 300 Ω to 2 kΩ).
Here’s a quick code snippet to give you an idea:
int sensorPin = A0;int servoPin = 9;
void setup() {
pinMode(servoPin, OUTPUT);
}
void loop() {
int val = analogRead(sensorPin);
int angle = map(val, 300, 800, 0, 90);
analogWrite(servoPin, angle);
}
Upload the sketch, press the strap, and watch the fingers move. Fine‑tune the map() values until the hand opens fully when the strap is relaxed.
Testing and Fine‑Tuning
Now the fun (and the inevitable) part: trial and error. Slip the hand onto a dummy arm or a friend’s forearm, power the battery, and try different grip strengths. If a finger lags, check the cable tension; a little slack can cause jerky motion.
Don’t overlook safety. Always disconnect the battery before making adjustments, and keep hot solder joints away from the silicone liners.
Tips for Customisation and Comfort
- Line the interior with soft silicone foam to reduce pressure points.
- Paint the outer shell with matte spray paint; it looks professional and hides minor imperfections.
- Consider adding a quick‑release latch so you can detach the hand for charging.
- If you want more dexterity, experiment with a small gear train to allow individual finger control.
Remember, comfort isn’t just about padding—it’s also about weight distribution. Keep the battery as close to the elbow as possible to avoid a “hand‑heavy” feel.
Safety and Maintenance
Even a DIY prosthetic can last months with proper care. After each use, wipe the exterior with a damp cloth, check the cables for fraying, and tighten any loose screws. Recharge the battery before it drops below 20 % to prolong its life.
If you notice the servos humming louder than usual, it often signals a mechanical blockage. Disassemble that finger, clear any debris, and re‑lubricate the joint with a drop of silicone oil.
In the end, building a prosthetic hand at home is as much about problem‑solving as it is about engineering. You’ll probably need to iterate a couple of times before the grip feels natural, but each tweak brings you closer to a functional extension of your own body. Happy building!