How to Choose the Best High‑Quality Sealant for Any Project
Why the Right Sealant Matters
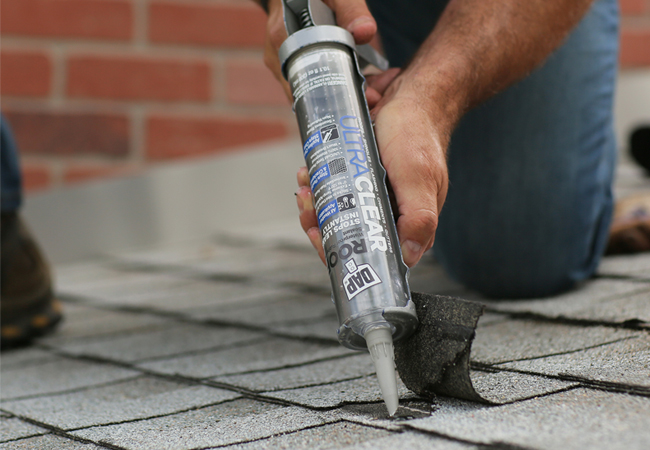
Sealants are the unsung heroes that keep water, air, and dust where they belong. Pick the wrong one and you’ll soon notice cracks, mold, or a drop in energy efficiency. The trick is matching the product to the material, the environment, and the stresses it will face.
Identify the Application First
Before you even glance at a tube, ask yourself a few simple questions:
- Is the joint interior or exterior?
- Will it be exposed to sunlight, chemicals, or constant movement?
- Do you need a flexible finish or a rigid bond?
Answers guide you toward silicone, polyurethane, acrylic, or specialty formulations.
Key Properties to Compare
1. Adhesion Strength
Materials like glass, metal, or tile demand a sealant that clings tightly. Look for products that list “high adhesion” on the label, especially for vertical surfaces where gravity is a factor.
2. Flexibility and Movement Capacity
Expansion joints in concrete or wooden decks shift with temperature changes. A sealant with a high elongation at break — typically 200 % or more — will accommodate that movement without tearing.
3. Weather Resistance
UV rays break down many polymers over time. If the sealant will face direct sunlight, choose one marketed as “UV‑stable” or “weather‑proof.” For marine environments, look for “salt‑resistant” formulations.
4. Curing Time
Some projects need a quick return to service. One‑component, moisture‑cure silicone can skin in as little as 30 minutes, while two‑component hybrids may take several hours. Balance speed with durability.
Common Sealant Types and Their Sweet Spots
- Silicone – Ideal for bathrooms, windows, and any place that stays wet. Excellent flexibility, but not paintable.
- Polyurethane – Strong adhesion to wood, concrete, and metal. Paintable and wear‑resistant, though it can yellow under UV.
- Acrylic Latex – Budget‑friendly, easy to clean, and paintable. Best for interior gaps that rarely move.
- Hybrid MS Polymer – Combines the weather‑proof qualities of silicone with paintability. A good all‑rounder for exterior trim.
Testing the Sealant Before You Commit
If you can, apply a small bead on a scrap piece of the target material. Let it cure, then try bending or pulling it. A quick tactile test can reveal hidden brittleness or excessive softness that specs sheets don’t mention.
Safety and Application Tips
- Ventilate the area; many sealants release solvents while curing.
- Wear gloves – a thin film of cure‑resistant polymer can stick to skin.
- Use a backer rod for deep joints; it reduces material waste and improves performance.
- Clean the surface thoroughly – dust or old caulk will sabotage adhesion.
Budget Considerations
High‑quality sealants often carry a premium, but the cost of failure—water damage, repainting, or structural repair—far outweighs the upfront price. When budgeting, allocate a modest extra amount for a reputable brand rather than skimping on cheaper, lower‑performance options.
Where to Buy
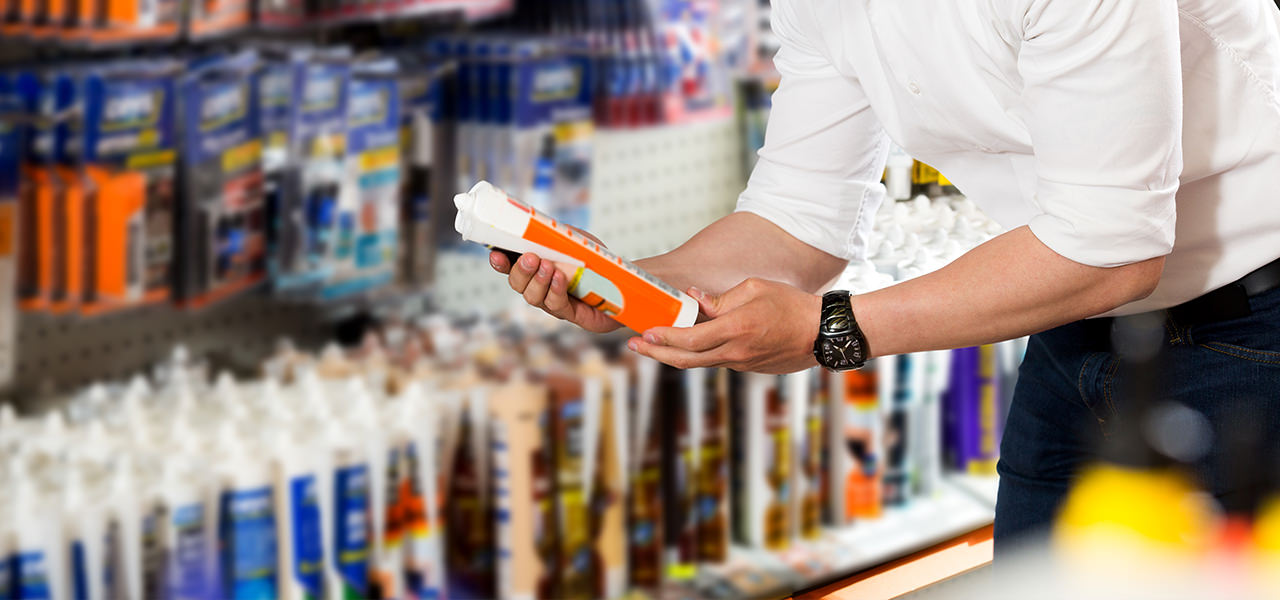
Specialty building‑supply stores tend to stock the full range of polymer types, while big‑box retailers may only carry the basics. Online marketplaces give access to niche formulations, but double‑check user reviews for real‑world performance anecdotes.
Final Thought
Choosing the right high‑quality sealant isn’t rocket science, but it does require a bit of homework. By clarifying the job’s demands, comparing key properties, and testing a small sample, you’ll end up with a joint that stays sealed for years to come.