How To Configure A Master IPsec Tunnel On FortiGate Via CLI
Setting up an IPsec tunnel on a FortiGate using the command line can feel a bit like fitting together a puzzle—each piece matters, but you don’t have to be a networking guru to make it work. Below is a practical walk‑through that covers the essentials, from checking your environment to confirming the tunnel is up and running.
Prerequisites
Before you dive in, make sure you have the following at hand:
- A FortiGate unit with administrative access to the CLI.
- Basic information about the remote peer: public IP, pre‑shared key (or certificates), and the networks you intend to encrypt.
- Appropriate licenses that enable IPsec functionality.
If any of these items are missing, the process will likely stall somewhere down the line.
Define The Phase‑1 (IKE) Parameters
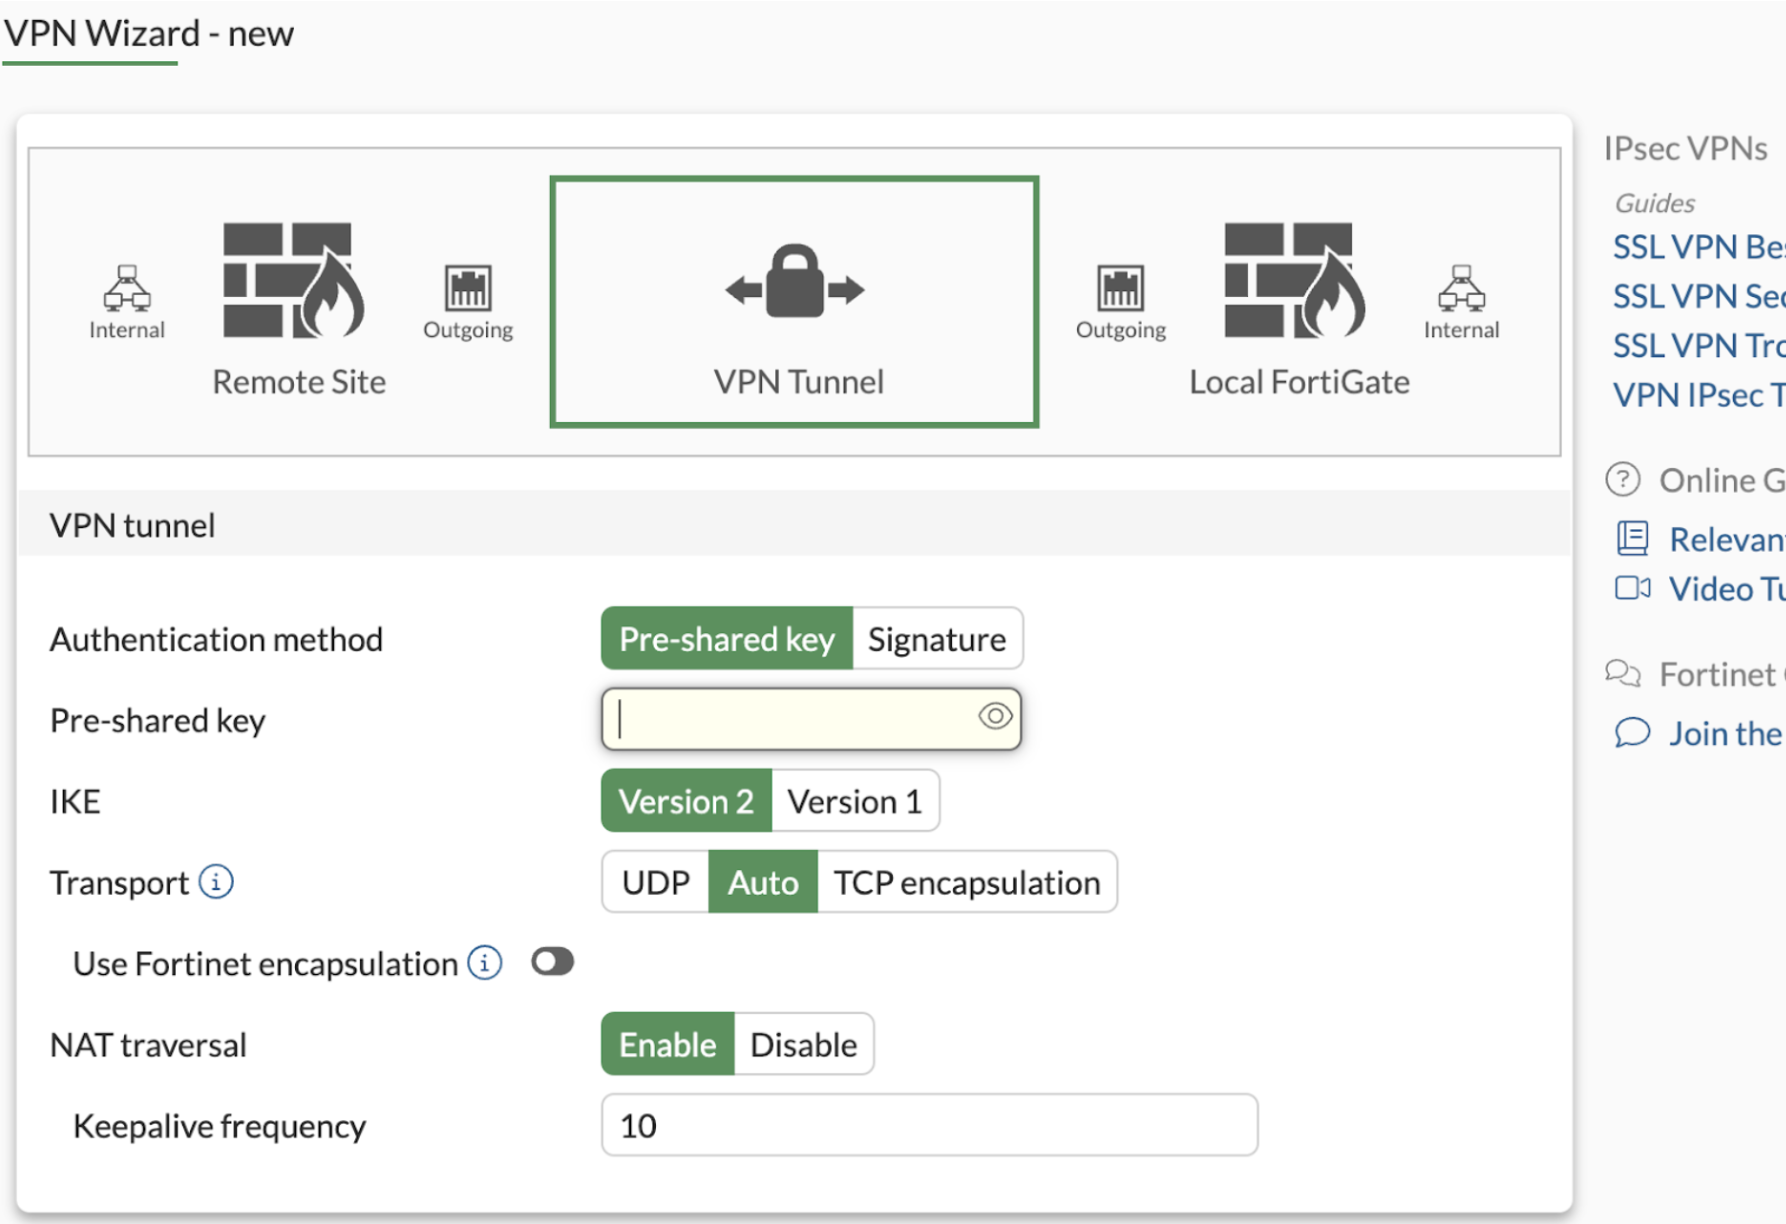
Phase‑1 establishes the secure channel that protects all subsequent traffic. The commands below assume you’re using a pre‑shared key; replace your‑preshared‑key with your actual secret.
config vpn ipsec phase1-interface
edit "master‑tunnel"
set interface "wan1"
set remote-gw 203.0.113.10
set psksecret your‑preshared‑key
set proposal aes256-sha256
set dhgrp 14
set keylife 86400
set dpd on-idle
next
end
Notice the use of aes256-sha256 for encryption and integrity—a solid starting point for most deployments. Feel free to tweak the dhgrp or keylife based on your security policy.
Configure The Phase‑2 (IPsec) Selectors
Phase‑2 defines what traffic actually gets encrypted. Here’s a straightforward example that tunnels the 10.0.0.0/24 network to the remote 192.168.100.0/24 network.
config vpn ipsec phase2-interface
edit "master‑tunnel‑p2"
set phase1name "master‑tunnel"
set proposal aes256-sha256
set pfs enable
set pfsgrp 14
set src-subnet 10.0.0.0 255.255.255.0
set dst-subnet 192.168.100.0 255.255.255.0
set auto-negotiate enable
next
end
If you need to handle multiple subnets, just create additional phase2-interface entries—nothing prevents you from stacking them under the same Phase‑1.
Activate The Tunnel
Once both phases are defined, you can bring the tunnel up with a single command:
diagnose vpn ipsec tunnel list
This shows the current state; look for status: up. If it reads down, the next section will help you troubleshoot.
Troubleshooting Common Hiccups
Even a well‑written config can hit a snag. A few things to double‑check:
- Network reachability: Can the FortiGate ping the remote gateway IP?
- Pre‑shared key mismatch: A typo is the most frequent cause of Phase‑1 failures.
- Encryption mismatches: Both ends must agree on the same proposal and DH group.
- Firewall policies: Ensure you have a policy that permits traffic from the internal zone to the
master‑tunnelinterface.
Running diagnose debug application ike -1 followed by diagnose debug enable will dump verbose logs—handy for pinpointing exactly where the handshake stalls.
Verification From The Remote Side
After the tunnel reports up on your FortiGate, give the remote peer a quick test. A simple ping 10.0.0.1 from the remote network should succeed, confirming that traffic is indeed flowing through the IPsec tunnel.
Optional: Make The Tunnel Persistent
If you want the tunnel to survive reboots, add the set auto-negotiate enable flag (already included in the Phase‑2 example). This tells the FortiGate to attempt to re‑establish the tunnel automatically whenever the device starts.
Wrap‑Up Tips
While the CLI may feel a bit stark compared to the GUI, it offers a level of precision that’s hard to match. Keep a copy of your configuration script in a version‑controlled repository; you’ll thank yourself when you need to replicate the setup on another device or roll back after a change.
Lastly, remember that security is an ongoing process. Periodically review key lifetimes, rotate pre‑shared keys, and stay informed about any firmware updates that could affect IPsec behavior.