How to Configure Advanced IPSec Security on iOS VPN
If you’ve ever wrestled with the built‑in VPN client on your iPhone or iPad, you know that the default settings are a solid start but often fall short for enterprises that demand tighter encryption and stricter authentication. Luckily, iOS does let you dig deeper, tweaking the IPSec parameters to match your organization’s security policy. Below is a practical walkthrough that balances the technical details with the everyday reality of setting things up on a mobile device.
Why Bother with Advanced IPSec Settings?
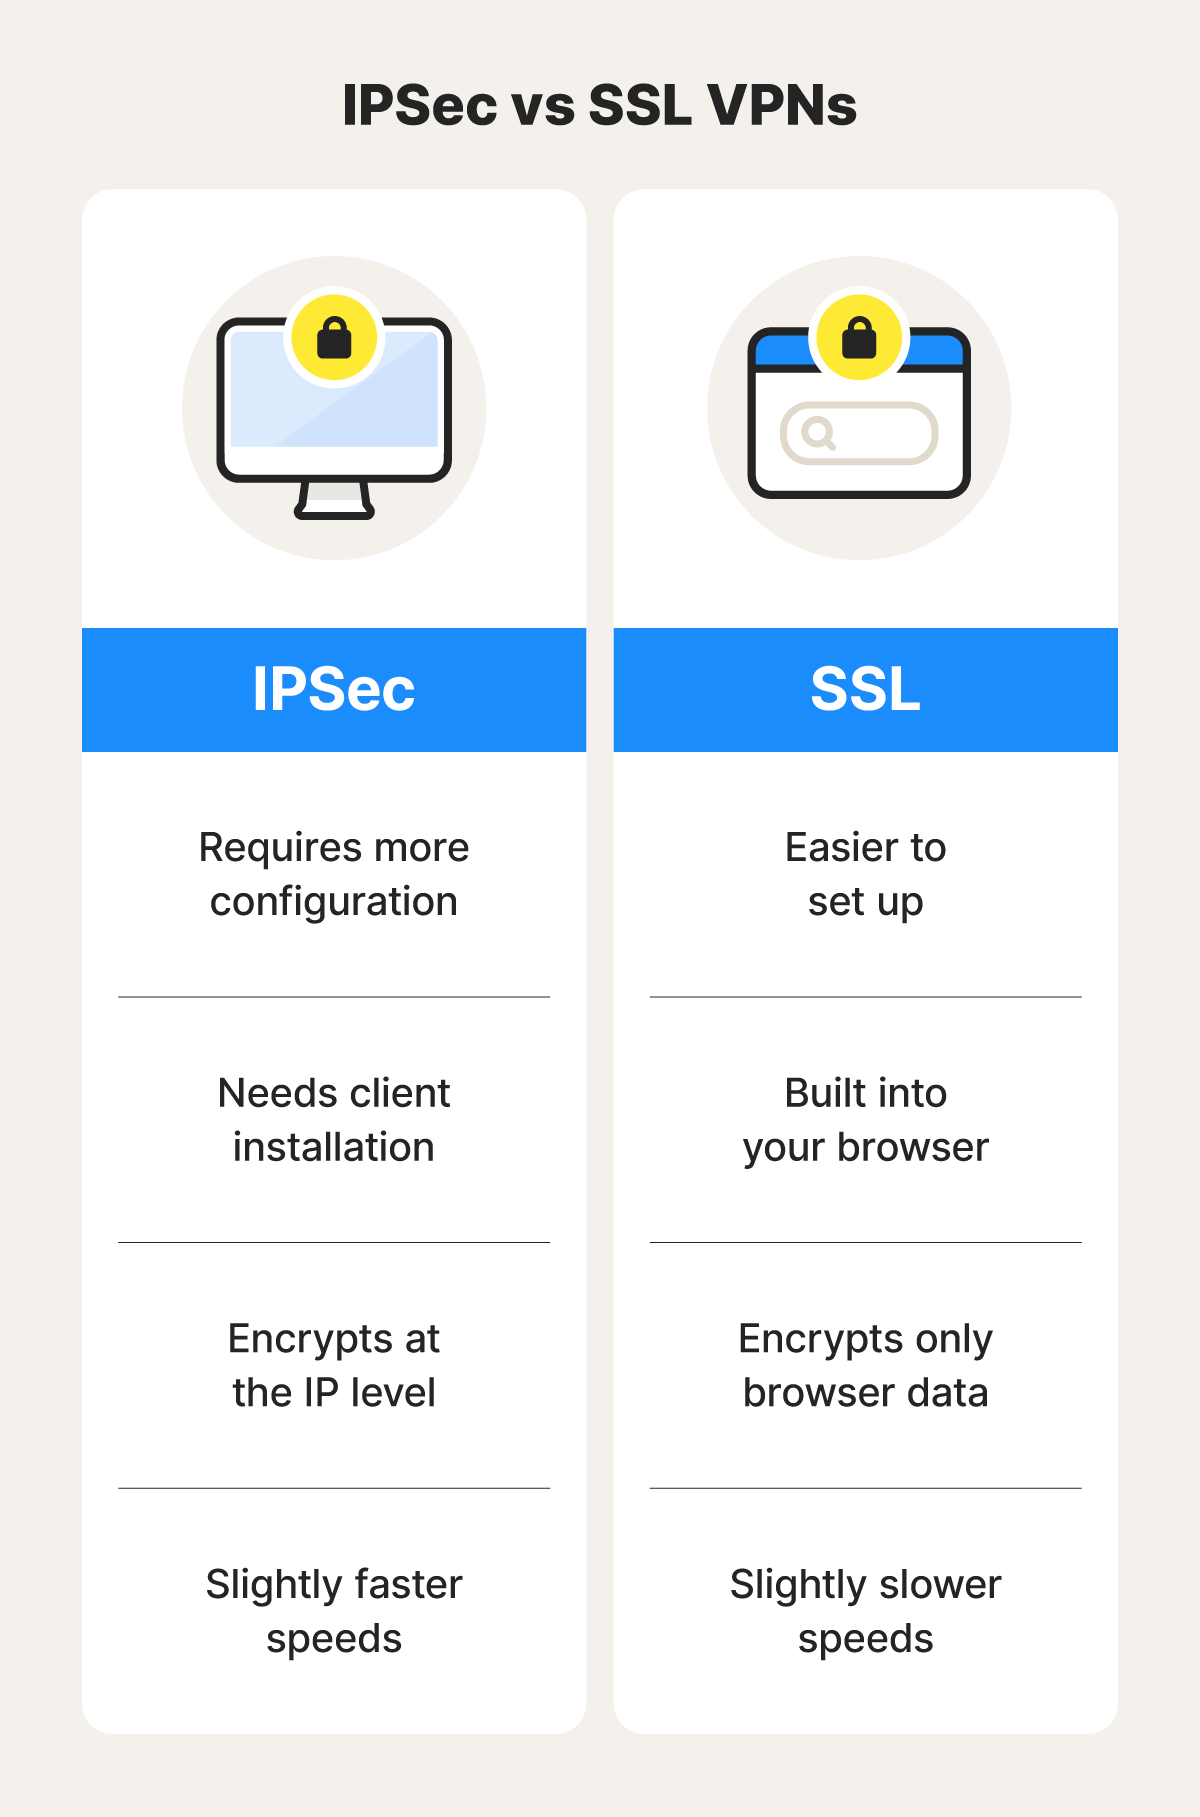
Out‑of‑the‑box IPSec on iOS typically uses RSA‑256 key exchange, AES‑128 encryption, and SHA‑1 for integrity. Those choices are fine for casual browsing, but many compliance frameworks—PCI‑DSS, HIPAA, ISO 27001—require stronger algorithms such as AES‑256 or SHA‑2. Adjusting the configuration not only hardens the tunnel against potential attacks but also aligns the mobile endpoint with the rest of your corporate network.
Prerequisites Before You Start
- iOS version: 15.0 or newer (newer releases include more algorithm options).
- Administrator access: You’ll need either a mobile device management (MDM) profile that permits custom VPN payloads or the ability to add a manual configuration.
- Server details: Know the remote gateway IP, shared secret, and the exact encryption/authentication suites your server supports.
Step‑by‑Step Configuration
1. Open the Settings App
Navigate to General → VPN & Device Management*. If a VPN profile already exists, tap the ⓘ next to it and choose “Delete” to start fresh—mixing old and new parameters can cause handshake failures.
2. Add a New VPN Configuration
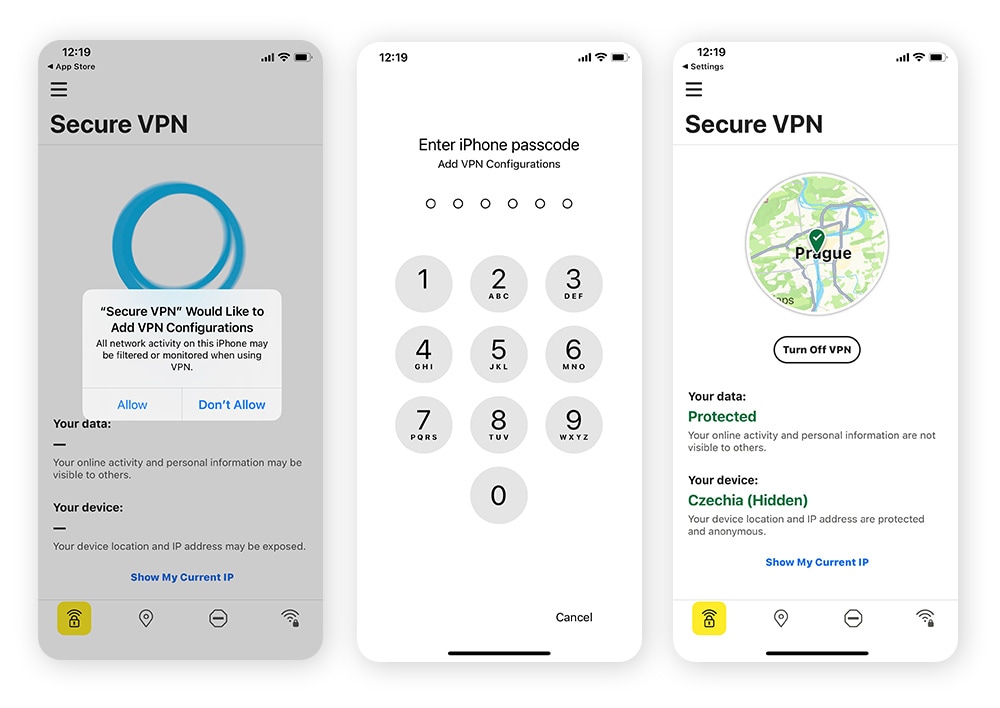
Tap Add VPN Configuration… and select IPSec as the type. You’ll now see a form with several fields that are ripe for customization.
3. Fill in the Basic Information
- Description: Something memorable, e.g., “Corporate IPSec (AES‑256)”.
- Server: The public IP or DNS name of your VPN gateway.
- Account: Your username (often your email address).
4. Tweak the Security Parameters
The magic happens in the “Authentication Settings” section. iOS exposes a few dropdowns, but you can push further using a configuration profile if the UI limits you.
- Shared Secret: Enter the pre‑shared key exactly as configured on the server.
- Remote ID: Usually the server’s domain; some setups require a specific identifier string.
- Local ID: Optional, but handy when the server expects a particular client tag.
- Encryption Algorithm: Choose AES‑256 CBC (or GCM if supported).
- Integrity Algorithm: Switch from SHA‑1 to SHA‑256 or SHA‑384 for stronger integrity checks.
- Diffie‑Hellman Group: Opt for Group 24 (ECDH‑384) rather than the default Group 2.
5. Save and Test the Connection
Press Done**, then toggle the VPN switch on the main screen. A quick “Connected” status isn’t the whole story—open a browser, navigate to a known internal site, and verify the traffic is flowing through the tunnel (you can check the IP address on whatismyipaddress.com).
Deploying the Settings via MDM
Manually adjusting every device quickly becomes a nightmare in larger environments. Most MDM solutions let you push a .mobileconfig file containing the exact IPSec payload you defined above. Here’s a minimal snippet you can adapt:
<dict><key>PayloadContent</key>
<array>
<dict>
<key>PayloadType</key> <string>com.apple.vpn.managed</string>
<key>PayloadVersion</key> <integer>1</integer>
<key>VPNType</key> <string>IPSec</string>
<key>IPSecAuthenticationMethod</key> <string>SharedSecret</string>
<key>IPSecSharedSecret</key> <data>...base64...</data>
<key>IPSecEncryptionAlgorithm</key> <string>AES256</string>
<key>IPSecIntegrityAlgorithm</key> <string>SHA256</string>
<key>IPSecDiffieHellmanGroup</key> <integer>24</integer>
<!-- other fields omitted for brevity -->
</dict>
</array>
</dict>
Upload the file to your MDM console, assign it to the appropriate device group, and let the system handle the rest. Users will see the profile appear under Settings → General → VPN & Device Management, already pre‑filled with the hardened parameters.
Common Pitfalls and How to Avoid Them
- Mismatched Algorithms: The server and client must agree on every cryptographic choice. A single mismatch (e.g., server expects AES‑256 GCM while iOS offers CBC) aborts the handshake.
- Expired Shared Secret: Many admins rotate the pre‑shared key quarterly. Forgetting to update the iOS profile leads to “Authentication Failed” errors.
- Network‑Level Interference: Some corporate Wi‑Fi networks block ESP (the protocol underlying IPSec). In that case, consider switching to IKEv2, which can tunnel over UDP port 4500.
- Battery Drain: Stronger encryption demands more CPU cycles. If you notice a noticeable dip in battery life, compare the impact of AES‑256 vs. AES‑128 on a test device.
When to Consider IKEv2 Instead
While IPSec remains a workhorse, Apple’s support for IKEv2 on iOS is more robust and often easier to configure through MDM. IKEv2 automatically handles NAT traversal, supports stronger cipher suites out of the box, and can resume connections after a brief network drop—something traditional IPSec struggles with. If you find yourself constantly tweaking parameters, a switch to IKEv2 might save time and improve reliability.
Wrapping Up
Turning the default iOS VPN into a hardened IPSec tunnel isn’t a one‑click operation, but with the steps above you can align mobile security with your organization’s policies without pulling your hair out. Remember: the goal is a stable, compliant connection, not just the flashiest cipher suite. Test methodically, leverage MDM for scale, and keep an eye on both performance and compliance reports. Your users will thank you when the VPN just works—securely.