How to Dispute an Apple Pay Transaction and File a Fraud Claim
Apple Pay makes buying a coffee or a plane ticket feel effortless, but what happens when a charge shows up that you never authorized? Navigating the dispute process can feel intimidating, yet the steps are surprisingly straightforward once you know where to start. Below is a practical guide that walks you through the whole journey—from spotting the suspicious charge to securing a refund.
Understanding Apple Pay Disputes
Apple Pay itself isn’t the party that processes refunds; the transaction lives with your linked card‑issuer (bank or credit‑card company). In most cases, the bank treats an Apple Pay charge the same way it would a physical card purchase. That means the same consumer‑protection rules apply, and you have the right to contest a transaction that looks fraudulent.
Why the Dispute Might Be Needed
- Someone stole your device and tapped out a payment.
- A merchant charged you twice or for the wrong amount.
- You never received the goods or services you paid for.
- Suspicious activity appears after you thought your account was secure.
When to File a Claim
Timing matters. Most banks require you to flag a fraudulent charge within 60 days of the posting date, but the sooner you act, the smoother the investigation.
If you notice any of the following, start the claim process immediately:
- Unrecognized merchant name.
- Amount that doesn’t match your purchase.
- A charge after you reported a lost device.
Step‑by‑Step: How to Dispute an Apple Pay Transaction
Below is a concise roadmap you can follow on your phone, computer, or by phone.
1. Review the Transaction Details
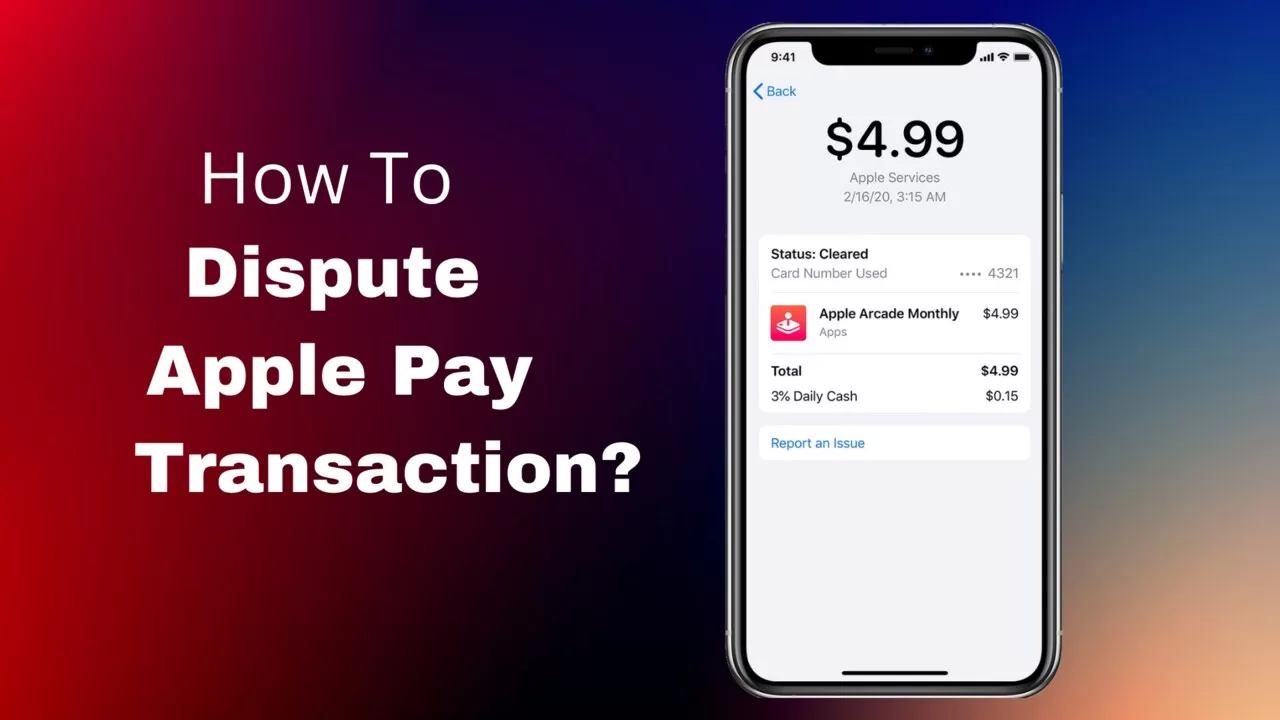
Open the Wallet app, tap the card you used, then scroll to the recent activity. Tap the questionable entry to see the merchant name, date, and amount. Screenshot this for reference.
2. Contact the Merchant First (When Possible)
Sometimes a simple mix‑up—like a double charge—can be resolved directly with the vendor. A quick email or call might save you weeks of back‑and‑forth with the bank.
3. Notify Your Card Issuer
If the merchant can’t help, call the number on the back of your card or use the bank’s secure messaging portal. Provide:
- Transaction date, amount, and merchant name.
- Why you believe the charge is fraudulent.
- The screenshot you captured.
Ask for a “chargeback” or a “fraud claim” and request a temporary credit while the investigation runs.
4. Follow Up in Writing
Most banks will ask you to confirm the dispute in writing. Send a concise email that includes:
- Your full name and account number (masked for security).
- A clear statement: “I dispute the charge on [date] for [amount] to [merchant].”
- Any supporting evidence, such as receipts or correspondence with the merchant.
5. Monitor the Resolution Timeline
Regulations typically grant the issuer up to 45 days to resolve a fraud claim, though many banks move faster. Keep an eye on your email and the transaction history for updates.
Communicating with Your Bank: Tips for a Smooth Process
Bank representatives handle dozens of disputes daily, so clarity helps. Here are a few pointers:
- Stay calm and factual. Stick to dates, amounts, and what you did (or didn’t do).
- Reference the case number. Every claim gets an identifier—use it in every follow‑up.
- Ask about temporary credits. Some issuers will provisionally credit your account while they investigate.
Preventing Future Apple Pay Fraud
Even though Apple Pay is designed with security in mind, a few habits can tighten the net.
- Enable two‑factor authentication for your Apple ID.
- Set a strong device passcode; avoid simple 4‑digit pins.
- Regularly review your transaction feed for surprises.
- Immediately report a lost or stolen iPhone—Apple can lock the wallet remotely.
What Happens After the Claim Is Approved?
When the bank confirms fraud, you’ll see a credit bounce back to your account, typically equal to the disputed amount. The merchant’s account is debited, and the case is closed. If the claim is denied, you have the right to appeal—ask the representative for the exact reason and the steps to request a reconsideration.
In most instances, the process restores the lost money without hurting your credit score. The key is acting promptly, keeping good records, and staying in touch with both the merchant and your card issuer.