How to Navigate the Mad Island Map: Your Ultimate Steam Guide
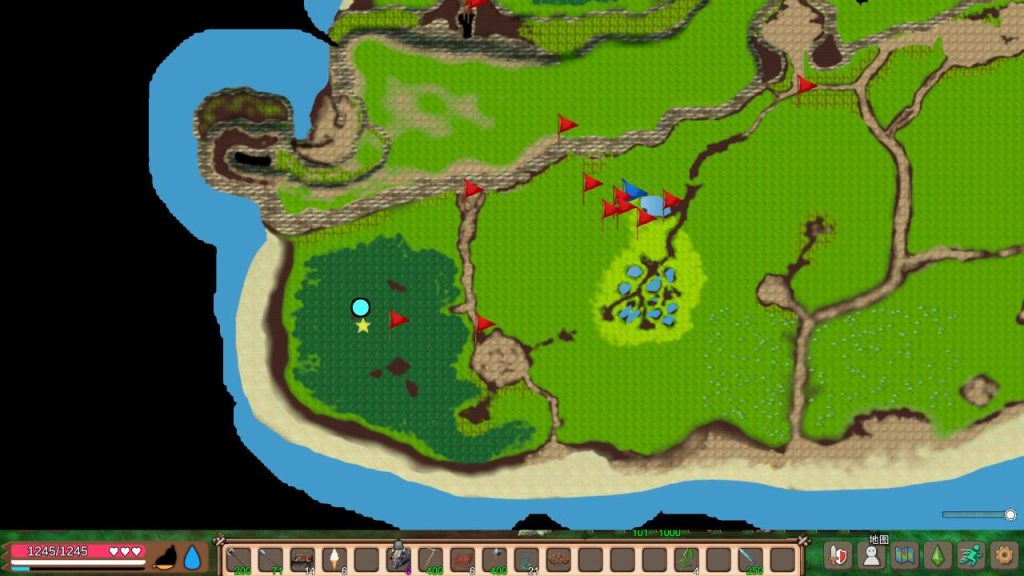
When you fire up Mad Island on Steam, the first thing that greets you is a sprawling, chaotic island dotted with hidden treasures, treacherous cliffs, and a few surprises you’ll only notice after a couple of rounds. New players often feel a little lost, while veterans keep returning to squeeze out every last secret. This guide breaks down the map’s major zones, offers practical tips for each area, and points out the shortcuts that can shave minutes off your run.
Understanding the Layout: Three Core Regions
The island isn’t a random jumble; it can be loosely split into three interconnected regions:
- Coastal Perimeter – Beaches, wrecked boats, and the first set of resource nodes.
- Central Highlands – A maze of cliffs, caves, and the infamous “Mad Tower”.
- Inner Jungle – Dense foliage, hidden ruins, and the high‑value loot caches.
Each region has its own rhythm. The coast is all about quick scavenging, the highlands require a bit of vertical navigation, and the jungle rewards patience and a keen eye for landmarks.
Coastal Perimeter: Fast Starts and First Supplies
If you spawn near the shoreline, your immediate goal is to secure basic supplies before the timer ticks down. Look for these tell‑tale spots:
1. The Driftwood Shack
Just north of the main dock, a weather‑beaten shack hides a crate of wooden planks and a single health kit. The planks are essential for building temporary bridges later on.
2. Sunken Cargo Crates
Scattered along the western beach, three partially submerged crates contain random loot. Two of them usually drop a Map Fragment that pieces together the hidden path to the highlands.
Don’t linger too long; the coastal area is a prime target for early‑game raids from other players.
Central Highlands: Mastering Height and Hazard
The highlands are where the map’s verticality shines. Jumping from ledge to ledge might feel intimidating, but a few tricks make it manageable.
Building Bridges with Planks
Recall those wooden planks from the coast? Strap them together at the “Bridge‑Builder” stations found near the base of each cliff. A properly built bridge can cut your travel time by half.
Finding the Mad Tower
The tower is more than a decent lookout—it houses a Rare Artifact that boosts your stamina for the final stretch. It’s perched on the highest plateau, marked by a lone, rusted flag. The easiest route is:
- Start at the “Eagle’s Nest” rock formation.
- Head east, following the narrow ridge until you see a broken rope bridge.
- Cross it, then ascend the final incline using the planks you’ve pre‑placed.
Be prepared for a quick skirmish; the tower’s proximity to other players makes it a hotspot.
Inner Jungle: The Treasure Trove
Once you’ve cleared the highlands, the jungle opens up as the map’s most rewarding, yet most confusing, area.
Landmark Navigation
Instead of relying on the mini‑map alone, use natural landmarks:
- Twin Palm Trees – Sit at the clearing directly north of the “Ancient Altar”.
- Stone Circle – A perfect circle of moss‑covered rocks with a central fire pit; it marks the entrance to the “Hidden Ruins”.
- Waterfall Cave – Follow the roaring water eastward; the cave mouth is concealed behind the spray.
These points are easy to spot even in the game’s slightly foggy lighting, and they’ll keep you oriented when the foliage gets dense.
Unlocking the Hidden Ruins
The ruins hold the highest‑level loot, but you need a specific key that only appears after collecting all three Map Fragments. Once you have the key:
- Approach the stone circle at dusk (the game’s day‑night cycle matters).
- Place the key in the central pedestal.
- The ground will shift, revealing a stairway down to the vault.
Inside, expect a mix of rare weapons, crafting materials, and the coveted “Island Crown” – a cosmetic item that’s purely for show, but fans love it.
Quick Tips for Speedrunning the Map
Even if you’re not chasing a world record, these shortcuts can make your runs feel smoother.
- Use the wind gusts on the highland cliffs. Timing a sprint with a gust can launch you across a gap without a bridge.
- Save your stamina by crouching when navigating narrow passages; it reduces the stamina drain by about 15%.
- Keep an eye on the radar for glowing icons – they indicate temporary resource drops that appear every five minutes.
- Avoid early confrontations in the jungle. Most players head there later, so you’ll have a quieter path to the hidden ruins.
Common Mistakes and How to Dodge Them
Even seasoned players slip up now and then. Here’s what to watch out for:
Skipping the Bridge‑Builder stations. It’s tempting to scramble up the cliffs, but skipping bridge construction can leave you stranded on one side of a chasm.
Ignoring the Map Fragments. Those seemingly minor crates actually unlock the biggest reward – the hidden ruin’s vault.
Over‑committing to combat. A quick skirmish might feel satisfying, but it can waste precious time and stamina, especially when you’re nearing the jungle’s exit.
Wrapping Up: Making the Most of Your Steam Experience
Mad Island’s map is designed to reward exploration and strategic thinking. By mastering the coastal start, building your way through the highlands, and navigating the jungle’s labyrinthine paths, you’ll not only survive longer but also collect the most coveted items.
So fire up Steam, drop onto the beach, and let the island’s secrets unfold one step at a time. Happy island hopping!