How to Overclock Your CPU on an ASUS Motherboard
Why Overclock at All?
Put simply, overclocking lets you squeeze a bit more performance out of hardware you already own. For gamers eyeing higher frame rates or creators craving faster render times, nudging the CPU clock can be a cheap upgrade—provided you stay within safe temperature limits.
What You’ll Need Before You Start
- A compatible ASUS motherboard (most recent Prime, ROG, or TUF models work fine)
- A reliable cooling solution – stock coolers are rarely enough for meaningful overclocks
- Monitoring software such as HWInfo, Core Temp, or ASUS AI Suite
- Stress‑testing tools – Prime95, AIDA64, or Cinebench are popular choices
Make sure your power supply can handle the extra draw; a unit rated at 550 W or higher is a safe bet for most mid‑range builds.
Step 1: Enter the BIOS
Restart the PC and press Delete (or F2 on some models) as soon as the ASUS logo appears. You’ll land in the UEFI BIOS, which looks a lot cleaner than the old text‑only interfaces.
If you see a “EZ Mode” screen, switch to “Advanced Mode” by pressing F7. This expands the menu and reveals the knobs you’ll be turning.
Step 2: Locate the Overclocking Section
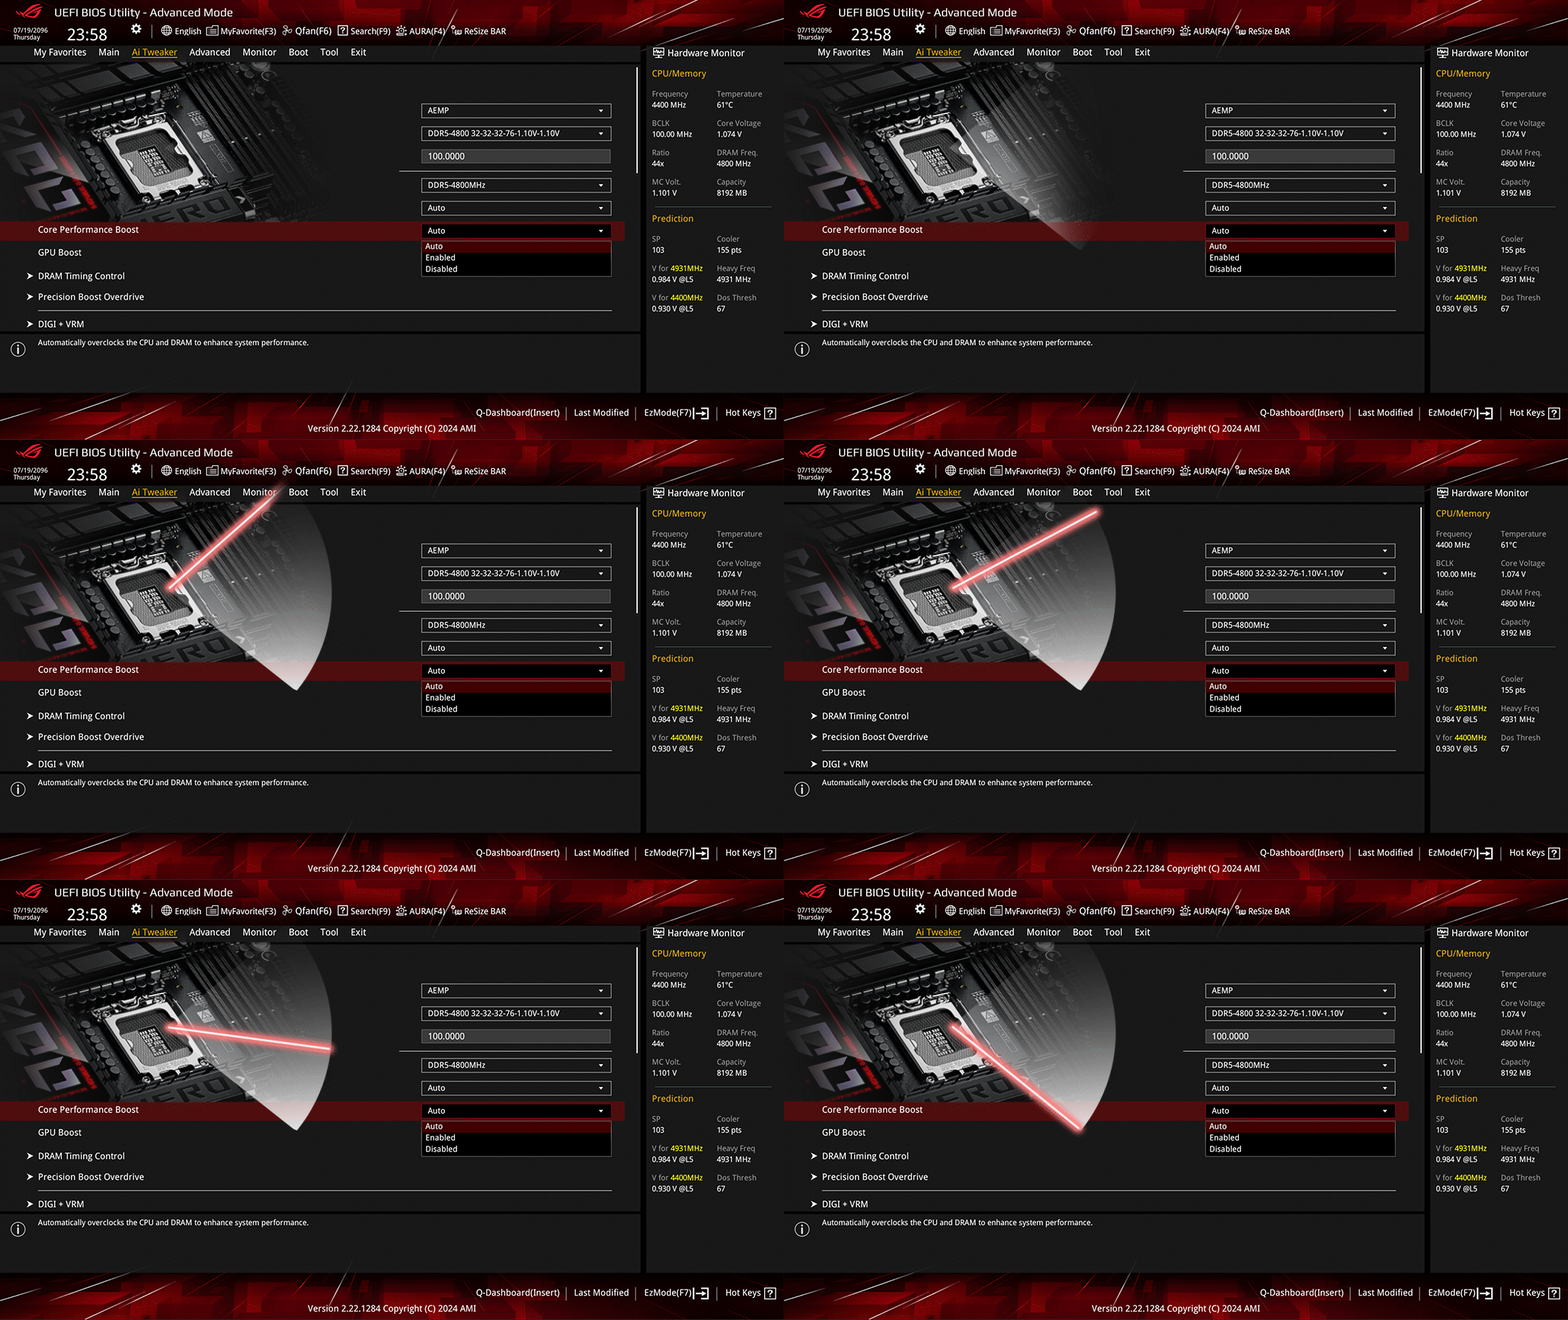
On most ASUS boards the relevant page is called Ai Tweaker or Extreme Tweaker. Inside you’ll find a handful of key settings:
- CPU Ratio – the multiplier that determines the core frequency
- CPU Core Voltage (Vcore) – how much power you feed the processor
- CPU Load-Line Calibration (LLC) – helps keep voltage stable under load
- AI Overclock Tuner – an automated “try‑and‑error” tool you can use for a quick baseline
Step 3: Raise the Clock Incrementally
Start by increasing the CPU Ratio by one step (usually 100 MHz). Save and exit, then boot into Windows. Run a short stress test (5‑10 minutes) and watch temperatures. If the system stays stable, repeat the process.
When you hit a point where the test crashes or you see throttling, you have two options:
- Back off the ratio by one step and raise the Vcore slightly (often 0.01–0.02 V at a time)
- Enable a modest LLC setting (e.g., Level 2) to smooth out voltage droop without oversupplying power
Patience is key; a well‑tuned overclock is often a series of small adjustments rather than a single big leap.
Step 4: Verify Stability
Once you’ve settled on a clock that feels “sweet,” put it through a more thorough test. Run Prime95’s “Blend” test for at least an hour, or push Cinebench’s “Loop” for 30 minutes. Keep an eye on two metrics:
- Temperature – stay below 85 °C for sustained loads on most mainstream CPUs
- Error count – any reported errors mean the overclock isn’t fully stable
If you see spikes over the safe threshold, dial the clock back a notch or improve cooling before trying again.
Fine‑Tuning Tips
Even after you reach a stable point, a few tweaks can eke out extra headroom:
- Enable CPU Spread Spectrum to reduce electromagnetic interference, especially if you’re near sensitive equipment.
- Experiment with Turbo Frequency limits – some boards let you push the boost clock higher than the base overclock.
- Consider disabling Intel SpeedStep (or AMD Cool’n’Quiet) to keep the CPU locked at your chosen speed.
Potential Risks and How to Mitigate Them
Overclocking inevitably raises power draw and heat. The most common pitfalls are:
- Thermal throttling – can erase any performance gains. Use a high‑quality aftermarket cooler or an AIO liquid unit.
- Voltage overshoot – prolonged high Vcore can shorten CPU lifespan. Stick to modest voltage increases; most modern chips tolerate up to 1.35 V, but the lower, the better.
- System instability – crashes or BSODs during heavy workloads. A thorough stress test should catch these before you rely on the machine for work or play.
When to Call It Quits
If you’ve hit a wall where temperatures climb rapidly or the system refuses to stay stable despite dialing down the voltage, it’s wiser to stop. The marginal performance gain isn’t worth risking hardware.
Wrap‑Up: Your New CPU Speed
Assuming a typical 3.6 GHz Intel Core i5 on a ASUS ROG Strix B560, many users find a safe sweet spot around 4.2–4.4 GHz with a Vcore of 1.25 V. That’s a roughly 15–20 % boost without breaking a sweat—provided you’ve followed the steps above.
![[Motherboard] Ai Overclocking Introduction - ASUS - ZenTalk - 408001](https://km-ap.asus.com/uploads/PhotoLibrarys/df24d31a-596a-405d-bcda-3f8546a4e1f2/20241202142014750_en9.png)

![[Motherboard] Ai Overclocking Introduction - ASUS - ZenTalk - 408001](https://km-ap.asus.com/uploads/PhotoLibrarys/df24d31a-596a-405d-bcda-3f8546a4e1f2/20241118134811710_10.png)
