How to Perfect the Standing Shot in Basketball: Tips for Every Player
There’s something deceptively simple about a standing shot – no dribble, no jump, just pure technique. Yet, when the ball leaves your fingertips, the difference between a textbook swish and a rim‑rattling miss often comes down to the tiny details you’ve mastered (or ignored). Below, we break down the fundamentals, common pitfalls, and practical drills that will help you turn a basic set‑shot into a reliable scoring weapon.
Why the Standing Shot Still Matters
In a game that glorifies alley‑oops and deep threes, the stationary jumper remains a cornerstone of good offense. Coaches rely on it for:
- Free‑throw consistency – the same fundamentals apply.
- Mid‑range reliability when you’re forced into a catch‑and‑shoot situation.
- Creating space – a quick set shot can draw a defender and open a pass.
In short, mastering this shot builds confidence that spills over into every other scoring attempt.
Breaking Down the Mechanics
1. Foot Position and Balance
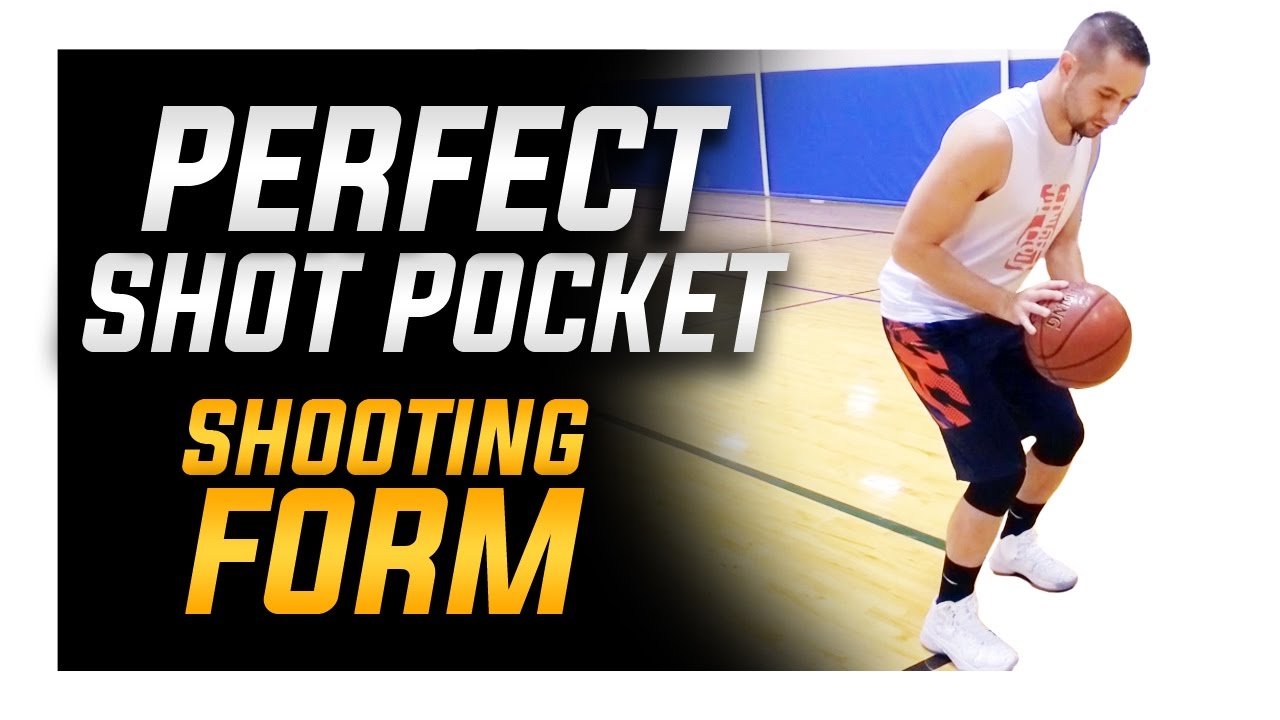
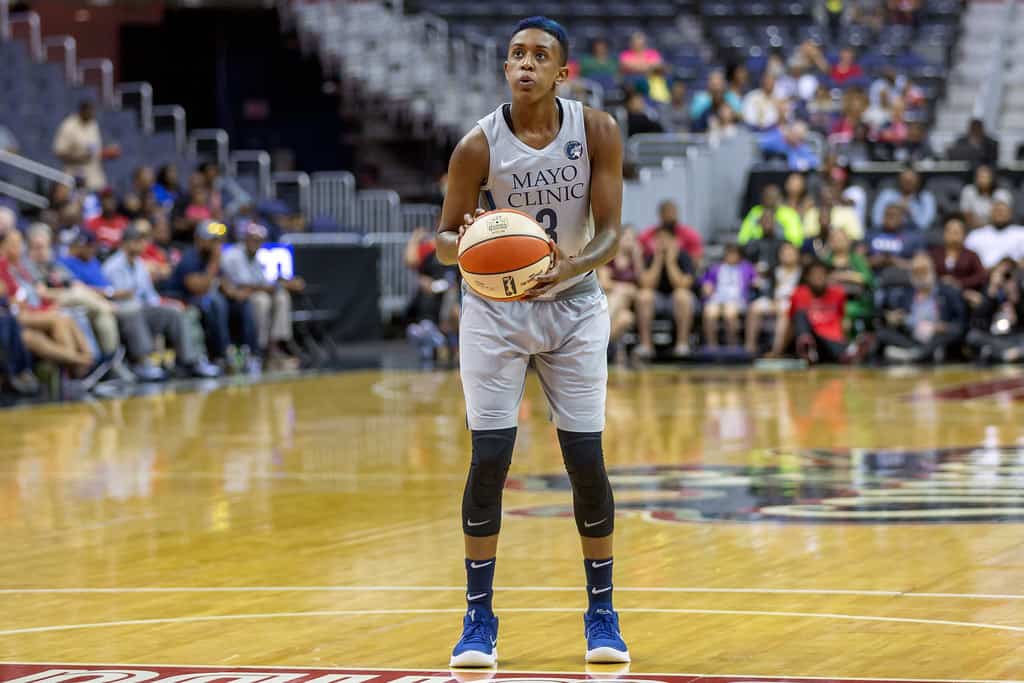
Start with your feet shoulder‑width apart, toes pointing toward the basket. Your weight should be evenly distributed, not favoring one leg. A common error is leaning too far forward, which shortens your shooting arc and makes the ball drop short.
2. Hand Placement
The shooting hand sits under the ball, fingers spread wide for control. The guide hand rests lightly on the side, merely stabilizing the ball without adding force. If you notice the ball wobbling mid‑air, check that your guide hand isn’t pushing.
3. Elbow Alignment
Keep the elbow of your shooting arm tucked directly under the ball, forming an “L” shape with your forearm. This alignment channels power straight toward the hoop and avoids sideways drift.
4. Release and Follow‑Through
When you release, snap your wrist forward, letting the fingers point toward the basket. A clean, high follow‑through—sometimes called “flipping the wrist”—creates the backspin that softens the ball’s impact on the rim.
Common Mistakes and How to Fix Them
- Too much arm swing: Over‑extending the arm can throw off your aim. Focus on a compact motion, driven mainly by the wrist.
- Inconsistent release point: If your hand is lower on some shots, the trajectory varies. Practice shooting from the same spot each time until the release feels automatic.
- Rushing the shot: Speed kills accuracy. Take a brief pause after catching the ball to set your stance before shooting.
Drills to Build Muscle Memory
Spot‑Check Shooting
Place five cones at different spots around the key (baseline, elbow, free‑throw line, etc.). From each cone, take ten standing shots. Track makes and misses; the pattern will reveal where your form collapses.
One‑Hand Form Shooting
Using only your shooting hand, practice the motion from the elbow up. This isolates the shooting mechanics and forces you to rely on proper wrist snap and follow‑through.
Slow‑Motion Reps
Set a timer for 30 seconds and perform as many perfect standing shots as you can, moving deliberately slow. The slower pace highlights any wobble in your hand positioning or foot balance.
Putting It All Together on the Court
During a game, you won’t have the luxury of a quiet gym and a ticking clock. Here’s a quick mental checklist you can run through in a split second:
- Feet shoulder‑wide, toes to the rim.
- Eyes on the target – picture the ball’s path.
- Elbow tucked, wrist relaxed.
- Snap, release, and hold the follow‑through.
Even if a defender tries to contest, the confidence from rehearsed fundamentals keeps your shot clean and quick.
Fine‑Tuning for Different Situations
Not all standing shots are created equal. Adjustments may be needed based on distance and defensive pressure:
- Close‑range (≤10 ft): Emphasize a softer touch; a lighter release reduces bounce‑outs.
- Mid‑range (10‑18 ft): Increase the arc slightly to clear out‑of‑bounds lines or tall defenders.
- Under pressure: Shorten your wind‑up, but keep the same release point – speed without sacrificing form.
Equipment Tips
A well‑inflated ball (official size 7, 7.5 psi) feels predictable in your hands. If the ball feels “off,” your shot will suffer. Likewise, shoes with solid lateral support help maintain foot placement, especially when you’re forced to shoot from an awkward spot.
When to Seek Coaching Feedback
If you’ve logged dozens of practice sessions yet your shooting percentage stalls around 35 %, a coach’s eye can pinpoint subtle flaws – perhaps a slight inward lean or a flick of the guide hand. A brief video analysis, even from a smartphone, often reveals patterns you can’t feel while shooting.
Final Thoughts
The standing shot is less about raw power and more about repeatable precision. By anchoring your stance, aligning your elbow, and perfecting that wrist snap, you create a shot that feels almost effortless. Keep the drills regular, stay aware of common slip‑ups, and let each successful basket reinforce the habit. Before long, that simple set‑shot will become a dependable part of your offensive arsenal.