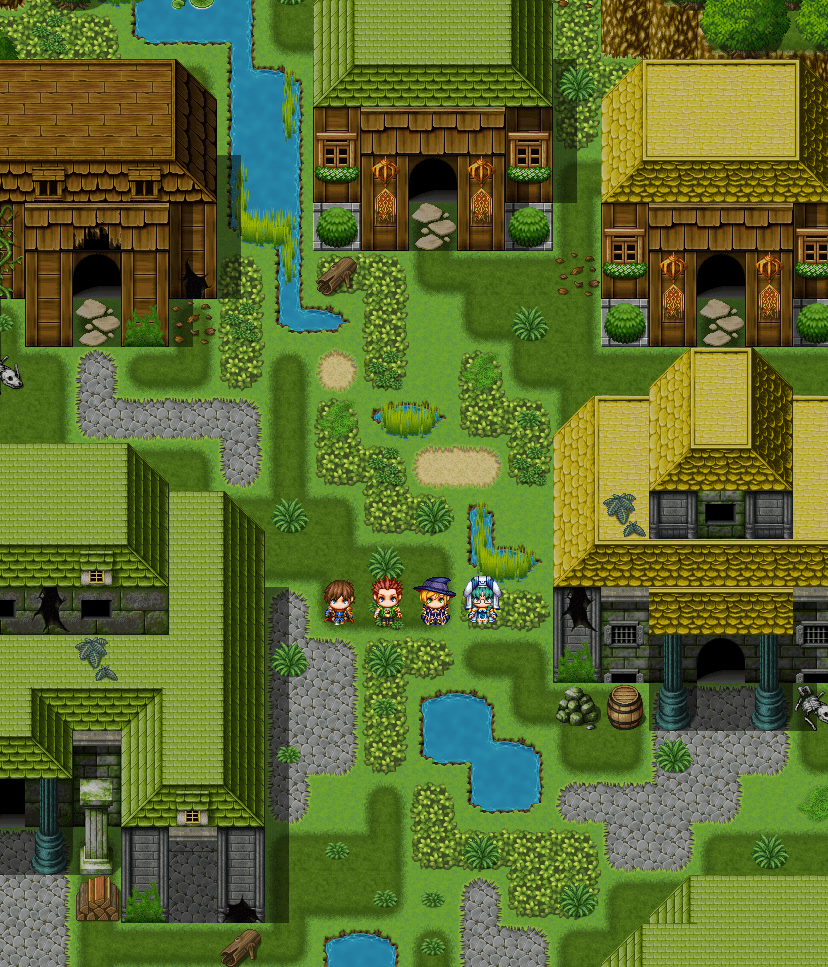
How to Quickly Build Your First RPG in RPG Maker MZ
Easiest Way for Beginners to Make RPG in RPG Maker MZ
If you’ve just opened RPG Maker MZ and feel a little overwhelmed, you’re not alone. The software packs a lot of power, but the easiest way for beginners to make RPG is to focus on a handful of core tools and let the rest sit quietly until you need it. Below is a step‑by‑step walk‑through that gets a simple, playable adventure up and running without drowning you in menus.
1. Install, Launch, and Familiarize Yourself
The first hurdle is simply getting the program onto your computer. After purchasing or downloading the trial, run the installer and follow the prompts. When you first launch RPG Maker MZ, you’ll see the Start Page with options like “New Project,” “Open Project,” and “Tutorial.” Click “New Project,” give it a name that sparks your imagination, and pick a folder you’ll remember.
Take a minute to poke around the interface: the Toolbar at the top, the Database button on the left, and the Map window in the center. Knowing where these panels live will save you countless clicks later.
2. Start with a Ready‑Made Template
RPG Maker MZ includes several starter projects that are essentially blank canvases with everything wired up. Choose “Blank Project” if you want total control, or select “Sample Project” to see a pre‑filled world. For beginners, the sample is a gold mine: it demonstrates how maps, characters, and events interact without you having to build everything from scratch.
Open the sample, run a quick test (press F12), and watch a tiny hero wander the town. This live example shows the game loop in action and gives you a concrete reference for the steps you’ll replicate.
3. Define Your Core Cast in the Database
The Database is where you craft actors, classes, enemies, items, and skills. For a first game, keep it simple:
- Actors: Create a hero with a name, a sprite sheet, and a basic class (e.g., “Warrior”).
- Classes: Assign a few starter skills like “Slash” and “Heal.” You don’t need a full skill tree yet.
- Enemies: Add a single monster type (maybe a “Goblin”) with modest HP and a couple of attacks.
- Items: Include a healing potion and a modest amount of gold.
Because RPG Maker MZ uses a tabbed interface, you can switch between these sections quickly. Remember, you can always expand your database later—there’s no penalty for starting small.
4. Build a Single Map with Drag‑and‑Drop Tiles
Maps are constructed from tilesets, which are essentially grids of graphic pieces (grass, water, walls). From the Map List, click “New Map,” name it “Town Square,” and set dimensions like 20x15 tiles. The default “A1” tileset contains basic ground and building pieces.
Now enter Tile Placement Mode and start laying down a simple road, a few houses, and an inn. Use the Layer selector to add decorative elements without blocking the player’s movement. A good tip: keep the map uncluttered—your first goal is to give the player a clear sense of where to go.
5. Add Basic Events to Make the World React
Events are the heartbeat of any RPG. In RPG Maker MZ, you create them by right‑clicking a tile and selecting “New Event.” Here are three essential events for a beginner’s game:
- Start Point: Place an event on the tile where the hero spawns. In the event editor, add a “Transfer Player” command that moves the player to the “Town Square” map when the game begins.
- NPC Dialogue: Choose a tile, add a graphic for a townsfolk, then insert a “Show Text” command. Write a short line like “Welcome, traveler! Feel free to explore.”
- Battle Trigger: Position a monster sprite on the edge of a forest. Add a “Battle Processing” command that starts a fight with the “Goblin” enemy when the player steps on the tile.
These three event types cover the basics: starting the game, talking to characters, and encountering enemies. As you grow comfortable, you can explore conditional branches, switches, and variables to add depth.
6. Test Frequently and Polish Small Details
One of RPG Maker MZ’s strongest features is the instant test play. Press F12 after each major change—add a new event, tweak a map, or adjust a skill. If something feels off (for example, the hero can’t pass through a door), pause the test, return to the editor, and fix the tile or event.
Polishing doesn’t have to be a massive overhaul. Simple touches like adding background music (found in the “Audio” tab of the Database) or a short fade‑in transition at the start of a map can make your game feel far more professional.
7. Export and Share Your Mini‑Adventure
When you’ve played through the entire loop—starting town, talking to NPCs, battling the goblin, and returning to the inn—you’re ready to share. Click “File → Deploy,” choose “Windows (x64)” or “HTML5” for web browsers, and let the engine package your project. The resulting folder can be zipped and sent to friends, posted on forums, or uploaded to itch.io for broader exposure.
FAQ
Do I need programming knowledge to create events?
No. RPG Maker MZ’s event system is visual and menu‑driven. You can build quests, dialogues, and battles using the built‑in commands without writing a single line of code.
Can I use my own graphics instead of the default tilesets?
Absolutely. The program supports custom PNG files. Simply import them via the “Resource Manager,” then assign them to tilesets or character sprites as needed.
How long does it typically take to finish a simple RPG?
For a first‑timer focusing on a single map and a handful of events, many people finish a playable demo in a weekend. The timeline expands as you add more story, locations, and mechanics.