How to Register for Ticketmaster Verified Fan Program
If you’ve ever missed out on a concert because tickets vanished the moment sales opened, you’ve probably heard of Ticketmaster’s Verified Fan system. It’s designed to give genuine fans a better shot at buying tickets before bots and scalpers snatch them up. The process isn’t magic, though—there’s a simple registration step that many overlook. Below, we walk through everything you need to know to get signed up, what to expect after you’re in, and a few tips to boost your chances of actually scoring that seat.
Why the Verified Fan System Exists
Ticketmaster introduced Verified Fan to address a problem that’s been plaguing live‑music lovers for years: automated purchasing. Bots can flood the ticketing portal within seconds, buying up large blocks of seats and reselling them at inflated prices. By requiring fans to prove they’re real people, the platform hopes to keep tickets in the hands of those who truly want to attend.
In practice, this means that once you’re verified, you’ll receive a special link when tickets go on sale. Only those who completed the registration can use that link, and the system attempts to prioritize genuine fans over speculative buyers.
Step‑by‑Step: Registering for Verified Fan
1. Find the Event Page
First, locate the concert or event you’re interested in on Ticketmaster. Look for the “Verified Fan” badge next to the ticket options. Not every show uses the program, so it’s worth checking early.
2. Click the Registration Button
When you see the badge, a “Register” button will appear. Clicking it opens a short form—typically three to five fields—asking for basic details like your name, email, and phone number. Occasionally, they’ll request a zip code to confirm your location.
3. Complete the Mini‑Quiz
To weed out bots, Ticketmaster inserts a quick quiz. It might ask you to select all images with traffic lights or type a short phrase. It’s intentionally simple for humans but a hurdle for automated scripts.
4. Confirm Your Email
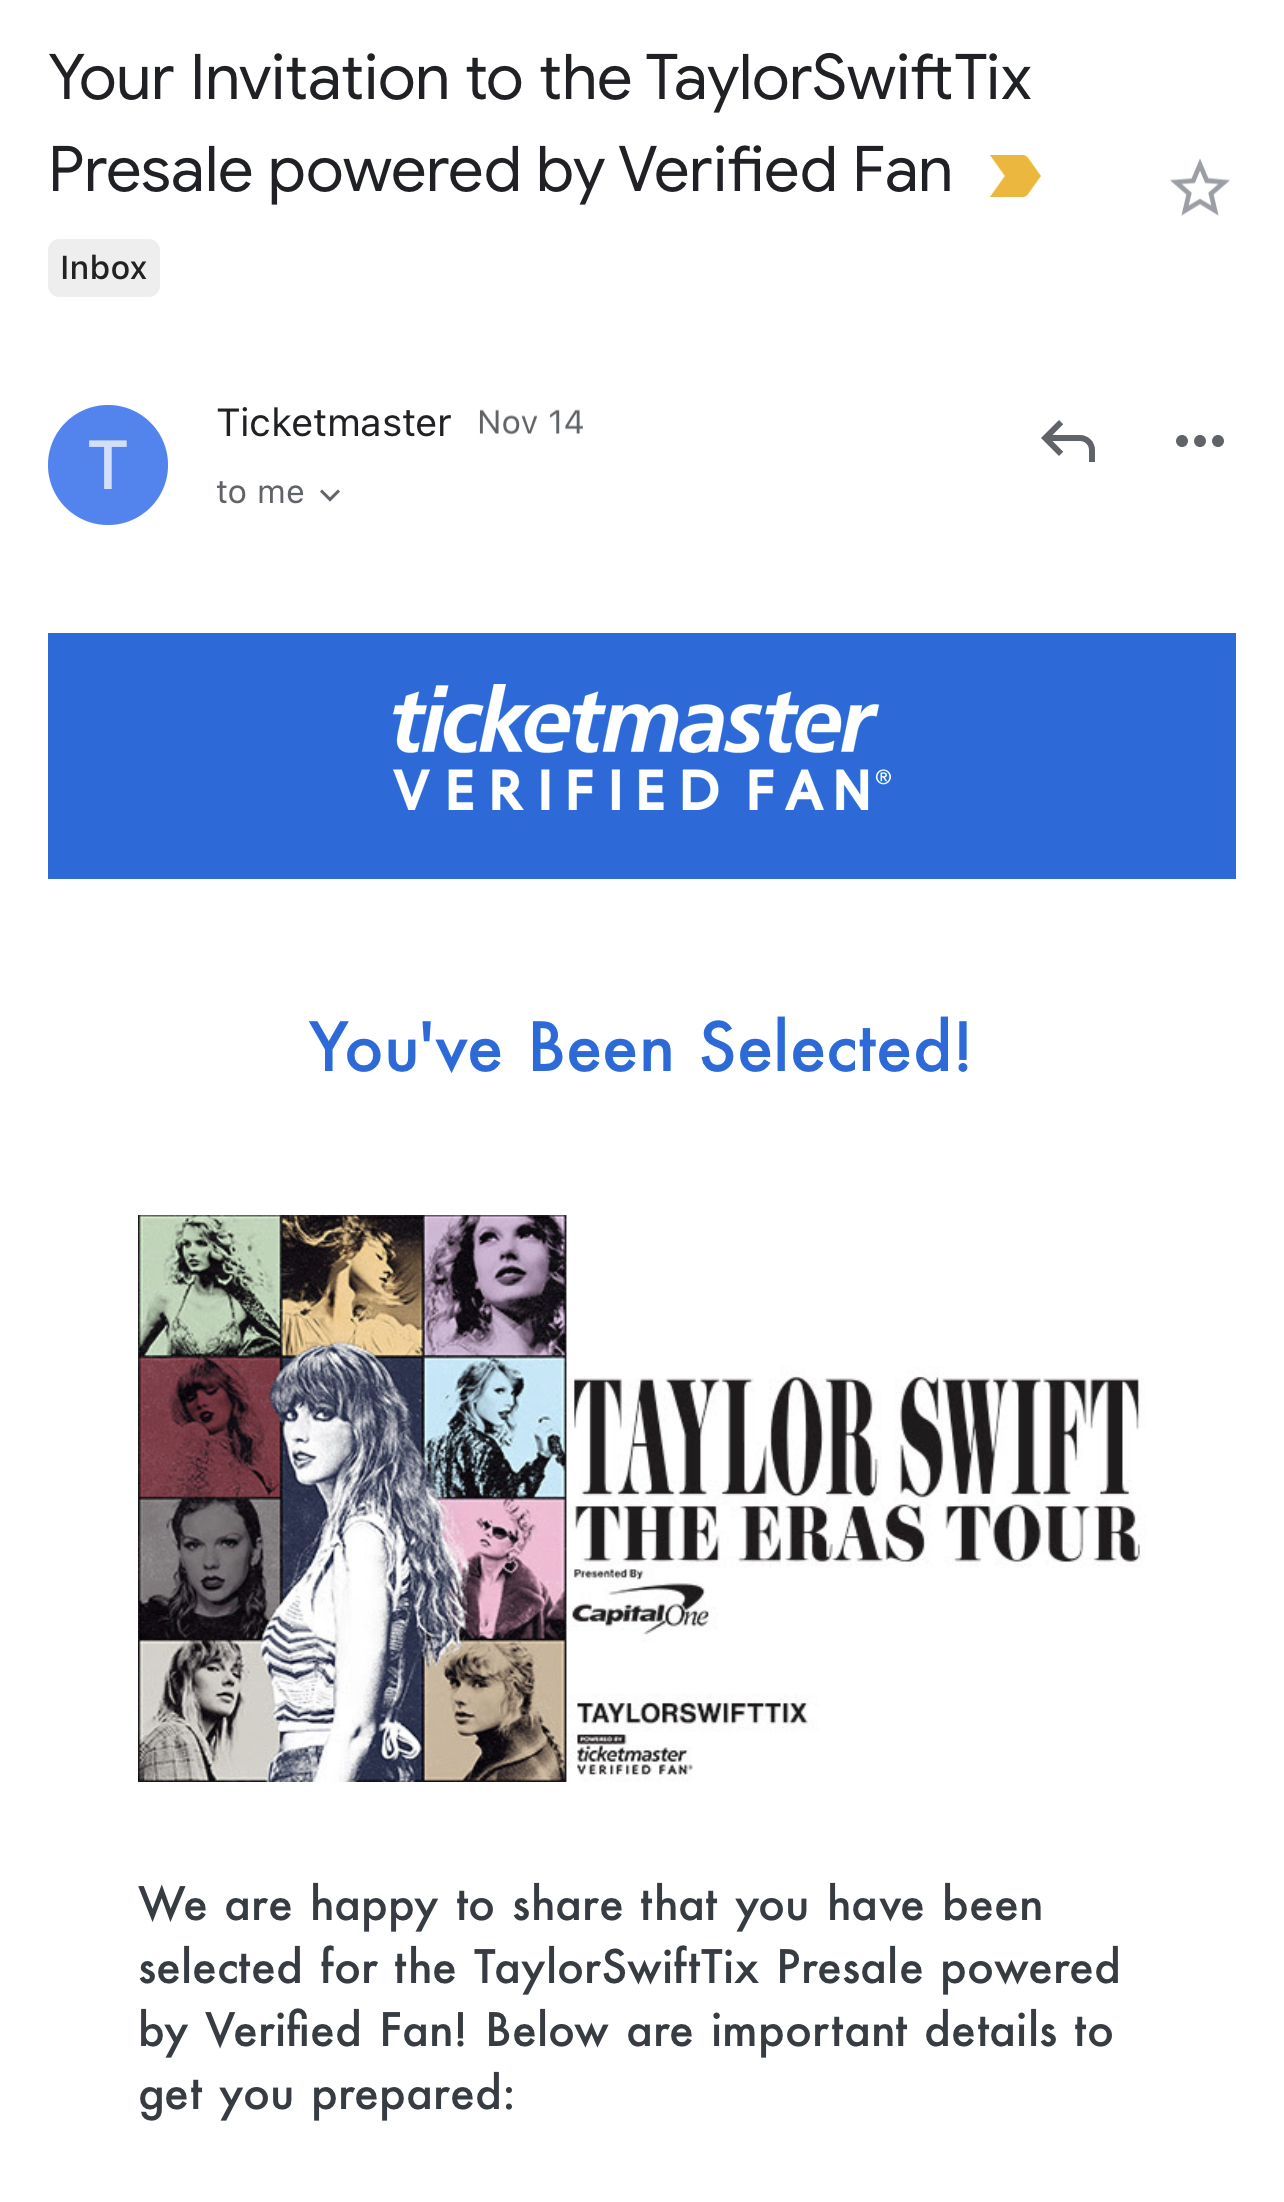
After submitting, you’ll receive a verification email. Open it and click the link within 24 hours; otherwise the registration expires. Some fans report the email landing in the spam folder, so double‑check there if you don’t see it right away.
5. Wait for the Confirmation
Once you’ve clicked the email link, Ticketmaster will process your registration. You’ll get a follow‑up message confirming that you’re now a Verified Fan for that specific event. This doesn’t guarantee tickets, but it does give you access to the exclusive purchase link when sales start.
What Happens on Sale Day
- Exclusive Link: A few minutes before the general public sale begins, you’ll receive a unique URL via email or SMS.
- Limited Window: The link is typically active for a short window—often 10 to 15 minutes—so have your payment info ready.
- Queue System: Even with the link, you might still be placed in a virtual queue. Patience (and a strong Wi‑Fi connection) can make a big difference.
Remember, being verified doesn’t mean you’ll automatically get the best seats. Popular shows can sell out in seconds, even within the Verified Fan pool. However, many fans report a higher success rate compared to the open market.
Tips to Improve Your Chances
While the system is designed to be fair, a few practical habits can tip the odds in your favor:
- Register as early as possible—some events open registration weeks ahead.
- Use a single, consistent email address for all Ticketmaster activity. Changing emails can sometimes reset your verification status.
- Enable notifications on your phone so you don’t miss the sale‑day link.
- If you have a trusted friend, consider registering separately and coordinating purchase times.
- Clear your browser cache before the sale; a fresh session can reduce loading glitches.
Common Pitfalls and How to Avoid Them
Even seasoned fans slip up now and then. Here are a few missteps that can derail your effort:
- Missing the Verification Email: If you don’t click the link promptly, the registration expires.
- Using a Work Email: Corporate firewalls sometimes block Ticketmaster messages, so a personal email is safer.
- Skipping the Quiz: Trying to bypass it usually results in a timeout, forcing you to start over.
- Multiple Registrations for the Same Event: Ticketmaster may flag duplicate entries and remove you from the pool.
When Verification Fails
If you receive a notice that you weren’t selected, don’t despair. Ticketmaster often runs additional verification rounds for high‑demand events. Keep an eye on your inbox; a second chance email can arrive days later. Also, consider signing up for future events—your verified status can sometimes carry over to similar shows.
Beyond Concerts: Other Uses of Verified Fan
The program isn’t limited to music. Sports franchises, theater productions, and even comedy tours have experimented with Verified Fan to curb resale. The registration flow is largely the same, so once you’ve mastered it for a concert, you’ll be ready for other ticketed experiences.
In short, the Verified Fan system is a modest but meaningful step toward a fairer ticket market. By taking a few minutes to register, confirming your email, and staying alert on sale day, you give yourself a legitimate edge. It won’t guarantee front‑row seats every time, but it does level the playing field enough that more fans actually get to see the shows they love.

![[PSA] If you previously registered for Ticketmaster's Verified Fan ...](https://external-preview.redd.it/Rwlg31mUg_akmQh8-SAasBhRNW1XywAK-M0zrlm1Esg.jpg?auto=webp&s=09c916f661bada848c762ff176a445e512ddda51)

