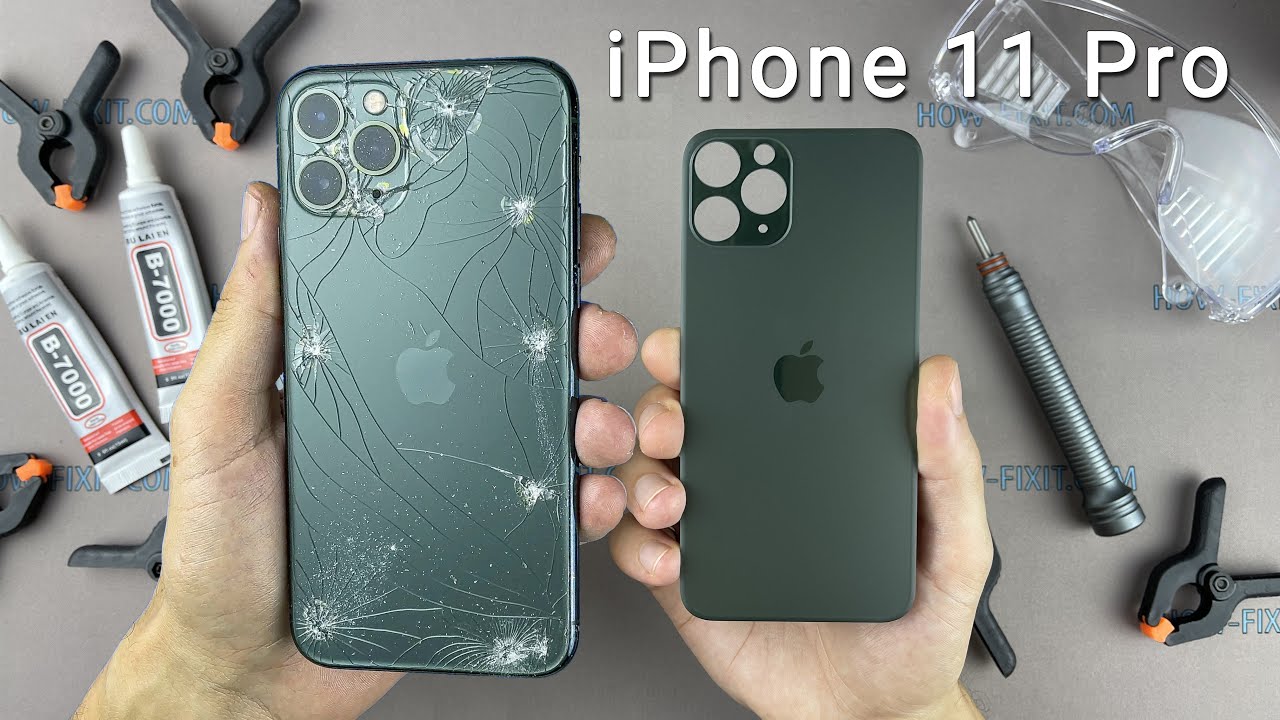
How to Repair or Replace the iPhone 11 Pro Max Back Glass
What Usually Goes Wrong?
The iPhone 11 Pro Max boasts a gorgeous matte‑finished back, but that glossy surface is also the first thing to take a hit. A single slip on concrete, a poorly placed pocket, or even a restless night can leave the glass cracked, shattered, or just looking miserable. Most owners wonder whether the damage is cosmetic only or if it threatens water resistance, camera alignment, or touch sensitivity.
In most cases the glass itself is the only compromised component. The frame and internal circuitry remain untouched, which means a professional or DIY glass swap can restore the phone to near‑factory condition without a full device overhaul.
Do I Need a Professional or Can I DIY?
Both routes are viable, but they differ in cost, risk, and time.
- Professional repair shops usually charge $180‑$250 for a back‑glass replacement, include a warranty, and handle the delicate steps—like detaching the camera module—without you lifting a screwdriver.
- DIY kits are available for $70‑$120 and come with the glass, adhesive strips, and a set of tools. They’re tempting if you’re comfortable with tiny screws and a steady hand, but the margin for error is slimmer.
If your phone is still under Apple’s limited warranty or AppleCare+, a visit to an Apple Store might be the safest bet, even though the out‑of‑pocket price can be higher.
Tools and Parts You’ll Need
Before you pop the back open, gather everything you’ll need. Missing a tool halfway through can be frustrating, and using the wrong adhesive can compromise the seal.
- Replacement back glass specific to iPhone 11 Pro Max (OEM or high‑quality aftermarket)
- Pentalobe screwdriver (size 0.8 mm) for the exterior screws
- Tri‑point screwdriver (size 1.2 mm) for internal brackets
- Spudger or plastic opening tool
- Adhesive strips or pre‑cut double‑sided tape
- Isopropyl alcohol (90 %+) and lint‑free cloth for cleaning
- Heat gun or iOpener to soften the original adhesive
Step‑by‑Step Replacement Process
1. Power Down and Remove the Pentalobe Screws
Turn the phone off—don’t just let the screen go dark. With the pentalobe screwdriver, remove the two tiny screws next to the Lightning port. Store them in a magnetic mat; they’re easy to lose.
2. Warm the Back Glass
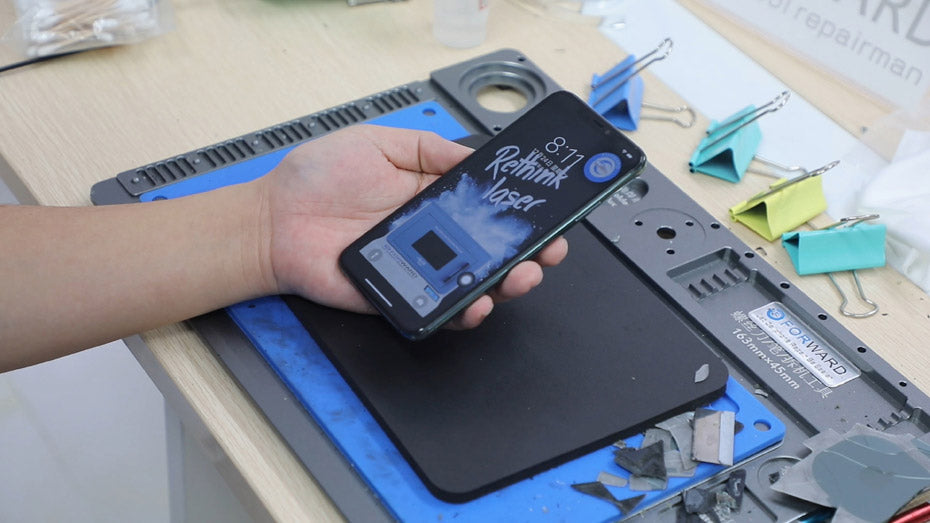
Use a heat gun set to low (around 80 °C) or an iOpener for about 30 seconds. The goal is to soften the adhesive without melting the surrounding components. You’ll feel the glass loosen when you gently pry with a spudger.
3. Separate the Glass from the Frame
Slide the spudger under the edge, starting at a corner. Work slowly; the glass may crack further if you force it. Patience here saves you from a ruined replacement panel.
4. Detach the Camera and Sensors
Once the glass lifts, you’ll see the rear camera module, proximity sensor, and a few brackets. Remove the tri‑point screws holding the camera in place, then disconnect the tiny flex cable using a plastic pick. Keep the screws organized—mix‑ups are common.
5. Clean the Frame
Wipe away any residual adhesive with isopropyl alcohol and a lint‑free cloth. The surface must be spotless for the new glass to seal properly. Inspect the frame for scratches; if the metal is dented, you may need a professional touch.
6. Apply New Adhesive
Place the pre‑cut adhesive strips onto the frame, aligning them with the camera cut‑out. Some kits include a full‑size adhesive sheet; trim it to fit if needed. Press firmly to ensure an even bond.
7. Install the New Back Glass
Carefully position the new glass over the adhesive, ensuring the camera opening lines up exactly. Once in place, press around the edges for a few seconds. The glass should “snap” into its seat.
8. Re‑attach the Camera Module
Reconnect the flex cable, then screw the camera back in. Double‑check that the lens is centered; a misaligned camera can cause focus issues.
9. Seal and Test
Re‑install the two pentalobe screws, power the device, and run a quick test: open the camera, try Face ID, and tap the back to see if it registers any stray touches. If everything feels normal, you’re done.
Common Pitfalls and How to Avoid Them
Even seasoned technicians stumble on a few recurring issues.
- Leaving dust beneath the glass—use a breath‑controlled blow to clear particles before sealing.
- Over‑heating the frame—excessive heat can warp the aluminum chassis, leading to gaps.
- Damaging the camera flex cable—it’s incredibly thin; a gentle lift with a plastic tool is safer than metal tweezers.
- Using low‑quality adhesive—cheap tape may lose its grip over time, compromising water resistance.
When to Walk Away and Seek Expert Help
If you notice any of the following, it’s probably time to hand the phone over to a professional:
- Cracks that extend into the frame or internal components.
- Water damage signs—corrosion, discoloration, or warning badges.
- Unusual noises after reassembly, hinting at a displaced bracket.
- Uncertainty about your own skill level; a rescued phone is better than a broken one.
Cost vs. Value: Is It Worth It?
The iPhone 11 Pro Max still holds resale value, often fetching $350‑$400 on the secondary market. A clean back glass can add $30‑$50 to that price. If you plan to keep the phone for another year or two, spending $150‑$200 on a professional repair (or $80‑$120 DIY) usually pays for itself.
Final Thoughts
Replacing the back glass on an iPhone 11 Pro Max isn’t a weekend project for the faint‑hearted, but with the right tools, a bit of patience, and an eye for detail, you can bring a shattered back back to life. Whether you opt for a certified repair shop or the DIY route, the steps above give you a clear roadmap—just remember to work methodically, keep the workspace clean, and don’t rush the adhesive cure. Your phone will thank you with a glossy, like‑new look.