How to Run Windows 11 Free Online: Your Complete Guide
Ever wondered if you could spin up a fresh Windows 11 desktop without touching a single install CD? Good news: the cloud makes that possible, and you don’t even need to break the bank. Below is a practical walk‑through that covers the why, the what, and the how of running Windows 11 for free—straight from your browser.
Why Try Windows 11 Online?
Testing new features, polishing a presentation, or simply exploring the latest UI doesn't have to mean a full‑blown install on your PC. An online instance gives you:
- Zero‑risk tinkering—wipe away mistakes with a single click.
- Cross‑device access—jump from laptop to tablet without syncing partitions.
- Instant baseline—start from a clean Microsoft image every time.
For developers, designers, and even casual users, a cloud‑based Windows 11 session can be a handy sandbox.
What “Free” Actually Means
Microsoft and several cloud providers expose limited‑time trials or free‑tier accounts. You won’t get a perpetual, fully‑featured license, but you can use the OS for a few hours a day, or under a monthly credit limit, without paying a cent.
The most common routes are:
- Microsoft 365 Developer Program – a 90‑day Windows 365 trial.
- Azure Free Account – $200 credit for 30 days, enough to spin a small VM.
- Amazon WorkSpaces Free Tier – 40‑hour monthly allowance.
All of them require a Microsoft or Amazon account, and a credit card for verification.
System Requirements – Even the Cloud Has Limits
Windows 11 still checks a few basics, even in a virtual environment:
- CPU: 64‑bit, 1 GHz or faster with 2 cores.
- RAM: Minimum 4 GB (2 GB will work but expect sluggishness).
- Storage: 64 GB virtual disk recommended.
- TPM 2.0 emulation: Most cloud VMs provide this by default.
If the provider lists “Standard_D2s_v3” or “t2.medium,” you’re comfortably above the threshold.
Step‑by‑Step: Launching Windows 11 on Azure’s Free Credit
1. Create an Azure Free Account
Head to azure.microsoft.com/free and click “Start free.” Fill in the required details, verify your phone, and attach a credit card. You’ll instantly receive $200 worth of credit.
2. Open the Azure Portal
Once signed in, click the “Portal” button. This dashboard is where you’ll spin up the virtual machine.
3. Add a New Virtual Machine
- Choose “Create a resource” → “Compute” → “Virtual machine.”
- Pick a name, region (choose a location close to you for lower latency), and an image.
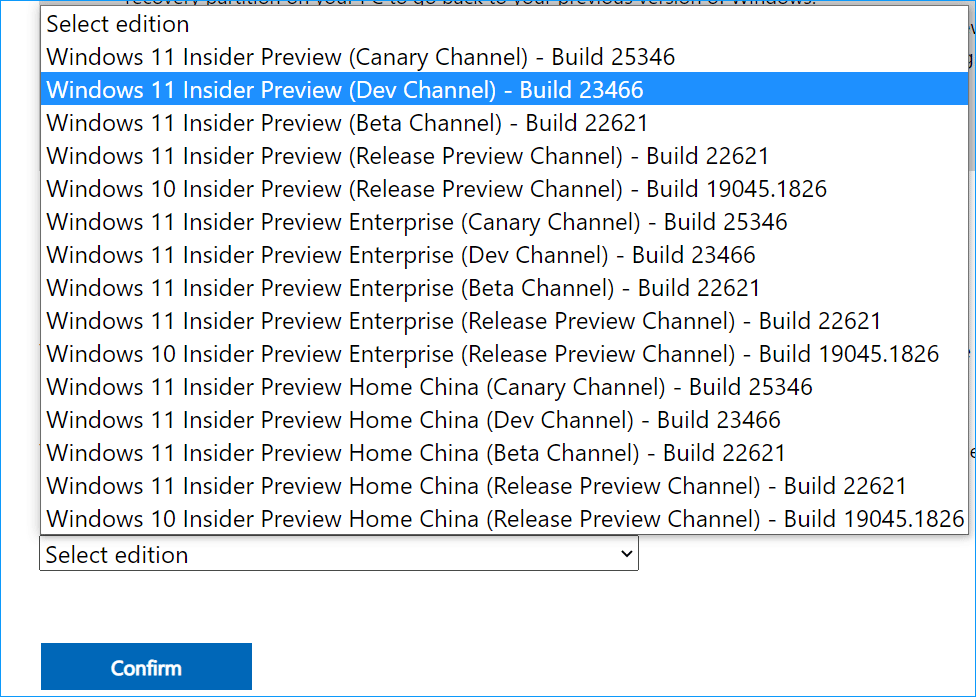
- In the “Image” dropdown, type “Windows 11 preview” – the preview image is still free for trial use.
- Select the “Size” – a Standard_B2s (2 vCPU, 4 GB RAM) works well and stays within the free credits.
4. Configure Authentication
Opt for a password (you’ll need it later) or an SSH key if you’re comfortable with it. Turn on “Public inbound ports” and allow RDP (port 3389).
5. Review & Create
Azure will show you an estimated cost. As long as you stay within the $200 credit, you won’t be billed. Click “Create.” The deployment will take a few minutes.
6. Connect via RDP
When the VM status reads “Running,” click “Connect” → “RDP.” Download the .rdp file, open it, and enter the password you set earlier. Voila—Windows 11 greets you.
Alternative: Using the Microsoft 365 Developer Program
If you prefer a fully managed Windows 365 experience, the developer program grants a 90‑day Windows 365 Cloud PC with 2 vCPU and 4 GB RAM. The steps are simpler:
- Sign up at developer.microsoft.com/microsoft-365/dev-program.
- Navigate to “Dashboard” → “Windows 365.”
- Launch the Cloud PC; it appears as a Remote Desktop session in the browser.
No Azure portal fiddling required, but the session expires after 90 days unless you renew the program.
Tips to Make the Experience Smoother
- Use a wired connection or a strong Wi‑Fi signal—RDP is bandwidth‑hungry.
- Adjust display scaling in the Remote Desktop client to match your monitor; it reduces lag.
- Enable “Clipboard” sync so copy‑paste works between host and virtual Windows 11.
- Pause the VM when not in use to conserve credit.
Common Pitfalls and How to Avoid Them
Running out of credit early – Keep an eye on the Azure cost dashboard; set alerts for 80 % usage.
RDP connection refused – Double‑check that port 3389 is open in the network security group, and that the VM’s firewall allows Remote Desktop.
Performance hiccups – If you notice sluggish UI, downgrade the visual effects in Windows 11 settings (Settings → System → Performance).
Is It Worth It?
For short‑term projects, testing new software, or just satisfying curiosity, the free cloud options provide a legitimate, low‑risk path to Windows 11. You won’t get the same permanence as a licensed install, but you’ll gain flexibility you can’t achieve on a local drive.
Give one of the methods above a spin. If the session feels smooth, you might even consider upgrading to a paid tier for an always‑on Windows 11 environment.