How to Set Up Player Movement with Unity’s New Input System
If you’ve just switched to Unity’s newer Input System, the first thing you’ll want to tackle is getting your character to move. The old Input Manager gets in the way of many modern workflows, but the new system offers a cleaner, more flexible way to read controller, keyboard, and touch inputs. Below is a step‑by‑step walk‑through that covers everything from installing the package to wiring up a simple wasd‑style controller.
1. Install and Enable the New Input System
Before any code touches your player, Unity needs to know you intend to use the new system.
- Open Window → Package Manager and search for Input System.
- Click Install. Unity may prompt you to restart the editor—do it.
- When the pop‑up asks which input handling to use, select Both or New Input System if you’re ready to fully migrate.
After the restart, you’ll see an Input Actions asset folder ready to hold your mappings.
2. Create an Input Actions Asset
This asset is where you define what “Move” means for your game.
- Right‑click in the Project window → Create → Input Actions. Name it
PlayerControls.inputactions. - Double‑click the file to open the Input Action editor.
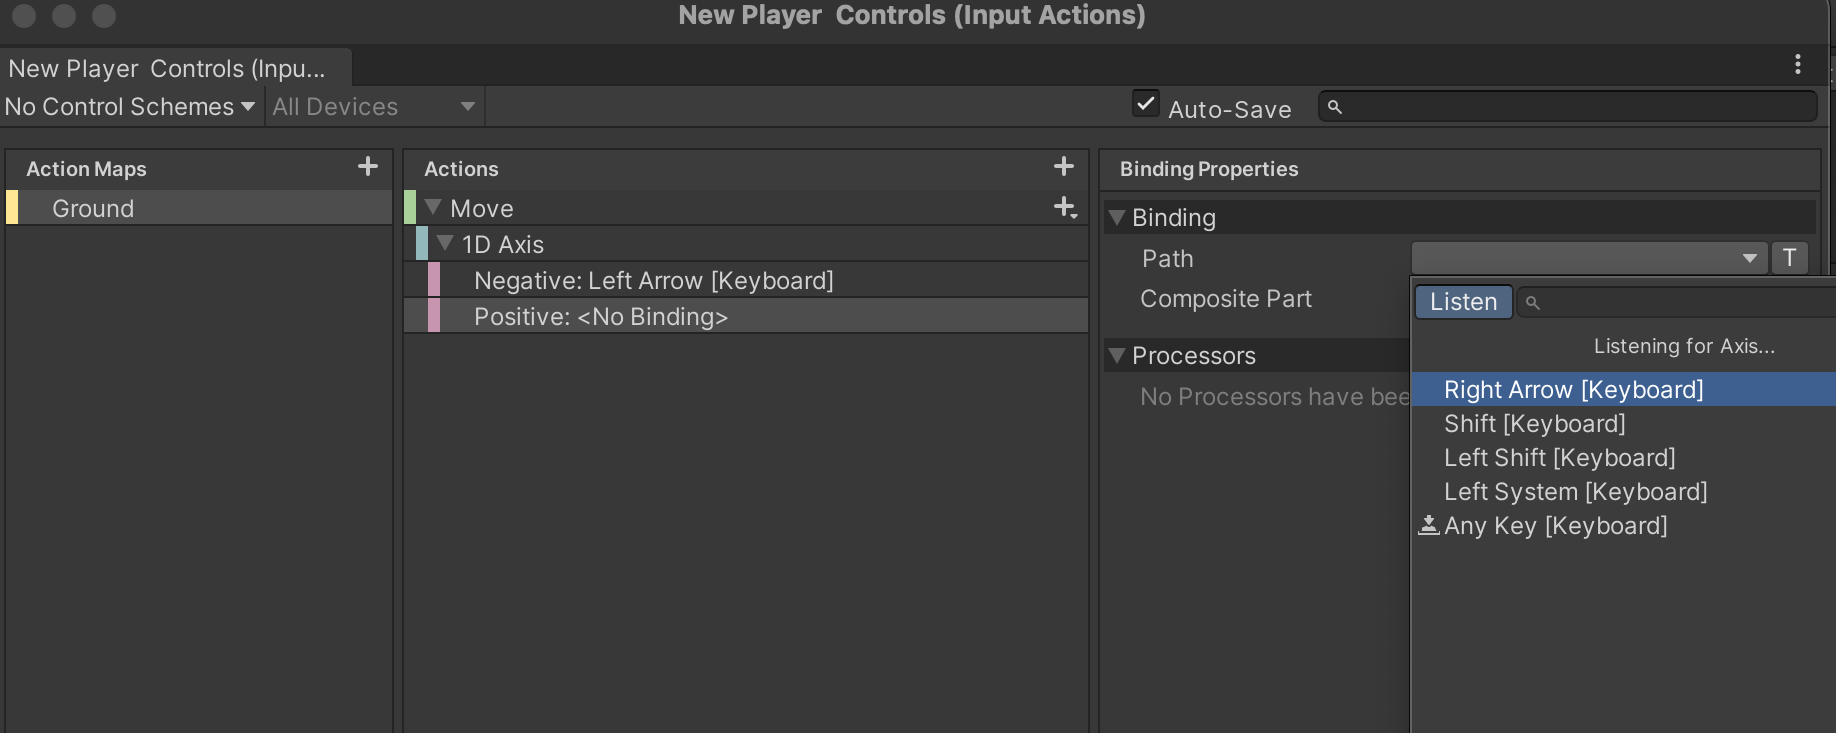
- Add a new Action Map called Gameplay. Inside it, create an action named Move.
- Set the action type to Value and the control type to Vector2.
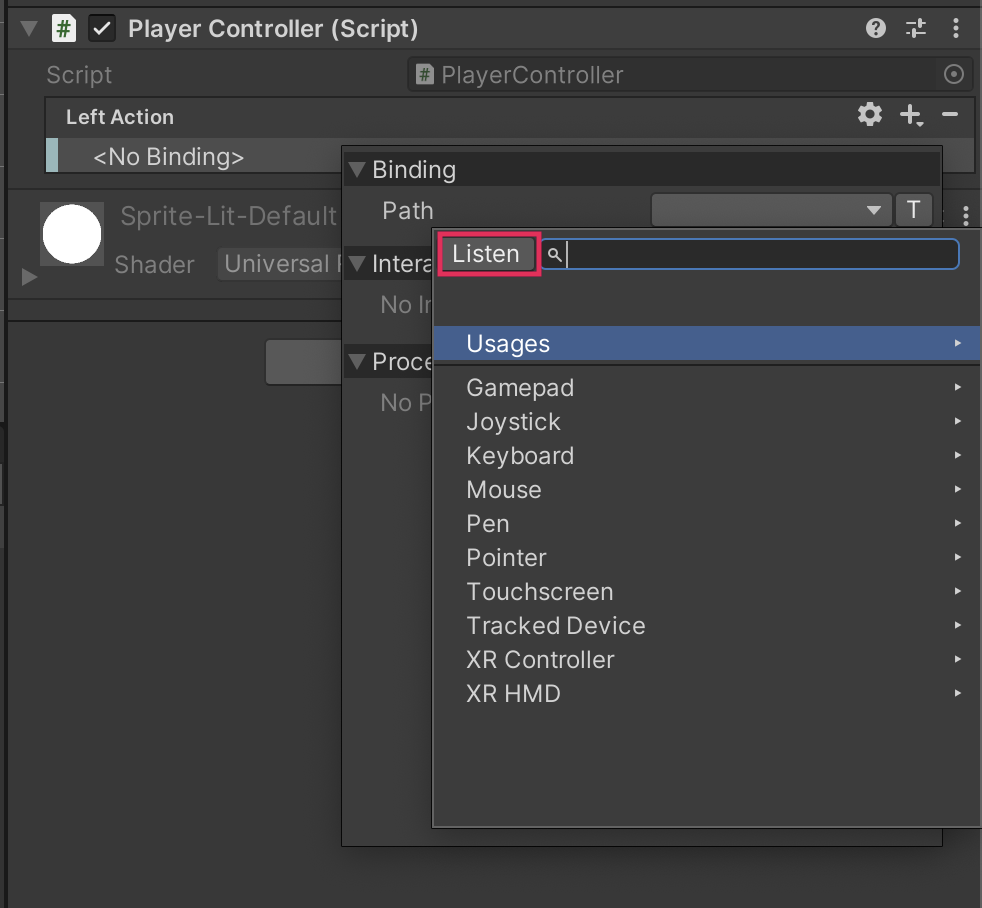
- Bind the action:
- Keyboard:
<Keyboard>/w,<Keyboard>/a,<Keyboard>/s,<Keyboard>/d(use the composite “2‑D Vector”). - Gamepad:
<Gamepad>/leftStick.
- Keyboard:
Save the asset. Unity automatically generates a C# class that mirrors the action map—handy for strongly typed code.
3. Generate the C# Wrapper
In the Input Action editor, click the Generate C# Class button. Choose a folder (e.g., Scripts/Inputs) and accept the default class name PlayerControls. This step creates a file you’ll reference from your player script.
4. Write the Player Movement Script
Below is a concise script that reads the Move action and applies it to a CharacterController. Feel free to adapt it to a Rigidbody or your own movement logic.
using UnityEngine;using UnityEngine.InputSystem;
[RequireComponent(typeof(CharacterController))]
public class PlayerMovement : MonoBehaviour
{
public float speed = 5f;
private CharacterController controller;
private PlayerControls controls;
private Vector2 moveInput;
private void Awake()
{
controller = GetComponent<CharacterController>();
controls = new PlayerControls();
// Subscribe to the performed and canceled events
controls.Gameplay.Move.performed += ctx => moveInput = ctx.ReadValue<Vector2>();
controls.Gameplay.Move.canceled += ctx => moveInput = Vector2.zero;
}
private void OnEnable() => controls.Gameplay.Enable();
private void OnDisable() => controls.Gameplay.Disable();
private void Update()
{
// Convert 2D input to a 3D direction relative to the world
Vector3 move = new Vector3(moveInput.x, 0, moveInput.y);
controller.Move(move * speed * Time.deltaTime);
}
}
A few notes:
- The
performedcallback fires every frame the stick or keys are held, giving you the latestVector2. - We zero the input on
canceledto stop drifting when the player releases the controls. - If you prefer physics‑based movement, replace
CharacterController.MovewithRigidbody.velocityand handle grounding yourself.
5. Test and Tweak
Attach the script to your player prefab, press Play, and try moving with WASD or a gamepad. If the character feels too sluggish, increase speed. For a more “floaty” feel, experiment with adding a small acceleration curve inside Update or FixedUpdate.
6. Optional: Add Sprint or Diagonal Normalization
Most games want sprinting or a consistent speed when moving diagonally. Here’s a quick extension you can paste into the same script:
public float sprintMultiplier = 1.5f;public Key sprintKey = Key.LeftShift; // Keyboard sprint
private void Update()
{
bool sprinting = Keyboard.current[sprintKey].isPressed;
float currentSpeed = speed * (sprinting ? sprintMultiplier : 1f);
Vector3 move = new Vector3(moveInput.x, 0, moveInput.y);
// Normalize to prevent faster diagonal movement
if (move.magnitude > 1) move.Normalize();
controller.Move(move * currentSpeed * Time.deltaTime);
}
This snippet checks the left‑shift key directly—perfect for a quick prototype. For a more polished solution, consider adding a separate Sprint action to your input asset.
7. Handling Multiple Players (Optional)
If you’re building a split‑screen or local‑multiplayer title, you’ll need a distinct PlayerInput component per player. The component automatically creates a separate instance of the generated PlayerControls class, ensuring each controller’s input stays isolated.
- Add PlayerInput to your player prefab.
- Set Actions to the
PlayerControlsasset. - Choose Send Messages or Invoke Unity Events depending on how you like to hook up your movement script.
When you spawn multiple players, Unity will assign each a different device slot, so the same WASD keys won’t fight each other. Pair gamepads with Device Pairing for a smoother experience.
8. Common Pitfalls
- Forgetting to enable the action map: If
OnEnableisn’t called, no input will flow. - Mixing old and new input APIs: Stick to the new system throughout a project to avoid conflicts.
- Not normalizing diagonal input: Without
Normalize(), moving forward‑right becomes ~1.4× faster. - Missing the generated C# class: If you renamed the asset after generating the class, delete the old script and re‑generate.
9. Take It Further
Now that basic movement is wired, you can expand the same input map for jumping, crouching, or interacting. The benefit of the new system is that all those actions sit side‑by‑side in a single asset, making it easy to swap key bindings or support custom control schemes later on.