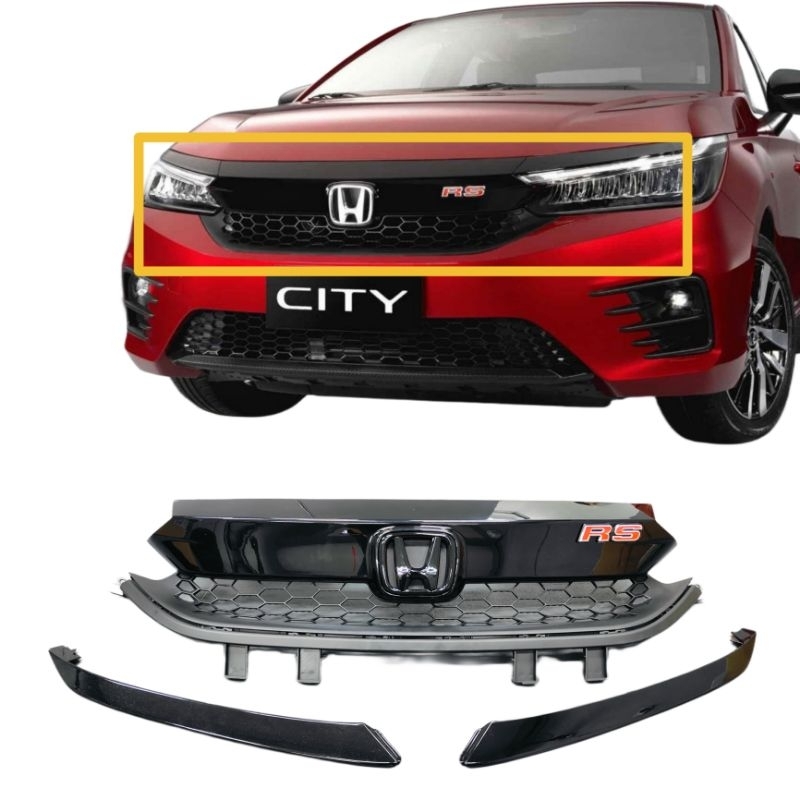
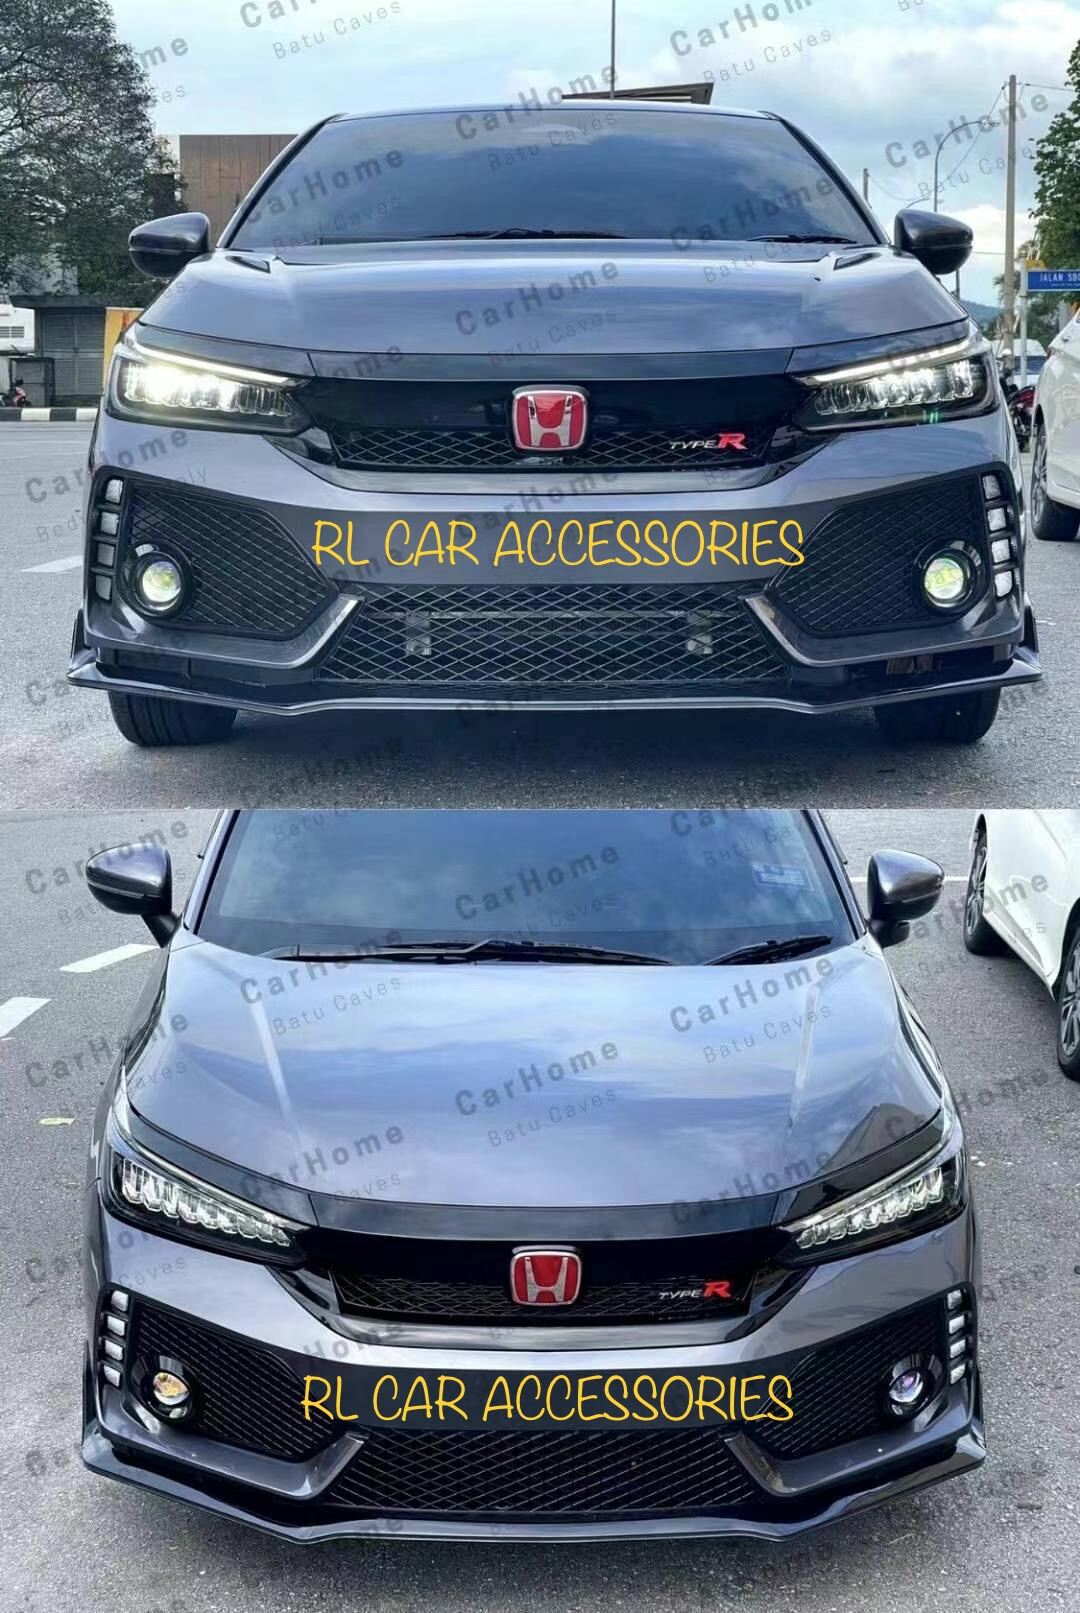
How to Upgrade and Replace the 2014 Honda City Grill
Thinking about giving your 2014 Honda City a fresh face? Swapping out the front grille is a surprisingly rewarding project. It costs less than a new paint job, and the visual impact can be dramatic—especially if you go for a sportier design.
Why Consider a Grill Upgrade?
Besides the obvious aesthetic boost, a new grille can improve airflow to the radiator, helping the engine stay cool in traffic‑jams. Some aftermarket options also offer extra protection against road debris.
That said, not every replacement will suit every driver. If your priority is subtle refinement, a blacked‑out grille might be ideal. If you crave a bold statement, a mesh or chrome unit could be more your style.
Assessing Your Current Grill
Before you order a new part, take a quick inventory of the existing setup. Look for:
- Corrosion or rust spots
- Cracked plastic clips
- Missing fasteners
If any of these issues appear, you’ll likely need supplemental hardware—something the aftermarket seller often includes, but not always.
Choosing the Right Replacement
There are three main routes:
- OEM‑style: Mirrors the factory look, usually a direct bolt‑on.
- Aftermarket sport: Mesh, carbon‑fiber, or tinted finishes.
- Custom fabricated: Hand‑crafted pieces for a truly unique vibe.
Fitment is crucial. Verify that the part lists “2014‑2017 Honda City” in its specifications. A slight mismatch can lead to awkward gaps or misaligned mounting points.
Tools You’ll Need
Gather these before you start:
- Flat‑head screwdriver
- Phillips screwdriver
- Socket set (10 mm typically)
- Plastic trim removal tool
- Masking tape (to protect paint)
Most of the work can be done with basic hand tools; you won’t need a power drill unless you prefer it.
Step‑by‑Step Removal
1. Disconnect the Battery (Optional)
Pull the negative terminal. It isn’t strictly required for a grille swap, but it prevents accidental short‑circuits if you happen to brush against wiring.
2. Remove the Front Bumper Cover
The bumper is held by several clips and a few screws. Use the plastic trim tool to pop the clips gently; they’re designed to snap back once you release pressure.
Watch out for the fog‑lamp wiring harness; it’s easy to tug on it if you’re not careful.
3. Unfasten the Grill Mounting Bolts
Typically there are four to six bolts—two on each side and sometimes one at the center. Loosen them with a 10 mm socket, but keep the bolts handy; you’ll need them later.
4. Extract the Old Grill
Once the bolts are out, the grill should drop away. If it sticks, wiggle it gently; forcing it can crack the surrounding plastic.
Installing the New Grill
Place the new grille onto the mounting points and align the bolt holes. If the new unit uses different fastener types (e.g., self‑tapping screws), be sure to follow the manufacturer’s instructions.
Hand‑tighten the bolts first, then give each a final quarter‑turn with the socket. Over‑tightening can warp the grill or strip the threads.
Reassemble the Bumper Cover
Snap the clips back into place, then reinstall any screws you removed earlier. Double‑check that the bumper sits flush—any misalignment may cause rattles at higher speeds.
Finishing Touches
Give the new grille a quick wipe with a microfiber cloth. If you opted for a matte finish, avoid harsh cleaners; a gentle soap solution works best.
Consider applying a thin coat of automotive clear protectant. It adds a layer of shine and helps fend off UV fading.
Common Pitfalls to Avoid
- Forgetting to reconnect the fog‑lamp wiring. The lights will stay off, and you’ll be stuck on the side of the road.
- Using metal tools on plastic clips. Clips can snap, forcing you to replace entire sections of the bumper.
- Skipping the torque check. Loose bolts may vibrate, leading to squeaks or, worse, a detached grill.
Maintenance Tips for Your New Grill
Keep an eye on the mounting bolts every few months; they can loosen over time, especially after hitting potholes.
If you chose a chrome or polished finish, a quick polish every six months restores its luster. For matte or blacked‑out grills, a gentle wash with a pH‑neutral car shampoo maintains the color without stripping it.
Finally, a quick visual inspection after each winter season can catch early signs of corrosion, especially in regions where road salt is common.