How to Use Google Play Internal Testing: A Quick Guide
Launching an Android app isn’t just about hitting “publish.” Before the world sees your creation, you’ll want a handful of trusted users to poke around, break things, and tell you what works. Google Play’s internal testing track is designed for exactly that—a fast, low‑risk way to share a pre‑release build with up to 100 testers.
Why Internal Testing Matters
Think of internal testing as the safety net before the big reveal. It lets you catch crashes, UI glitches, or permission mishaps that the emulator missed. Because the track is limited to a small audience, you can iterate quickly without flooding the Play Store with unfinished versions.
Setting Up an Internal Test Track
Getting started is straightforward, but a few details can trip you up if you’re new to the console.
Step‑by‑Step Walkthrough
- Open the Play Console. Navigate to Release > Testing > Internal testing on the left sidebar.
- Create a new release. Click “Create new release,” then upload your
.aabor.apkfile. - Add testers. You can either invite individual Google accounts or use a Google Group for easier management.
- Set the release status. Choose “Internal” and hit “Review.” The console will validate the build and flag any obvious issues.
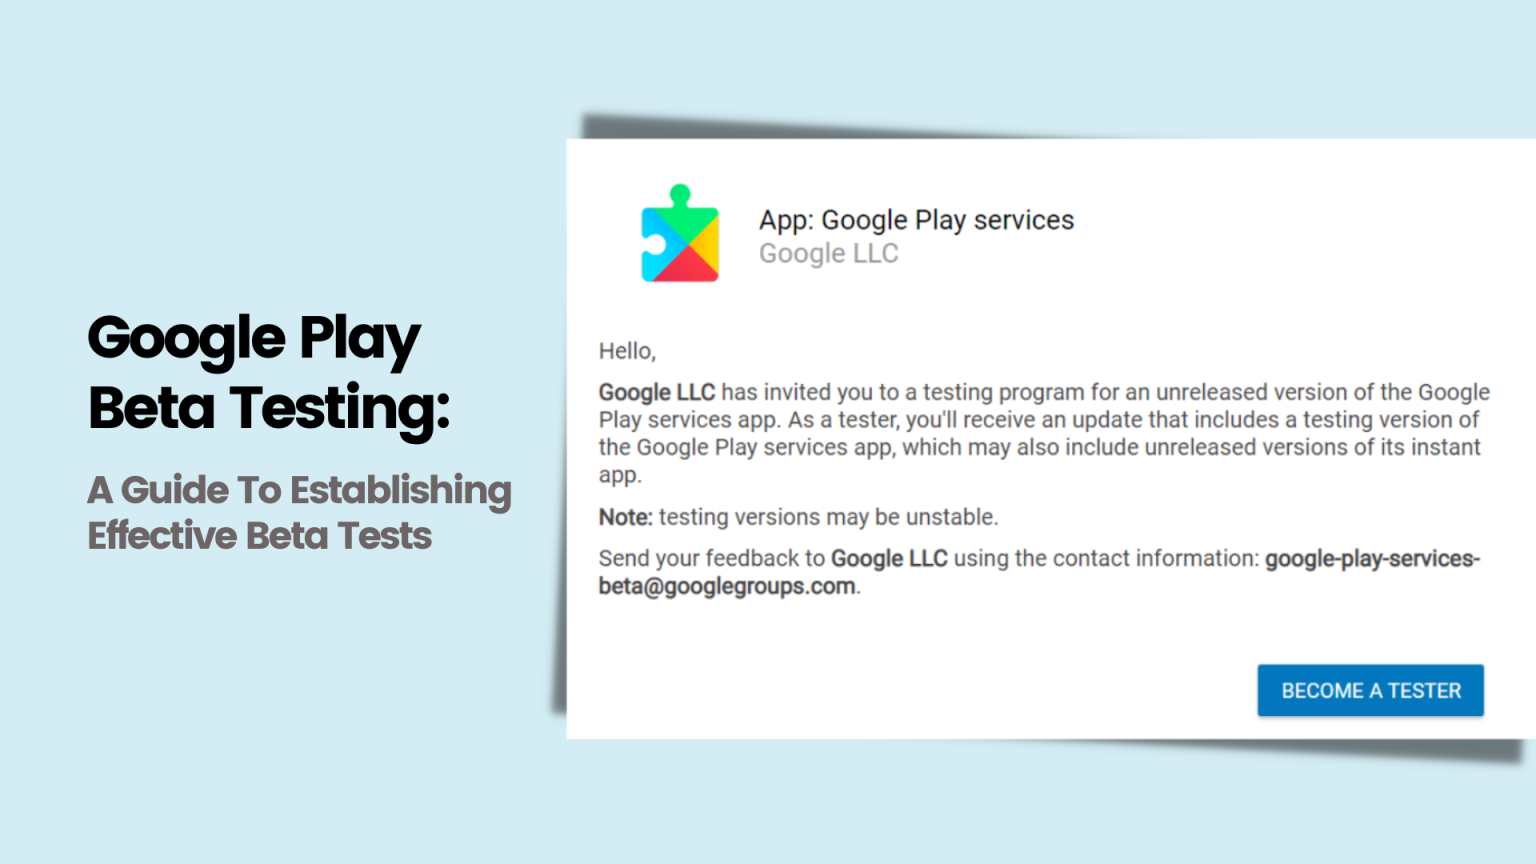
- Roll out. Once everything looks good, click “Start rollout to internal testers.” Your selected users receive an email invitation within minutes.
A common snag: forgetting to add the tester’s email to the list. The invitation never arrives, and you’ll think the rollout failed. Double‑check the email spelling.
Managing Testers and Feedback
After the build lands on their devices, testers can leave feedback directly in the Play Console. Here’s how to keep the flow organized:
- Enable “Feedback” on the test track to collect crash logs and screenshots automatically.
- Use a shared spreadsheet or a simple issue‑tracker to categorize reports (e.g., UI, performance, permissions).
- Schedule short “bug‑fix sprints” – 48‑hour windows where you address the top‑priority items and push a new internal build.
Remember, not all feedback is urgent. A polite “nice feature” comment can be encouraging, but focus first on crash stacks and reproducible bugs.
Best Practices and Common Pitfalls
Even a quick internal test can derail if you overlook a few best practices.
- Limit the size of your build. Large assets slow down download times for testers on cellular data.
- Keep version codes sequential. Skipping numbers can confuse the console and result in “update unavailable” messages.
- Don’t forget the signing key. Using a different keystore than your production build will cause install failures.
- Monitor expiration. Internal test tracks automatically expire after 90 days; plan a fresh rollout before then.
If you run into “APK not signed correctly” errors, it’s usually a mismatch between the keystore you used locally and the one registered in the console. Re‑export the bundle with the proper key and try again.
Lastly, treat internal testing as a conversation, not a one‑way dump. Prompt your testers with specific questions (“Does the login flow handle wrong passwords gracefully?”) and you’ll get more actionable insights.
)