How to Use iCloud Find My to Locate Your Apple ID Online
If you’ve ever misplaced an iPhone, iPad, or even a Mac, the first thing that springs to mind is the “Find My” feature tucked inside iCloud. It’s not just a rescue tool for lost devices; it also lets you peek at the last known location tied to your Apple ID. Whether you’re tracking a family member’s device, confirming that a stolen phone is still broadcasting, or simply satisfying a curiosity, knowing how to check iCloud Find My location for your Apple ID can be a real peace‑of‑mind booster.
Why You Might Need to Check Your Apple ID Location
People turn to iCloud’s location services for several practical reasons. A parent may want to verify that a teen’s iPhone is at school, a business traveler could confirm a company laptop hasn’t been left behind, and a shopper who’s lost a device on a café floor can instantly see a pin on the map. The feature also doubles as a security measure: spotting an unexpected location can signal that someone else has access to your account, prompting a swift password change.
Prerequisites Before You Begin
- Apple ID credentials – you’ll need the email address and password that lock you into iCloud.
- Two‑factor authentication (2FA) enabled – Apple requires this for most location queries, adding a layer of protection.
- Devices with “Find My” turned on – the service can only report devices that have opted in.
- Internet access – a browser or the Find My app on another Apple device.
If any of these pieces are missing, the map will stay stubbornly blank, and you’ll get a gentle reminder from Apple to finish the setup.
Step‑by‑Step: Checking Your Device’s Location via iCloud
1. Open a web browser on a computer or another device and navigate to iCloud.com. The login page is clean and straightforward.
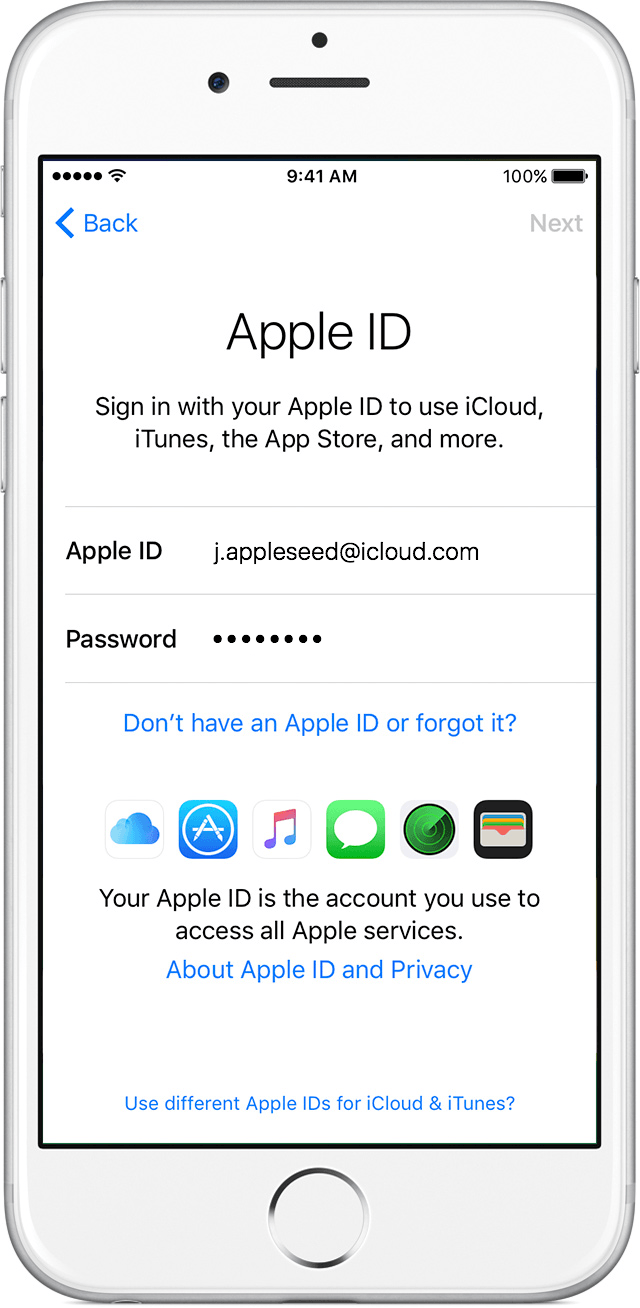
2. Enter your Apple ID and password. If 2FA is active, you’ll receive a verification code on a trusted device – pop that in promptly.
3. Once you’re inside, locate the Find iPhone (or “Find My”) icon. It looks like a radar‑style dot and sits among familiar iCloud apps such as Mail and Photos.
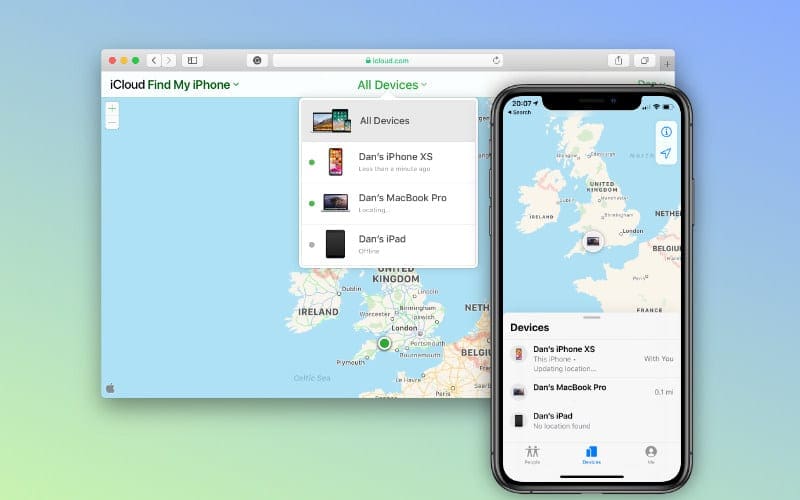
4. Click the icon. A map appears, and above it you’ll see a dropdown menu listing every device linked to your Apple ID that has “Find My” enabled.
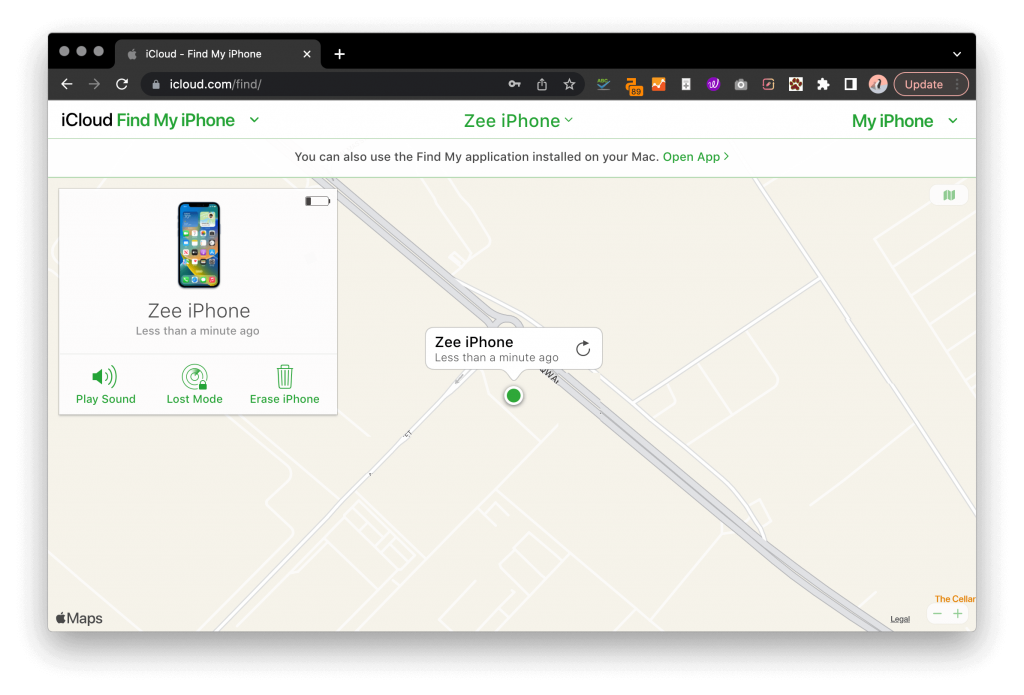
5. Select the device you want to locate. The map instantly drops a pin where Apple last received a signal. If the device is online, you’ll see its precise coordinates; if it’s offline, the map shows the last known location and a timestamp.
6. For extra context, use the toolbar to the right: the “Play Sound” button can make a missing iPhone emit a loud tone, while “Lost Mode” lets you lock the device remotely and display a custom message.
7. When you’re finished, simply sign out of iCloud to keep your account secure, especially if you were using a shared computer.
Understanding What the Map Shows
The pin isn’t a magical GPS beacon that updates every second. iCloud relies on the device’s own location services, which in turn use a blend of GPS, Wi‑Fi triangulation, and cellular towers. If the device is turned off, out of battery, or not connected to the internet, the map will display the last spot where it successfully pinged iCloud – often a few minutes to several hours old.
Also note that the map respects regional privacy rules. In some countries, the location may be rounded to the nearest few kilometers, a measure designed to prevent overly precise tracking without consent.
Common Issues and How to Fix Them
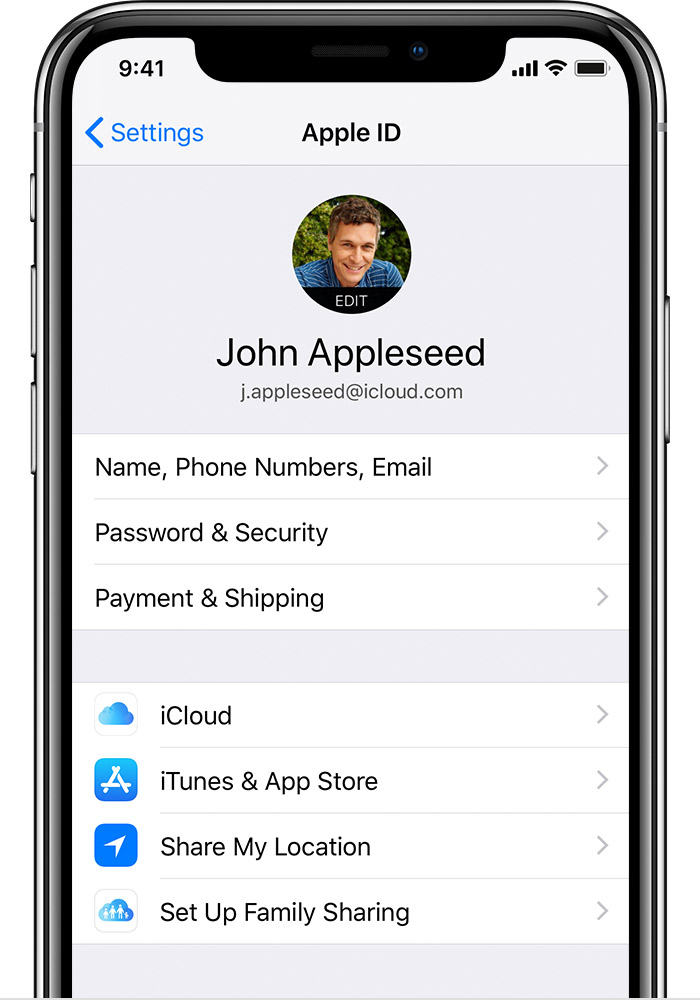
- Device isn’t listed – double‑check that “Find My” is enabled on the missing device. On iOS, go to Settings ▶ [Your Name] ▶ Find My ▶ Find My iPhone and toggle it on.
- Map shows “offline” indefinitely – the battery may be dead, or the device could be in airplane mode. If you suspect it’s merely turned off, wait a few hours; a reboot will push an update the next time it powers up.
- Location isn’t updating – make sure the device’s location services are set to “While Using the App” or “Always.” A disabled location setting will freeze the pin at the last known spot.
- Security concerns – if you see a location you don’t recognize, change your Apple ID password immediately and review the list of trusted devices under Settings ▶ [Your Name] ▶ Password & Security.
Tips for Getting the Most Out of iCloud Find My
Consider adding a family member’s Apple ID to your “Family Sharing” group. This not only lets you see each other’s device locations with a single tap, but it also gives you the ability to lock or erase a lost device remotely – a useful safeguard for kids and seniors.
If you frequently switch between multiple Apple IDs (for work and personal use), keep a short note of which ID is linked to which device. Mixing them up can lead to the “device not found” confusion described earlier.
Finally, enable the “Send Last Location” feature on iOS devices. When the battery hits 5 %, the phone will automatically send its location to iCloud, increasing the odds that you’ll catch it before the battery dies.
FAQ
Can I check the location of a device that isn’t my own?
Only if that device is linked to an Apple ID you control, such as a family member’s account under Family Sharing. Otherwise, Apple’s privacy policy blocks cross‑account tracking.
What if I’ve lost my Apple ID password?
Use the “Forgot Apple ID or password?” link on the iCloud login page. Apple will guide you through account recovery, which may involve answering security questions or confirming a trusted phone number.
Is there a way to see a device’s location history?
iCloud’s Find My interface shows only the most recent location. For a historical trail, you’d need a third‑party app that records location data, but those typically require installation before the device goes missing.
Does iCloud location work on non‑Apple devices?
No. The “Find My” service is exclusive to Apple hardware. However, you can access the iCloud website from a Windows PC or Android browser to view the map, provided you have the Apple ID credentials.