Master the Brother SE600: A Beginner’s Embroidery Guide
If you’ve just unboxed a Brother SE600 embroidery machine, the excitement of turning plain fabric into artwork can feel a bit overwhelming. Fear not—this guide walks you through the essentials, from setting up the hardware to mastering your first stitch, all without drowning you in jargon. By the end, you’ll have a solid foundation to let your creativity run free.
Getting Started with the Brother SE600
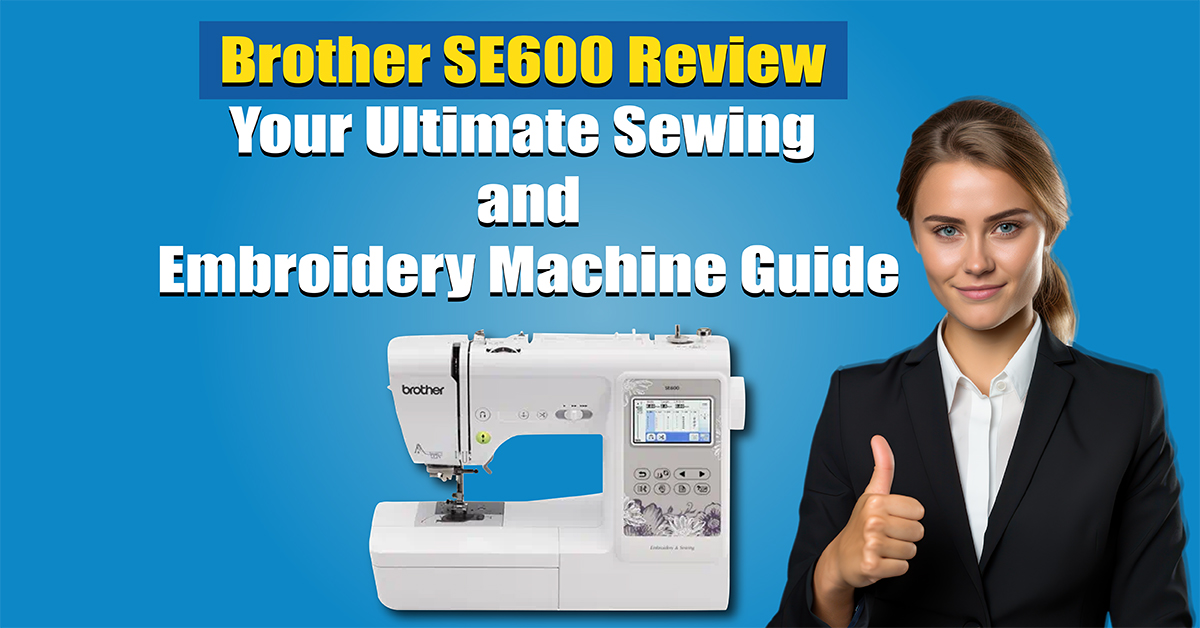
The SE600 is a hybrid machine, meaning it can both sew and embroider, and it’s designed with beginners in mind. Its 4×4‑inch embroidery hoop fits most hobby‑level projects, while the color touchscreen makes design navigation intuitive. Before you power up, make sure the machine is on a stable surface and that the power cord is fully extended to avoid tripping.
First, plug in the unit and turn the power switch to “ON.” The screen will prompt you to select a language and set the time—quick steps that personalize the experience. Once the home screen appears, you’ll notice a clear “Embroider” icon; tap it to dive straight into the embroidery mode.
Understanding the Basics of Embroidery
Embroidery isn’t just about stitching—it's about layering thread, fabric tension, and design placement. The SE600 uses a single‑needle system, so you’ll need to thread the needle correctly and choose the right bobbin tension. A common mistake for newcomers is using too much thread on the bobbin, which can cause puckering. Keep the bobbin thread just enough to fill the bobbin compartment without excess.
When you select a design, the machine automatically calculates the stitch count and suggests a hoop size. If the design exceeds the 4×4 hoop, you’ll need to either scale it down or split it into sections. Remember, a clean, taut fabric under the hoop is crucial for crisp stitches.
Setting Up Your Machine for a First Project
Start by selecting an appropriate fabric. Cotton, linen, and light denim are forgiving choices for beginners. Lay the fabric flat, place the hoop over the area you plan to embroider, and tighten the hoop until the fabric is smooth but not stretched.
Next, load the design. Insert a USB flash drive (or use the built‑in memory) and navigate to the desired file. The SE600 supports .pes, .dst, and .exp formats, so most commercial patterns will work. After loading, use the touchscreen to adjust size, rotate, or mirror the design. A quick preview shows you exactly where the stitches will fall.
Thread Selection and Color Coordination
Choosing the right thread can elevate a simple pattern into a standout piece. Polyester embroidery floss is the go‑to material for most projects because it’s strong, colorfast, and comes in a rainbow of shades. If you’re aiming for a subtle, tonal effect, pick thread colors that match the fabric’s base hue. For a pop‑of‑color look, contrast boldly—just be mindful of the thread’s thickness, as overly thick floss can strain the machine.
Basic Stitch Settings and Tips
The SE600 offers several built‑in stitch types, but for a beginner’s guide, focus on the default settings. The machine automatically sets stitch length and density based on the design, yet you can fine‑tune them if needed. A shorter stitch length yields tighter, more detailed work, while a longer stitch can speed up larger, simpler areas.
One handy tip: always run a test stitch on a scrap piece of the same fabric before committing to the final project. This allows you to verify tension, thread choice, and design placement without wasting material. If the test shows any pulling or uneven stitching, adjust the tension knobs or re‑hoop the fabric.
Choosing and Preparing Designs
There’s a treasure trove of free and paid designs online, from simple monograms to intricate floral motifs. When downloading, check the design’s stitch count; the SE600’s maximum is roughly 200,000 stitches per design. Exceeding this limit can cause the machine to stall.
Before loading a new pattern, use the “Clear” function on the screen to erase any previous design data. This prevents accidental overlay of stitches, a common source of frustration for first‑time users. If you’re feeling adventurous, you can also import your own artwork using Brother’s Digitizer software, which converts images into embroidery files compatible with the SE600.
Maintaining Your SE600 for Longevity
Regular maintenance ensures your machine stays reliable. After each use, wipe the needle plate and surrounding area with a soft, dry cloth to remove lint. Occasionally, oil the moving parts with a few drops of machine oil—just enough to keep the gears smooth, but not so much that it seeps onto the fabric.
Replace the needle after about 8‑10 hours of embroidery or whenever you notice frayed stitches. Using a needle specifically labeled “embroidery” will reduce breakage and improve stitch quality. Finally, store the SE600 in a dust‑free environment; a simple fabric cover works wonders.
Common Beginner Mistakes—and How to Avoid Them
It’s easy to get tripped up when you’re new to machine embroidery. One frequent error is neglecting to secure the fabric properly, leading to shifting designs. Double‑check that the hoop is tightened evenly on all sides before you start stitching.
Another pitfall is selecting the wrong hoop size for a design. If a pattern is too large for the 4×4 hoop, the machine will either cut off parts of the design or refuse to run. In such cases, scale the design down within the software or split it into multiple sections and embroider each separately.
Lastly, don’t underestimate the importance of thread quality. Low‑grade polyester or cotton threads can snag, break, or cause uneven tension, which shows up as fuzzy edges on your embroidery. Investing in reputable brands pays off in smoother results.
Next Steps: Expanding Your Skills
Once you’ve completed a few simple projects—think monogrammed towels or a decorative pillowcase—you’ll gain confidence to tackle more complex designs. Experiment with multi‑color projects by changing thread mid‑design using the machine’s “Thread Change” prompt. You’ll also discover the utility of the built‑in “Auto‑Size” feature, which automatically resizes designs to fit your hoop without distortion.
Joining online communities, such as embroidery forums or social media groups dedicated to Brother machines, can provide fresh ideas, troubleshooting tips, and design resources. Watching tutorial videos from seasoned embroiderers helps you see techniques in action, bridging the gap between reading instructions and applying them.
FAQ
- Can I use regular sewing thread for embroidery on the SE600? While you can, it’s not recommended. Embroidery floss is specially twisted to resist fraying and offers a smoother finish. Regular sewing thread may break more often and produce uneven stitches.
- How do I change the needle on the Brother SE600? Turn the power off, raise the needle to its highest position, loosen the needle clamp screw, remove the old needle, insert a new one with the flat side facing the back, tighten the screw, and lower the needle back into place.
- What fabric types work best for beginners? Medium‑weight cotton, linen, and light denim are forgiving and hold stitches well. Avoid stretchy or very thick fabrics until you’re comfortable adjusting tension and hooping techniques.
- Is it safe to leave the machine plugged in when not in use? Yes, the SE600 has an automatic standby mode that reduces power consumption. However, for long periods of inactivity, it’s a good practice to unplug it to protect against power surges.