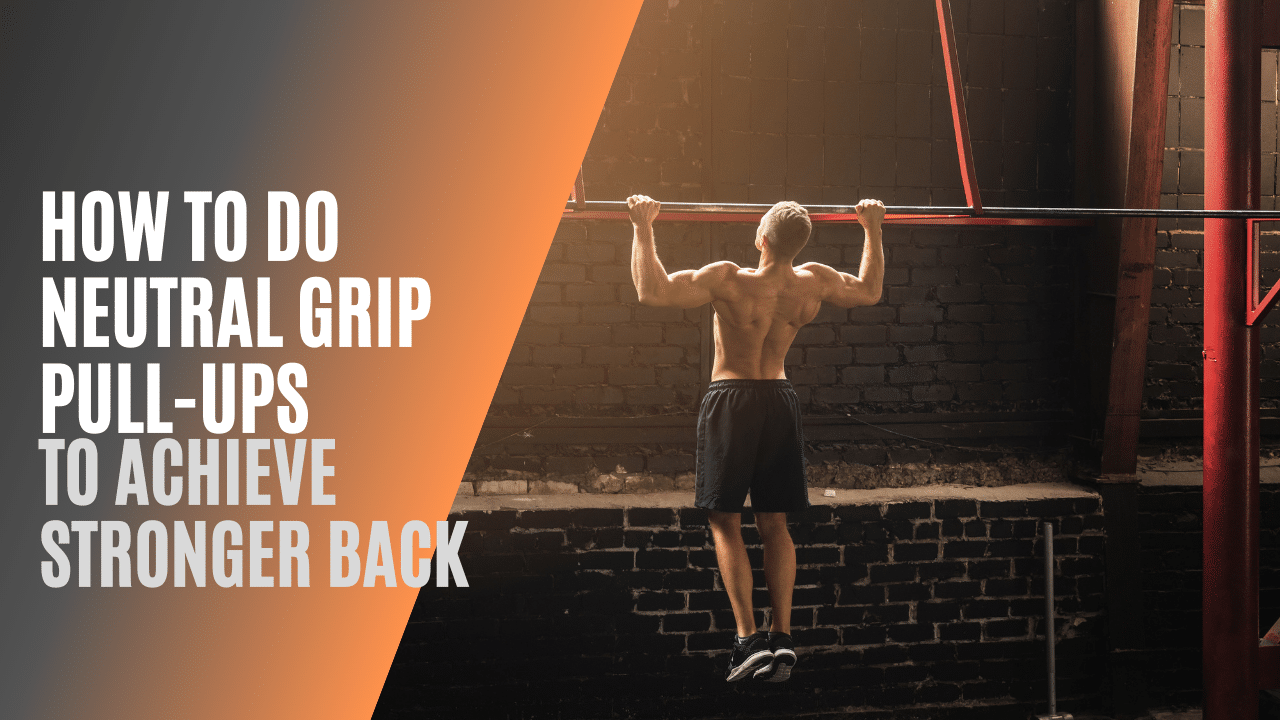
Master the Neutral Grip Pull‑Up: Technique, Benefits & Progression
Why the Neutral Grip Deserves a Spot in Your Routine
The neutral grip—palms facing each other—feels more natural for many lifters, especially those who struggle with the classic overhand or underhand variations. It eases stress on the shoulders and wrists while still demanding a solid back contraction. Because it recruits the lats, biceps, and forearms in a balanced way, the neutral grip can become a bridge between pull‑ups and rows, smoothing the transition for beginners and adding variety for seasoned athletes.
Understanding the Mechanics
When you grip the bars with palms parallel, the elbow path aligns closer to the torso’s midline. This subtle shift changes the line of pull, allowing the shoulder blades to retract more fully without excessive external rotation. The result is a cleaner, more controlled ascent and a reduced risk of impingement, particularly for those with previous shoulder complaints.
In terms of muscle activation, research shows the neutral grip still targets the latissimus dorsi at roughly 80% of the activation seen in a wide overhand pull‑up, while biceps involvement climbs a bit higher. That sweet spot makes the movement both challenging and joint‑friendly.
Setting Up for Success
Start with a sturdy set of parallel bars or a neutral‑grip pull‑up station. If you’re at a gym, look for the “dual‑handle” stations; at home, a pair of gymnastics rings or a dedicated neutral‑grip bar will do.
- Grip width: place your hands just inside shoulder width. Too wide and you lose the ergonomic advantage; too narrow and the elbows flare out.
- Body position: engage your core, keep the chest up, and slightly lean back—not a full arch, but enough to let the lats stretch.
- Grip pressure: hold the handles firm enough to prevent slipping, but avoid crushing them; a relaxed wrist improves the range of motion.
Step‑by‑Step Execution
1. Hang with control. Let your shoulders depress and retract before you pull; this “scapular set” primes the lats.
2. Initiate the pull. Think of driving your elbows down toward the floor, as if you’re trying to tuck your ribs into your hips.
3. Rise smoothly. Bring your chin just above the handles, maintaining a steady tempo—avoid jerky motions that waste momentum.
4. Descend deliberately. Lower yourself until the arms are fully extended, again focusing on scapular depression to finish the rep cleanly.
Common Pitfalls and How to Fix Them
Many trainees let their shoulders rise toward their ears during the ascent, a habit that shifts the load onto the upper traps and can pinch the rotator cuff. The cure? Pause at the top, squeeze the shoulder blades together, then lower while consciously keeping the shoulders down.
Another frequent error is “cheating” with momentum—swinging the legs or using a kipping motion. While advanced athletes sometimes incorporate controlled kipping for endurance work, beginners should keep the movement strict to build genuine pulling strength.
Progression Paths
If you can comfortably string together 8–10 neutral grip pull‑ups, consider these next steps:
- Weighted variations. Attach a dip belt or hold a dumbbell between your feet to add 5–10 % of your body weight.
- Tempo training. Slow the eccentric phase to 3–4 seconds, building time‑under‑tension for the lats.
- Partial range expansions. Start from a higher bar (so the arms are only slightly bent) and gradually lower the bar as strength improves.
Accessory Work to Boost Your Pull‑Up Game
Strengthening the supporting muscles pays dividends. Incorporate rows (TR‑band, inverted, or cable) to reinforce scapular retraction. For the biceps and forearms, hammer curls and farmer’s walks mimic the neutral grip’s hand position, enhancing grip endurance.
Don’t overlook the core: hanging leg raises or hollow holds improve the body tension needed to keep the spine neutral throughout the pull‑up.
Programming Tips
Place neutral grip pull‑ups early in your workout when you’re freshest, ideally after a brief dynamic warm‑up of arm circles and band pull‑apart sets. Aim for 3–4 working sets, leaving 2–3 reps in reserve on the final set to avoid premature failure.
For volume‑focused phases, try a “ladder” scheme: 1 rep, rest 30 seconds, 2 reps, rest 30 seconds, and so on up to your max, then back down. This keeps the nervous system engaged without excessive fatigue.
When to Swap Grips
The neutral grip isn’t a one‑size‑fits‑all solution. If you’re training for a sport that emphasizes wide overhand pulling—like rock climbing or swimming—mix in those variants to preserve specificity. Conversely, if shoulder pain flares up during pronated pull‑ups, the neutral grip can serve as a temporary replacement while you rehab.
Final Thoughts on the Neutral Grip Pull‑Up
It’s a pragmatic, joint‑friendly alternative that still delivers solid back development. By mastering the basics, avoiding common mistakes, and methodically progressing, you’ll add a reliable power move to your arsenal without sacrificing shoulder health. Whether you’re building the foundation for a first unassisted pull‑up or polishing an elite routine, the neutral grip deserves a regular cameo on the bar.