Mastering Leave Allocation in ERPNext: A Complete Guide
When your organization grows, keeping track of who’s on vacation, sick, or on special leave can feel like juggling flaming torches. ERPNext’s leave allocation module is built to tame that chaos, letting you define policies, assign balances, and automate renewals without drowning in spreadsheets. In the next few minutes you’ll see how to set up everything from basic vacation pools to complex accrual rules, so your HR team can focus on people rather than paperwork.
What “Leave Allocation” Means in ERPNext
At its core, leave allocation is the process of assigning a specific number of leave days to an employee—or a group of employees—based on the rules you’ve defined. ERPNext treats this as a distinct transaction, separate from the leave request itself, which means you can audit who received what, when, and why. The system records each allocation as a line item, making it easy to generate reports or roll back changes if a mistake slips through.
Step 1: Define Your Leave Types
Before you can hand out days, ERPNext needs to know what kinds of leave exist. Go to Human Resources → Leave Type and click “New.” Fill in the basics:
- Name: “Annual Leave,” “Sick Leave,” “Maternity Leave,” etc.
- Is Paid? Tick the box if the leave should affect payroll.
- Encashable? Enable this if employees can convert unused days to cash.
- Maximum Days: Set an upper limit to prevent over‑allocation.
Save the form, then repeat for each category your company uses. Remember, you can always edit these later, but changing a leave type after allocations have been made may require a data migration.
Step 2: Craft Leave Policies That Match Your Rules
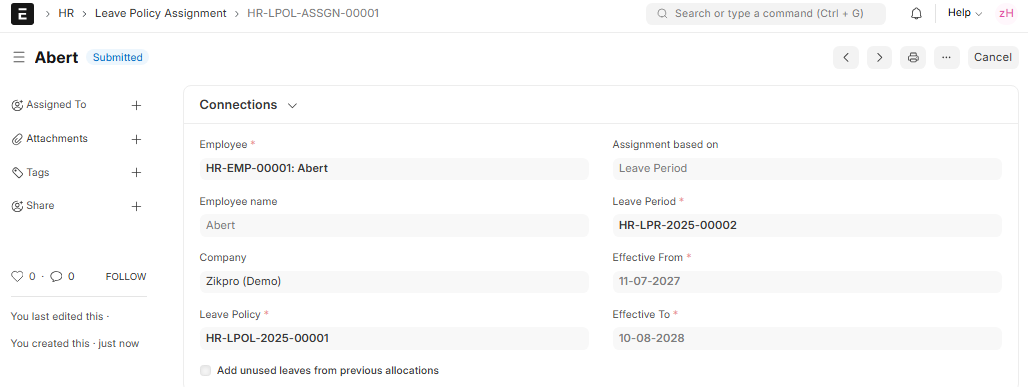
A leave policy ties a leave type to eligibility criteria. Think of it as the rulebook that says, “Full‑time staff get 20 days of annual leave per year, while part‑timers earn it pro‑rata.” In ERPNext, navigate to Human Resources → Leave Policy and create a new entry. Key fields include:
- Applicable To: Job Title, Department, or a specific Employee Group.
- Leave Type: Choose from the types you defined earlier.
- Allocation Frequency: One‑time, monthly, quarterly, or yearly.
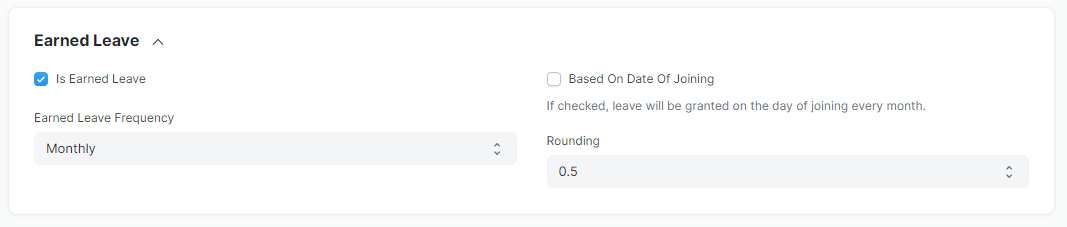
- Accrual Method: Fixed amount versus a percentage of tenure.
Mix and match policies to reflect seniority ladders, regional regulations, or union agreements. The flexibility of ERPNext lets you attach multiple policies to a single employee, stacking them as needed.
Step 3: Allocate Leaves to Individuals or Groups
With policies in place, you can now generate actual leave balances. The quickest way is through the “Allocate Leaves” button on the Leave Allocation list. You’ll see three main options:
- Allocate by Policy: ERPNext scans all active policies and credits the appropriate days automatically.
- Allocate by Employee: Choose a single staff member and hand‑pick the leave type and quantity.
- Allocate by Bulk Import: Upload a CSV if you need to seed balances for hundreds of users at once.
After you confirm, each employee’s Leave Ledger updates instantly, and the system logs the transaction for audit trails. If you make a mistake, the “Cancel Allocation” action will reverse the entry—provided the leave hasn’t been used yet.
Step 4: Automate Recurring Allocations
Manual allocation works for one‑off events, but most companies need a recurring schedule—think of an annual reset on January 1st. ERPNext’s scheduler can take over. Go to Setup → Auto Repeat and create a new rule that references the “Allocate Leaves” action you just used. Set the frequency (yearly, monthly, etc.) and pick a start date. The system will then run the allocation in the background, sending you a notification each time it succeeds.
Step 5: Track Usage and Balance Updates
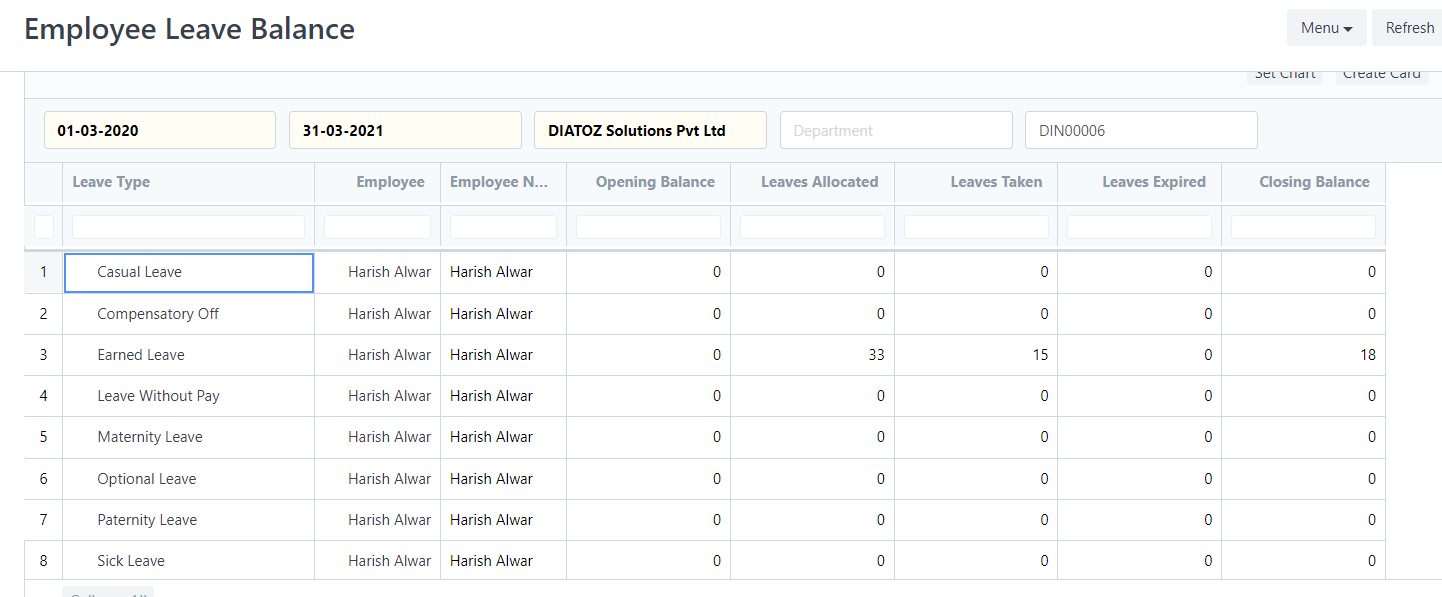
Whenever an employee submits a leave application, ERPNext checks the corresponding balance in real time. If the request exceeds the available days, the system blocks it—unless you’ve granted an “unlimited” flag for certain roles. Managers can view an employee’s leave ledger via the “Leave Balance” report, which aggregates allocations, approvals, and any encashments.
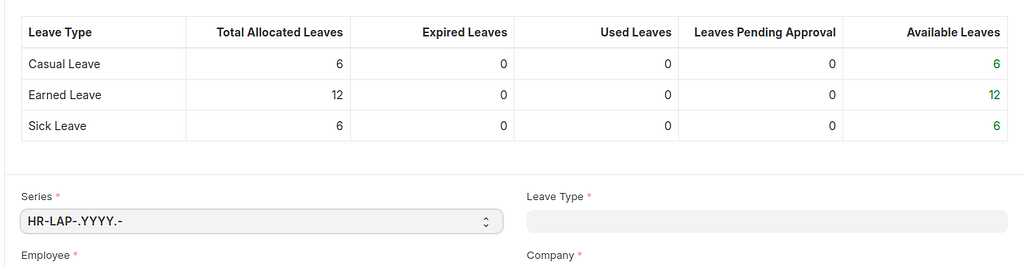
For a quick snapshot, the “Leave Balance Summary” dashboard widget shows total allotted days, taken days, and remaining balance across all leave types. This visual cue helps HR spot patterns, such as employees consistently running low on sick leave, which might signal a broader wellness issue.
Common Pitfalls and How to Avoid Them
Even seasoned HR admins stumble on a few traps when first configuring ERPNext:
- Overlapping Policies: Assigning two policies that both grant annual leave can double‑count days. Use the “Priority” field to decide which policy wins, or consolidate them into a single rule.
- Missing Pro‑Rata Logic: If a new hire joins mid‑year, you’ll want to allocate a fraction of the annual quota. Enable the “Pro‑Rata” checkbox in the policy settings to let ERPNext calculate it automatically.
- Ignoring Holiday Calendars: Public holidays reduce the number of working days, but they don’t automatically shrink leave balances. Sync a holiday calendar to the system and set “Consider Holidays” in the leave type to keep calculations accurate.
- Failing to Archive Old Allocations: Over time, the Leave Allocation table can bloat, slowing reports. Periodically archive allocations older than two years using the “Data Export” tool, then purge them from the live database.
Best Practices for a Smooth Leave Management Workflow
To keep your leave process humming:
- Standardize naming conventions for leave types—consistency makes reporting easier.
- Run a pilot allocation for a single department before rolling out company‑wide.
- Educate managers on the “Leave Balance Summary” widget so they can pre‑approve requests without waiting on HR.
- Schedule a monthly audit of the “Leave Ledger” to catch any discrepancies early.
Frequently Asked Questions
Can I allocate leave retroactively? Yes. Open the employee’s Leave Allocation list, click “New,” and set a past date. The system will back‑date the balance, but be aware that any leave taken after that date will be re‑evaluated against the new allocation.
How does ERPNext handle leave encashment? If you marked a leave type as “Encashable,” you can process a “Leave Encashment” entry from the employee’s ledger. The amount is calculated based on the employee’s salary structure, and the corresponding payroll entry will reflect the payout.
Is it possible to set a maximum carry‑forward limit? Absolutely. In the Leave Type form, specify “Maximum Carry Forward.” ERPNext will automatically reduce the balance at the start of the next cycle, moving any excess to a “Lost” bucket.
What if an employee leaves the company mid‑year? De‑allocate the remaining balance manually or let the “Terminate Employee” workflow trigger a reversal. This prevents orphaned allocations from skewing year‑end reports.