React Native Push Notifications: A Simple Guide With NPM
Let’s be honest for a second. Handling push notifications in React Native has traditionally felt a bit like trying to herd cats. You have Android and iOS to worry about, different permissions, background handling, and a plethora of libraries that seem to break with every minor SDK update. It is a notorious pain point for many mobile developers.
However, if you are looking for a straightforward path to integrate React Native push notifications, you don’t need to reinvent the wheel. You just need the right toolkit. Specifically, leveraging the Node Package Manager (NPM) ecosystem can simplify this process significantly. Today, we will walk through installing the necessary packages and getting your first notification popping up on your device.
Why NPM Is Your Best Friend Here
I know, this sounds obvious. But when you dive into mobile development, it is easy to forget how powerful your package manager is. NPM hosts the vast majority of the tools you need. Instead of manually configuring low-level native bridges (which was the old, dark way of doing things), you can rely on well-maintained community packages.
Currently, the ecosystem has largely consolidated around a few reliable giants. The original react-native-push-notification is still getting updates, but many developers are migrating to @react-native-firebase/messaging or react-native-push-notification’s more modern counterparts depending on their backend needs. For this guide, we will stick to the general concept of using NPM to manage these dependencies, ensuring your build process is clean and reproducible.
Step 1: Installing the Core Packages
The first step is always installation. Open your terminal, navigate to your project root, and run the following command. We are going to assume you are using Android for this example, as it is often the quicker path to a "Hello World" notification.
npm install react-native-push-notification --save
Wait for the installation to finish. You might see a warning about linking. If you are using React Native 0.60 or higher (which you should be, ideally), autolinking handles this automatically. If you are on an ancient version, you might still need to run npx react-native link react-native-push-notification. But let’s assume you are modern.
For Android specifically, you need to do a bit more legwork. You will need to add the necessary configurations in your android/app/build.gradle file. This usually involves adding the Google Play Services dependency. It looks a little something like this:
- Add
implementation 'com.google.firebase:firebase-messaging:23.0.0'to your dependencies. - Ensure your minSdkVersion is at least 21 (or 23 for some features).
It seems trivial, but skipping this step will cause your app to crash silently or fail to register with the FCM (Firebase Cloud Messaging) service.
Step 2: Configuring AndroidManifest.xml
Push notifications require permissions. You cannot just ask for permission in the code; the operating system needs to know upfront that your app intends to send notifications.
Open your android/app/src/main/AndroidManifest.xml file. You need to add the following permission outside of the <application> tag but inside the <manifest> tag:
<uses-permission android:name="android.permission.VIBRATE" />
You might also want to add RECEIVE_BOOT_COMPLETED if you want your notifications to persist after a phone restart, depending on the library’s specific requirements. This is where the "simple" part can get a little sticky if you aren’t paying attention to the documentation of the specific NPM package you chose.
Handling Incoming Notifications
Now for the JavaScript side. This is where the magic happens. You need to initialize the notification module when your app loads, and then set up listeners for different states: when the app is in the foreground, backgrounded, or completely closed.
Here is a simplified snippet of what that logic looks like:
PushNotification.configure({ onNotification: function(notification) { // Process the notification console.log('INFO: Notification received: ' + JSON.stringify(notification)); // Required for iOS to display notification notification.finish(PushNotificationIOS.FetchResult.NoData); }, permissions: { alert: true, badge: true, sound: true } });// Initialize PushNotification library
This configuration ensures that when a notification arrives, your app knows how to handle it. It logs the data to the console (great for debugging) and finishes the fetch cycle to prevent bugs on iOS.
The Backend Angle
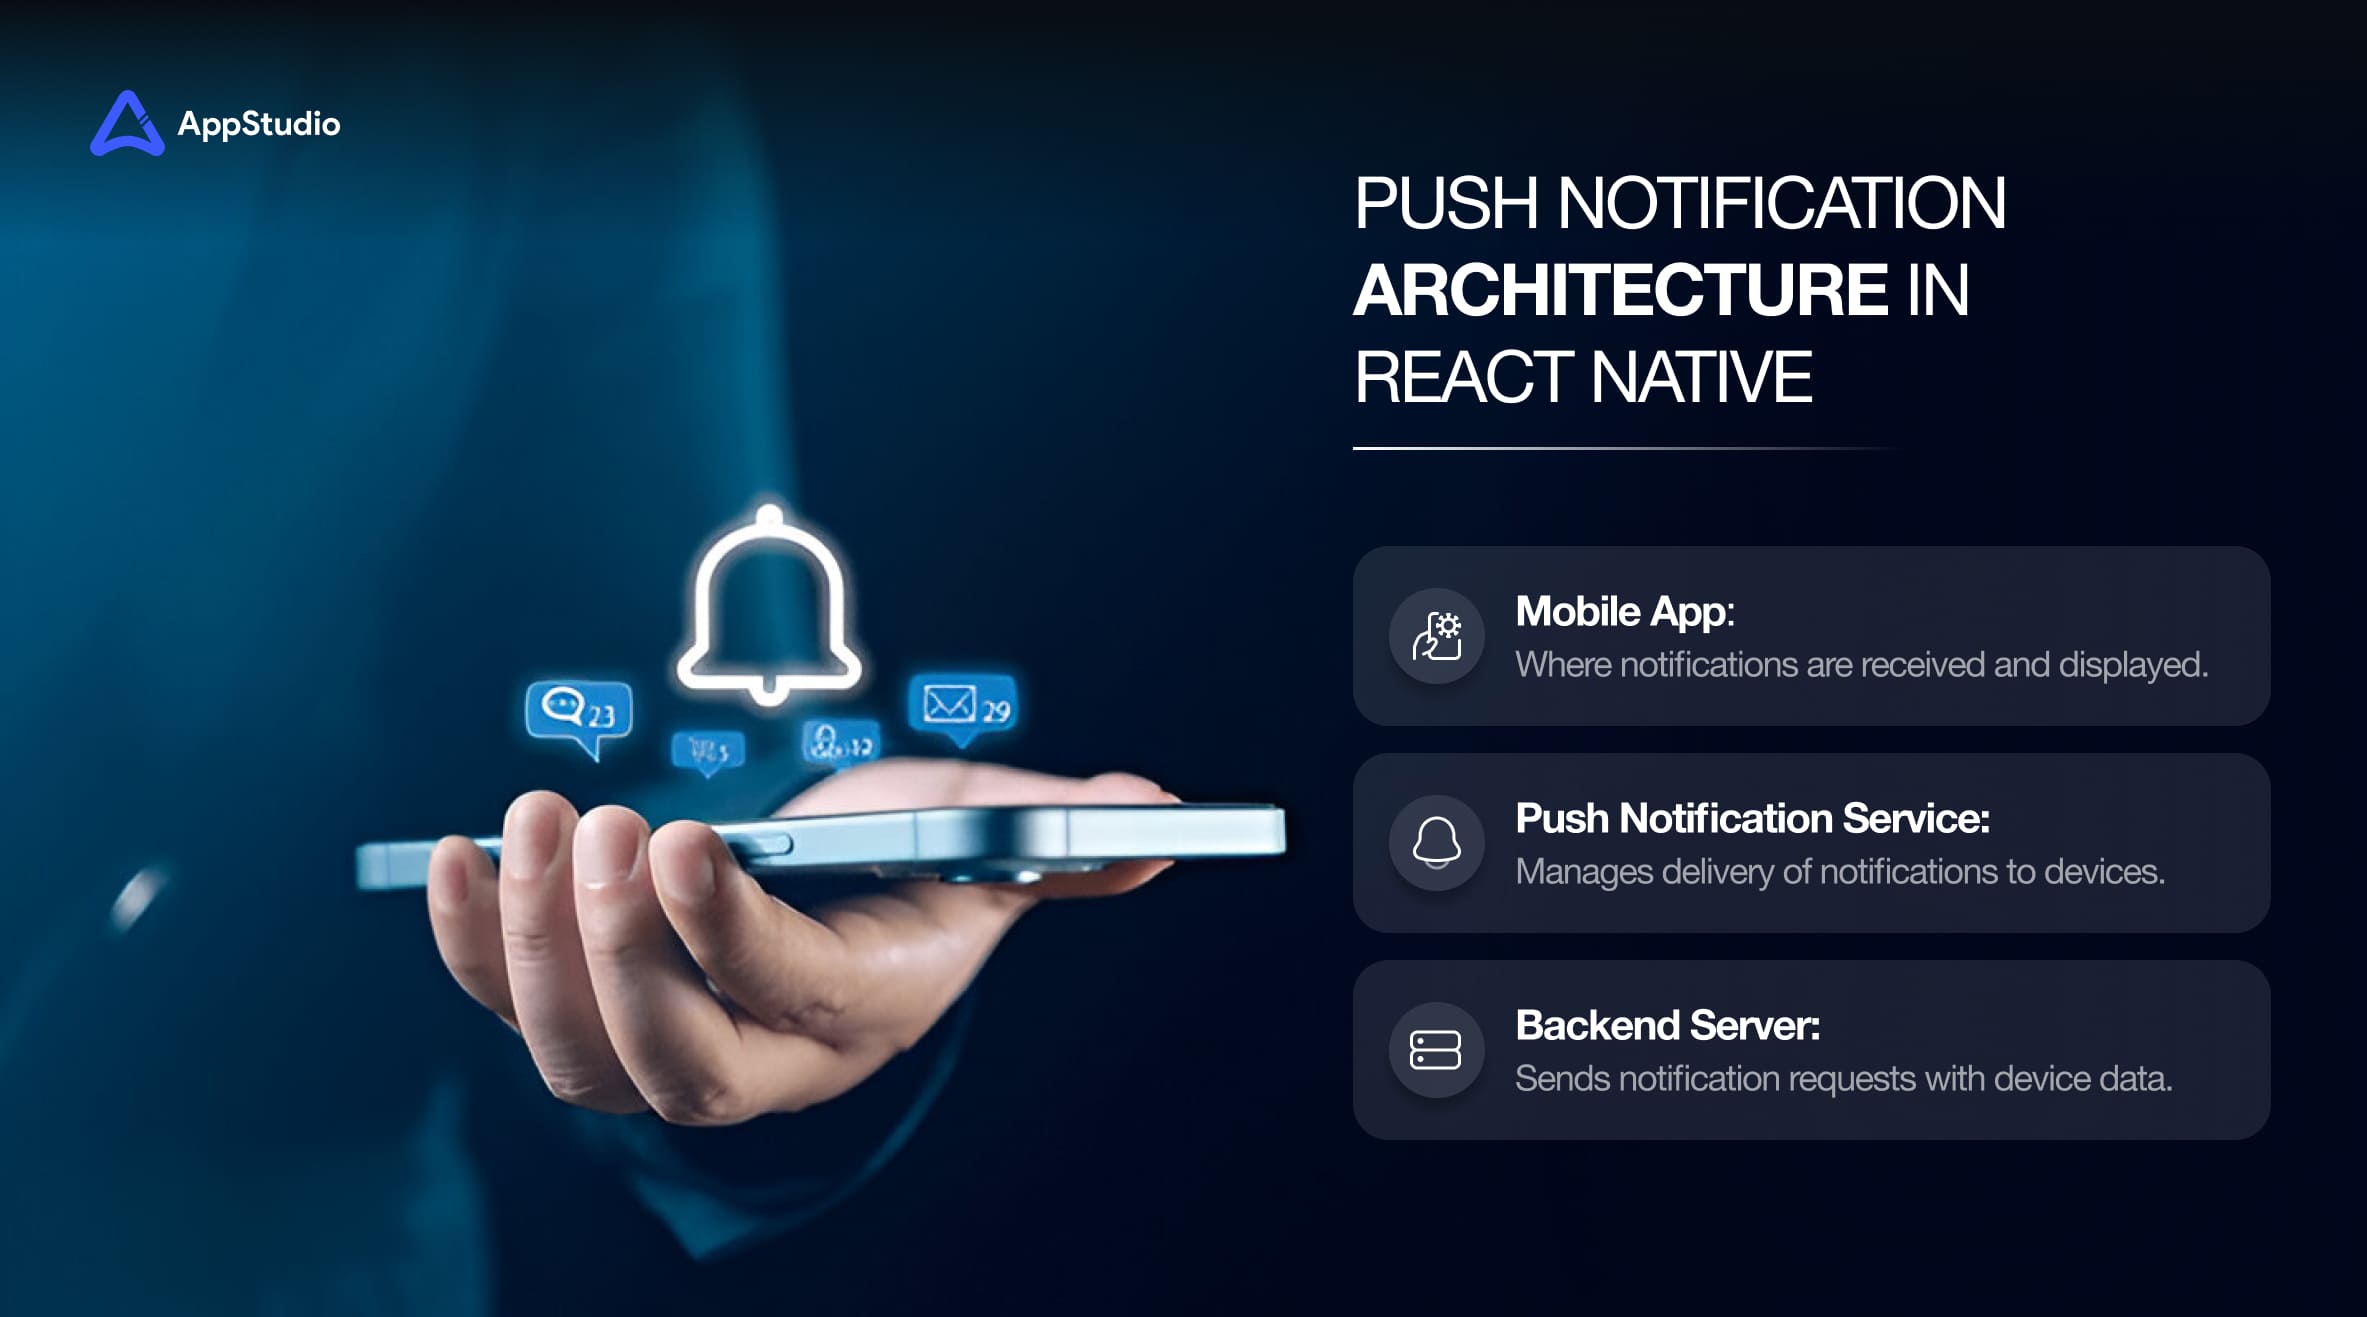
Installing the NPM package is only half the battle. You need something to send the notifications. This is where Firebase Cloud Messaging (FCM) usually enters the chat. You will need to generate an API key from the Firebase console, add the google-services.json file to your android folder, and connect your service to that key.
Many developers get stuck here because they think "Push Notifications" are purely a client-side feature. They are not. They are a handshake between your server and the device. Ensure your backend is configured to send JSON payloads that match the structure expected by your NPM library.
Common Pitfalls to Avoid
Even with a simple guide, things can go wrong. Here are a few common headaches:
- Not Restarting the Build: After installing an NPM package, always run
npx react-native run-androidagain. Otherwise, the native modules won’t be linked properly. - Ignoring Apple Developer Console: If you are doing iOS, you need provisioning profiles with the "Push Notifications" capability enabled. NPM can’t fix missing entitlements.
- Treating Foreground and Background Differently: On Android, notifications in the foreground don’t always show in the notification tray by default. You often need to write custom code to display a toast or an in-app banner if the user is actively using the app.
Wrapping Up
Getting push notifications to work doesn’t have to be a week-long debugging session. By relying on established NPM packages and following the documentation strictly, you can have a functional system up and running in a few hours. The key is to respect the difference between the JavaScript layer you write and the native layer that actually displays the alert. Take it one step at a time, and soon enough, your users will be hearing your app’s voice.
FAQ
Do I need Firebase for React Native push notifications?
Not strictly, but it is highly recommended. Most NPM packages for React Native rely on Firebase Cloud Messaging (FCM) for Android and Apple Push Notification service (APNS) for iOS. While you can write custom services, Firebase handles the delivery infrastructure reliably and is free for most use cases.
Why isn't my notification showing in the foreground?
This is a common Android behavior. By default, Android captures the data payload but doesn't display the banner if the app is open. You need to configure the NPM package to show a custom banner or toast notification when the app state is "foreground."
Can I use NPM to test notifications locally?
Yes. You can use tools like cURL or Postman to send test JSON payloads directly to the FCM endpoint using your server key. This allows you to test the end-to-end flow without needing a full production backend.