What a Laboratory Beaker Does: Uses, Types & Visual Guide
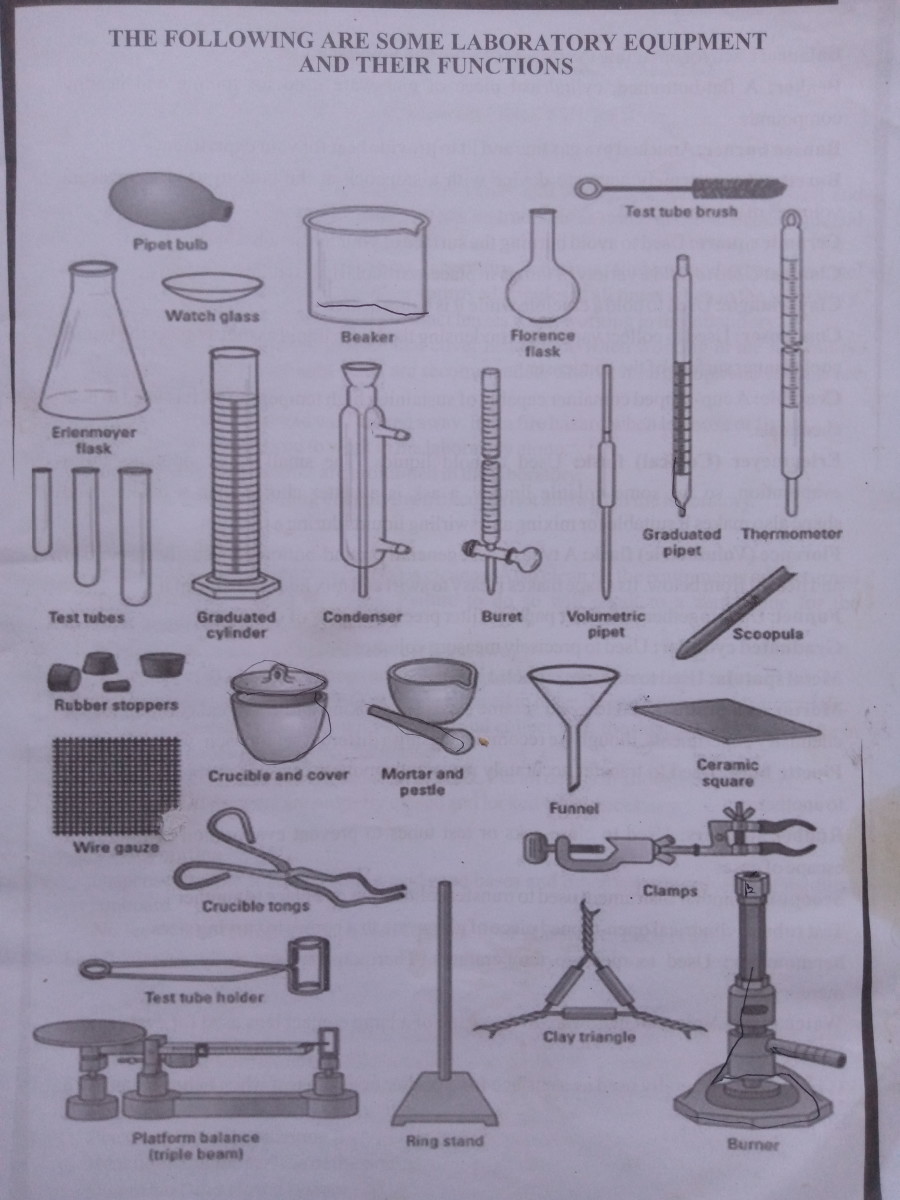
When you walk into a chemistry lab, the first glassware you’ll spot is the humble beaker. Though its simple cylindrical shape may seem unremarkable, a beaker is a workhorse that supports a surprisingly wide range of tasks—from heating solutions to measuring approximate volumes. Understanding how a beaker functions, the different styles available, and what to look for in a good image can help anyone—from students to seasoned researchers—use this tool more safely and efficiently.
Core Functions of a Laboratory Beaker
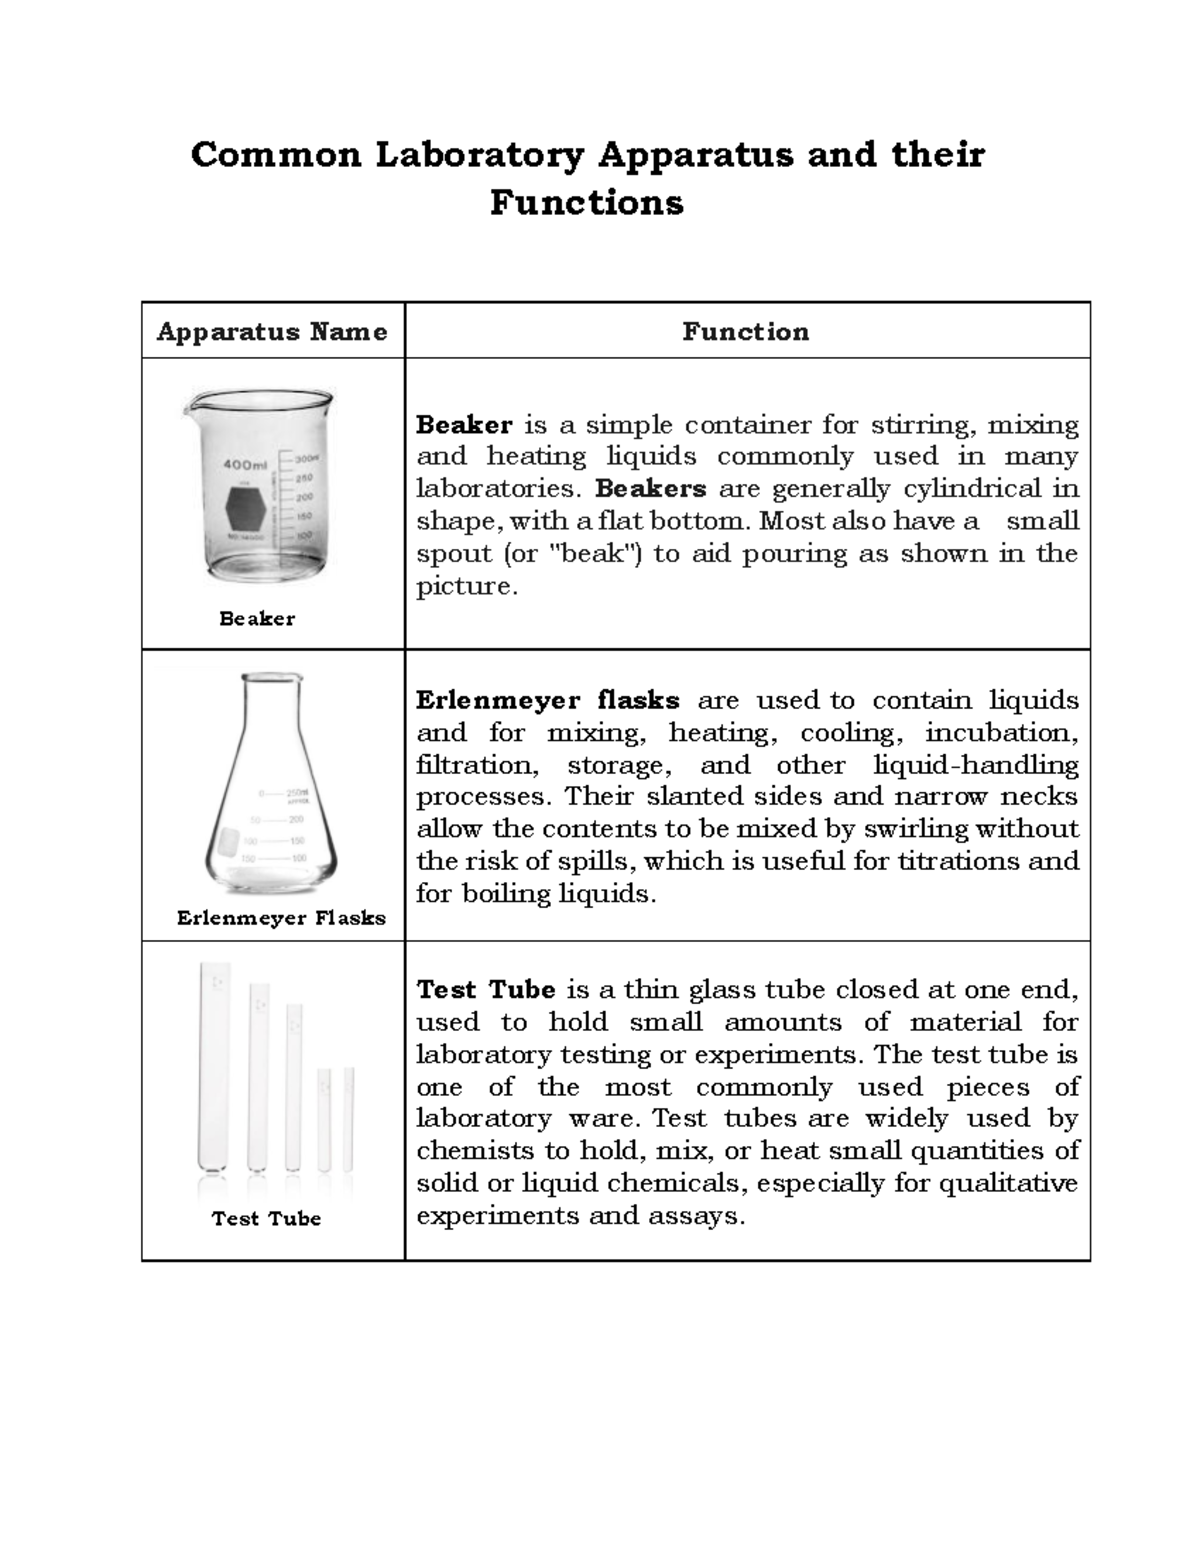
At its most basic, a beaker provides a sturdy container for mixing, stirring, and heating liquids. Because it typically has a spout, pouring is smoother than with a flat‑bottomed flask, reducing splash risk. Beakers also serve as a quick visual reference for volume; the graduated marks, though not as precise as a burette, let you estimate quantities within a few millilitres. Finally, their thick walls can tolerate moderate temperature changes, making them suitable for water baths or gentle reflux.
Common Types and Their Specific Roles
- Standard (Graduated) Beaker: Features volume markings on the side and a lip for easy pouring. Ideal for general‑purpose work.
- Berzelius Beaker: Has a flat, rounded bottom and a low profile, which helps dissipate heat evenly during boiling.
- Insulated (Double‑Wall) Beaker: Two layers of glass with an air gap, keeping hot liquids warm longer and protecting the user’s hands.
- Plastic Beaker: Made from polypropylene or polyethylene, these are chemically resistant to many acids and bases but aren’t suitable for high‑heat applications.
Choosing the Right Size and Material
Beaker sizes range from tiny 10 mL versions for microscale experiments to massive 2 L vessels for bulk synthesis. Selecting the proper size hinges on the volume you plan to handle; a beaker should be at least 20 % larger than the intended volume to allow room for stirring and to prevent overflow when the liquid boils. Glass—usually borosilicate—is preferred for its heat resistance and clarity, while plastic becomes the go‑to when dealing with corrosive reagents that would etch glass.
Reading the Graduations Correctly
The graduation marks on a beaker are intentionally spaced farther apart than those on a volumetric flask. This design acknowledges that beakers are not precision measuring devices. To read them accurately, position your eye at the liquid’s meniscus, line it up with the nearest mark, and then estimate the fraction between marks. Remember, the true volume may differ by up to 10 % depending on the brand and glass thickness.
Safety and Cleaning Tips
Even though beakers are robust, they can still crack under sudden temperature shocks. Always add liquids to the beaker before heating, and avoid pouring cold water onto a hot glass. After use, rinse the beaker with distilled water to prevent salt residues, then soak it in a mild detergent solution if stubborn stains persist. For glass beakers, a brief dip in a laboratory autoclave will sterilize without damaging the surface.
What to Look for in Beaker Images
When you browse catalogs or online stores, a clear image can reveal a lot about a beaker’s quality. Pay attention to the following visual cues:
- The uniformity of the glass thickness—thin edges may indicate fragility.
- The sharpness of the lip; a well‑defined, slightly rounded edge pours more cleanly.
- Presence of a sturdy, heat‑resistant handle on larger beakers.
- Clear, legible graduation marks that are etched rather than printed.
A high‑resolution photo that shows the beaker from multiple angles—top, side, and bottom—helps you assess these details before purchasing.
Common Misconceptions About Beakers
Many beginners treat beakers as precise measuring devices, which can lead to inaccurate experimental results. Likewise, some assume all beakers are interchangeable, ignoring material compatibility; for example, a glass beaker will shatter if exposed to strong alkalis at elevated temperatures, whereas a polypropylene beaker would survive. Finally, the notion that “bigger is better” is a myth; an oversized beaker can hinder effective stirring and increase evaporation losses.
Practical Tips for Everyday Use
- Label each beaker with a waterproof marker to avoid cross‑contamination.
- Use magnetic stir bars when possible; they fit neatly inside standard beakers and keep solutions homogeneous.
- When heating, place the beaker on a tripod or a heat‑resistant mat to protect the benchtop.
- Store beakers upright in a rack with a protective divider to prevent chips.
Frequently Asked Questions
Can I use a beaker to measure exact volumes?
Not reliably. Beakers provide approximate measurements; for precise work, switch to a graduated cylinder or volumetric flask.
Are plastic beakers safe for all chemicals?
They resist many acids and bases, but solvents like acetone or strong oxidizers can degrade the polymer. Check the manufacturer’s chemical compatibility chart.
What’s the benefit of a double‑wall beaker?
The insulating air gap reduces heat loss, keeping hot liquids at temperature longer and protecting your hands from burns.
How do I prevent a beaker from cracking during heating?
Gradually raise the temperature, avoid direct flame contact, and never add cold liquid to a hot beaker. Using borosilicate glass also lowers the risk.
Armed with a clearer picture of a beaker’s functions, varieties, and visual cues, you can choose the right piece of glassware for any experiment and handle it with confidence. Whether you’re measuring a quick reaction or simply warming a buffer, the beaker remains an indispensable ally in the laboratory.