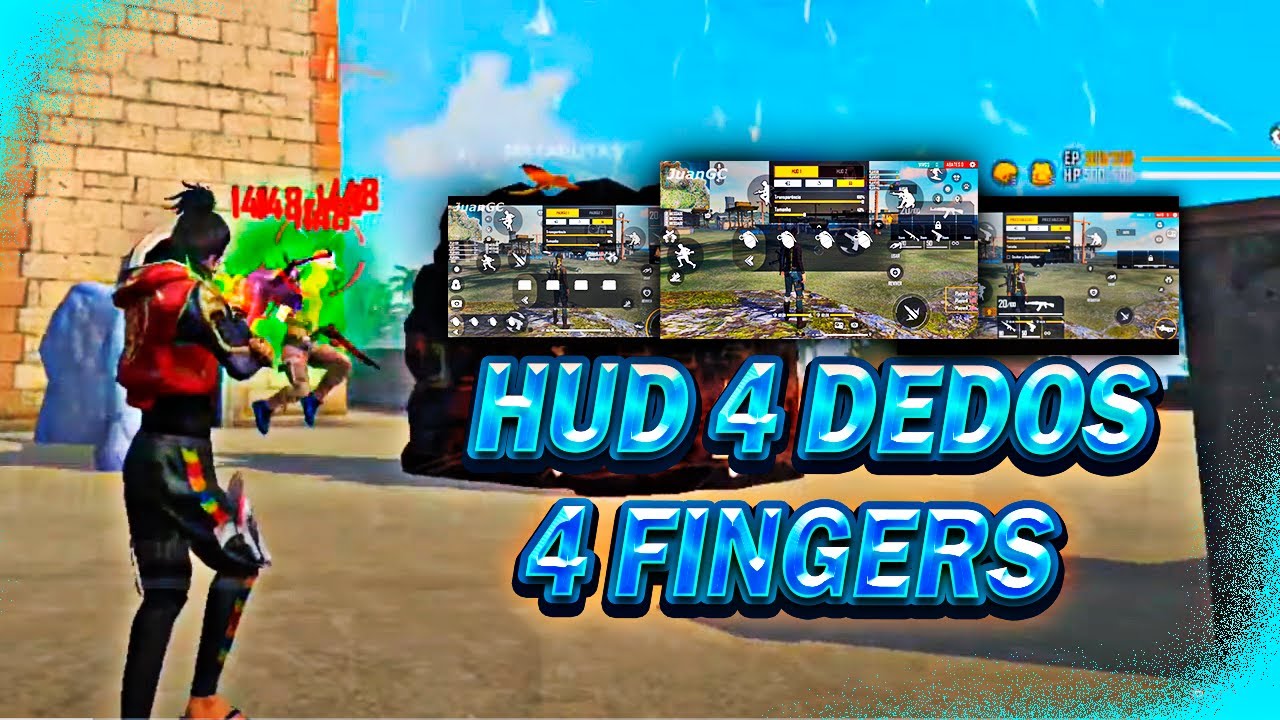
Best 4-Finger HUD Setups to Master Free Fire
Free Fire’s fast‑paced battles demand lightning‑quick reactions, and many top players swear by a 4‑finger HUD for Free Fire. By allocating two fingers to movement and two to actions, you keep every crucial command within thumb’s reach, cutting the time it takes to aim, reload, or throw a grenade. The good news? You don’t need to spend a dime – the best 4‑finger HUDs are freely available, and swapping between them is a breeze.
Why a 4‑Finger HUD Helps You Dominate
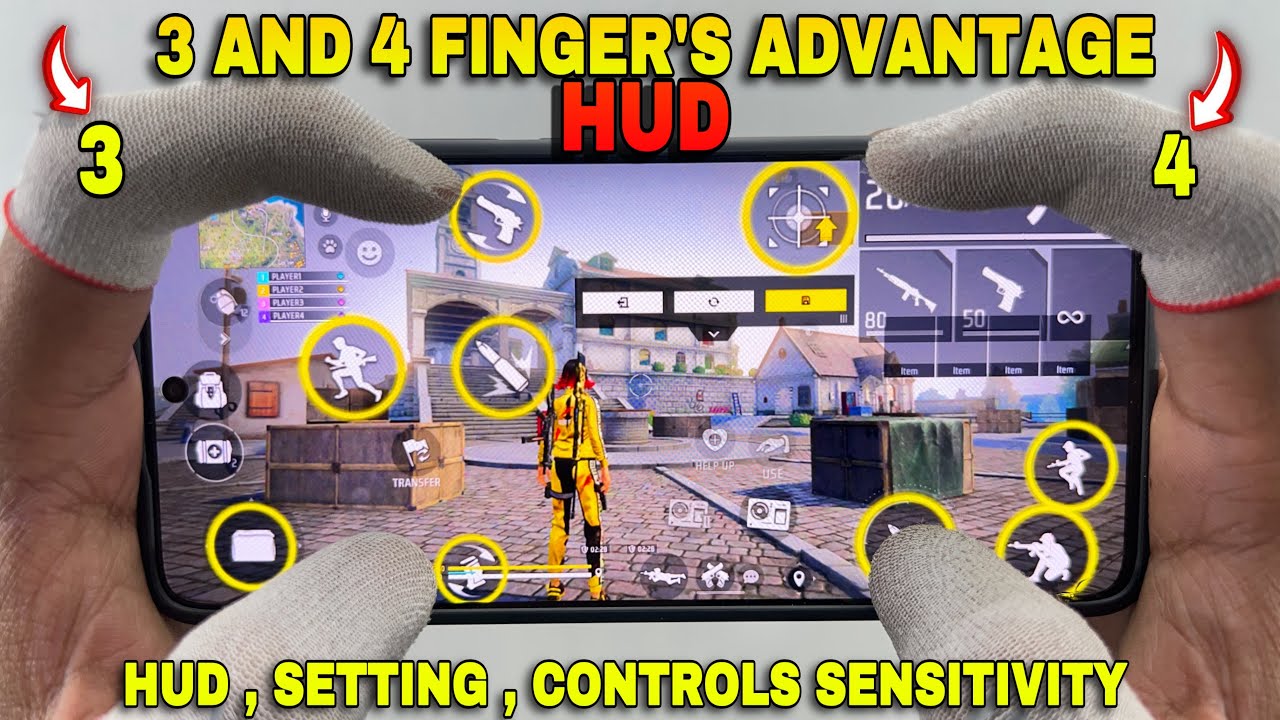
Traditional layouts force you to stretch a single thumb across both movement and skill buttons, which can slow down your response when a fight erupts. With a dedicated 4‑finger setup, each thumb handles its own zone: the left side stays locked on the joystick, while the right side manages fire, aim, and utilities. This separation reduces accidental mis‑taps and lets you maintain consistent aim while still being ready to use grenades or health kits instantly.
Beyond speed, a well‑designed HUD improves muscle memory. When the same fingers always hit the same spots, your brain starts to anticipate actions before you even think about them, giving you a subtle edge that often translates into more victories.
Top Free HUD Layouts for Free Fire
Classic Crosshair + Skill Buttons
This layout keeps things simple yet effective. The crosshair sits at the center, while the fire button is placed just below it. Skill icons—grenade, heal, and melee—are arranged in a small cluster on the lower right, reachable with the index finger.
- Movement: Left joystick (thumb)
- Fire: Right thumb, just under crosshair
- Jump/Climb: Right thumb, top‑right corner
- Skills: Bottom‑right cluster (grenade, med‑kit, melee)
Sniper‑Ready Layout
If you love picking off foes from a distance, this HUD prioritises precise aiming. The fire button is shifted to the right edge, freeing the middle of the screen for a larger crosshair. The zoom button sits right beside fire, letting you toggle scopes without breaking focus.
- Movement: Left joystick
- Fire: Right thumb, far right
- Zoom: Right thumb, next to fire
- Quick‑Heal: Bottom‑right corner
Close‑Quarter Combat Setup
In tight indoor maps, you need rapid shotgun or SMG fire. This HUD pushes the fire button to the lower‑right edge, while the melee and grenade icons sit just above it, reachable with a quick flick of the index finger.
- Movement: Left joystick
- Fire: Right thumb, bottom‑right
- Melee: Right thumb, just above fire
- Grenade: Right thumb, top‑right of the melee button
All‑Rounder Control Scheme
For players who switch between long‑range and close‑range fights, the all‑rounder HUD offers a balanced spread. Skill icons form a semi‑circle around the fire button, giving you access to every utility without moving your thumb too far.
- Movement: Left joystick
- Fire: Center‑right
- Grenade: Upper‑right
- Heal: Lower‑right
- Melee: Directly below fire
How to Install and Switch HUDs on Your Device
All of the layouts above are available as free downloadable files on the official Free Fire community forums or trusted third‑party sites. To install:
- Download the .zip containing the HUD images.
- Open Free Fire, go to Settings → Controls → HUD.
- Tap “Custom” and then “Import HUD”. Choose the downloaded file.
- Confirm the selection and you’ll see the new layout instantly.
If you want to switch between layouts mid‑game, simply tap the small HUD icon that appears in the top‑left corner of the screen. It toggles between your saved custom HUDs, letting you adapt on the fly.
Tips to Get the Most Out of Your 4‑Finger Setup
Even the perfect HUD won’t guarantee wins unless you train with it. Spend a few minutes in the training mode after each change, focusing on hitting the new fire and skill spots without looking. Adjust the button size if you notice accidental presses—most HUD editors let you shrink or enlarge each icon.
Remember to keep your device’s screen brightness high enough to see the buttons clearly, especially in night‑time maps. And if you’re playing on a smaller phone, consider scaling the HUD down slightly; cramped screens can make even a great layout feel unwieldy.
FAQ
Can I use a 4‑finger HUD on iOS devices?
Yes. Free Fire’s HUD editor works the same on iOS and Android, and the same custom files can be imported on both platforms.
Do these HUDs affect game performance?
Since HUDs are just image overlays, they have a negligible impact on performance. However, using an excessively large HUD may slightly reduce frame rate on older devices.
Is it legal to use custom HUDs in competitive matches?
Free Fire permits custom HUDs for all match types, including ranked play. Just avoid any HUD that adds extra visual cues beyond the standard interface, as that would violate the game’s terms of service.

![[Four Finger Custom HUD] Best 🖖4 fingers Claw Setting for Free Fire ...](https://i.ytimg.com/vi/0KGsxPkzSts/maxresdefault.jpg)