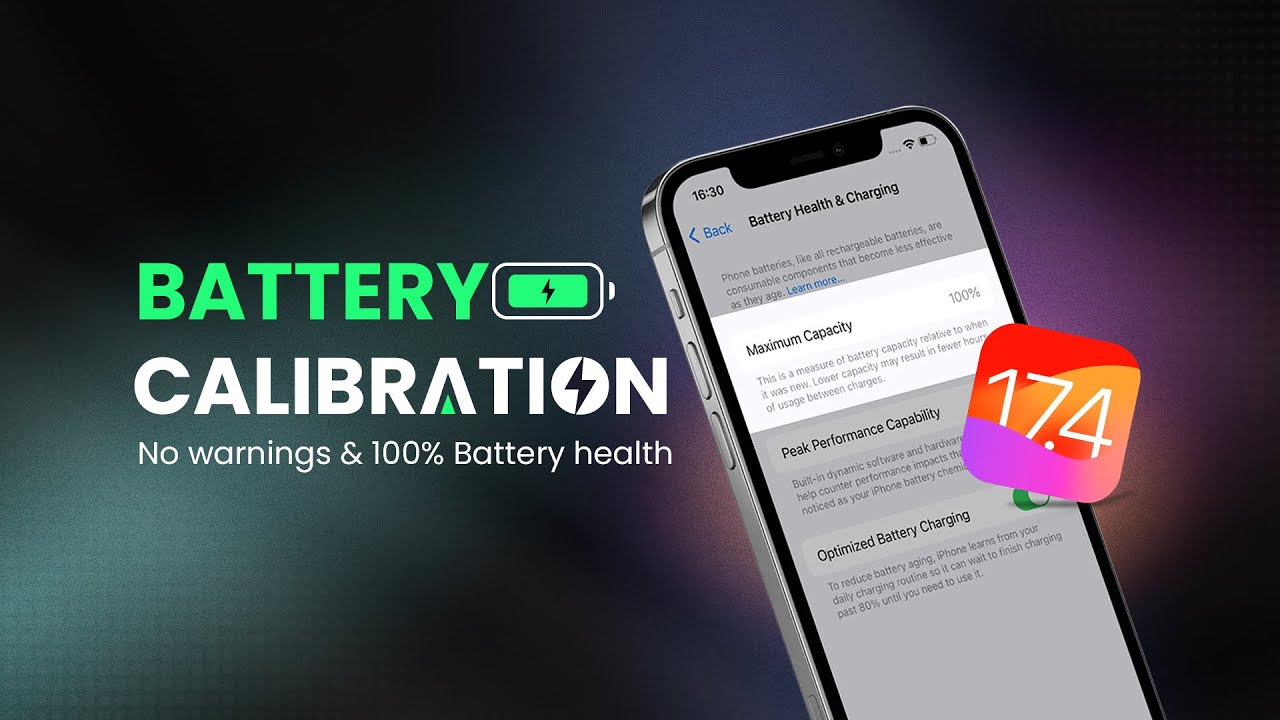
How to Calibrate Your iPhone Battery: Step‑by‑Step Guide
Why Calibration Can Make a Difference
Even the best lithium‑ion cells drift over time. Your iPhone’s battery indicator is a software estimate, and it can get a little sloppy after months of charging cycles. A quick calibration doesn’t magically increase capacity, but it helps the system read the remaining charge more accurately—so you’re less likely to be caught off‑guard by an unexpected shutdown.
When (and When Not) to Run a Calibration
If you notice these signs, it’s time to give the battery a reset:
- Percentage jumps unexpectedly (e.g., 80% to 60% in a few minutes).
- The “Battery Health” screen shows a significantly lower maximum capacity without a clear drop in usage time.
- Your iPhone powers off while the indicator still shows a healthy amount.
Don’t bother if your device is less than a month old or you’ve just replaced the battery. Calibration is most useful for seasoned phones that have been through many charge cycles.
Preparation: A Few Simple Precautions
Before you dive in, gather these items:
- The charger that came with the iPhone (or a certified equivalent).
- A stable Wi‑Fi connection for any software updates.
- At least 30 minutes of uninterrupted time – you’ll be watching the battery drain.
Make sure you back up your data, just in case the phone decides to reboot unexpectedly. It’s a tiny step that saves a lot of headaches later.
The Calibration Process, Broken Down
1. Drain the Battery Completely
Unplug the phone and use it normally until it powers off on its own. You can speed things up by turning on high‑intensity apps—gaming, video streaming, or a bright screen with maximum brightness. The key is to let the internal gauge hit zero on its own, not by pulling the plug.
2. Let It Rest
After the shutdown, leave the iPhone untouched for about five minutes. This pause lets the system settle and clears any residual charge that might still be lingering in the circuitry.
3. Charge to 100 % Without Interruption
Plug the device back into the original charger. Keep it connected until the battery icon flashes green and hits the 100 % mark. Resist the urge to use the phone during this stretch; every tiny usage can skew the reading.
4. Keep Charging for an Extra Hour
Even though the bar says “Full,” continue to let the charger stay connected for roughly another hour. This extra time ensures the battery cells truly reach their maximum voltage, which the software will later record.
5. Power Down, Then Restart
Once the hour is up, turn the phone off completely, wait a minute, and power it back on. The device will now recalibrate its internal estimate based on the fresh charge‑discharge data you just fed it.
Post‑Calibration Checks
Open Settings → Battery → Battery Health. If the “Maximum Capacity” figure looks steadier and the percentage no longer jumps around, you’ve done it right. You might notice a slight improvement in how long the phone lasts between charges—though remember, the real capacity hasn’t changed.
Common Pitfalls to Avoid
- Skipping the “extra hour.” Cutting the charge short can leave the calibration half‑baked.
- Using a cheap third‑party charger. Inconsistent voltage can confuse the battery‑meter algorithm.
- Repeating the process too often. Frequent full‑drain cycles actually wear the battery faster.
How Often Should You Calibrate?
For most users, once every three to six months is sufficient. If you’ve just updated iOS, or you’ve switched to a new charging routine (like moving from wireless to wired), give it another go.
Quick Recap in Bullet Form
- Use the phone until it shuts down on its own.
- Rest 5 minutes.
- Charge uninterrupted to 100 %.
- Stay plugged an extra hour.
- Power cycle the device.
That’s all there is to it. A little patience, a good charger, and a few mindful steps can keep your iPhone’s battery indicator honest for months to come.