How to Choose and Build Your Tech Deck Fingerboard Skate Park
Why Fingerboard Parks Matter for Tech Deck Enthusiasts
Whether you’re flipping a Tech Deck fingerboard for the first time or already pulling off flawless kickflips, a well‑designed skate park can turn a casual hobby into a daily ritual. The right park offers realistic terrain, encourages creative combos, and protects your fingers from the wear and tear of cheap, improvised surfaces. In short, a dedicated fingerboard skate park is the playground that lets you practice tricks safely, experiment with line‑choices, and showcase your style without the limitations of a flat tabletop.
Key Elements of a Good Fingerboard Park
Before you start buying ramps or cutting plywood, think about these core components:
- Scale and proportion – Most Tech Deck decks are 100 mm long, so obstacles should be roughly 10–15 mm tall to maintain a realistic feel.
- Surface material – Smooth, low‑friction wood or high‑quality polymer sheets mimic real skate decks and let wheels glide without sticking.
- Modular design – Interchangeable pieces let you re‑configure the park, keeping the layout fresh as your skill set grows.
- Durability – Look for reinforced joints and sealed edges; fingerboards can be surprisingly hard on wood.
Choosing the Right Materials
Most hobbyists start with a simple plywood base. A 3‑mm birch or maple sheet works well because it’s sturdy yet light enough to move. If you prefer a more polished feel, consider a polycarbonate panel; it’s resistant to dents and offers a slick ride that many skaters love. For the ramps themselves, 2‑mm to 3‑mm thick wood is ideal. Some brands even sell pre‑cut foam cores covered with a thin veneer, which can absorb impact and reduce noise.
When selecting adhesives, opt for a clear, fast‑dry craft glue. It prevents unwanted movement without adding bulk. A thin line of hot‑glue can reinforce corners, but be careful—excessive glue can create uneven surfaces that throw off trick execution.
Designing Your Layout
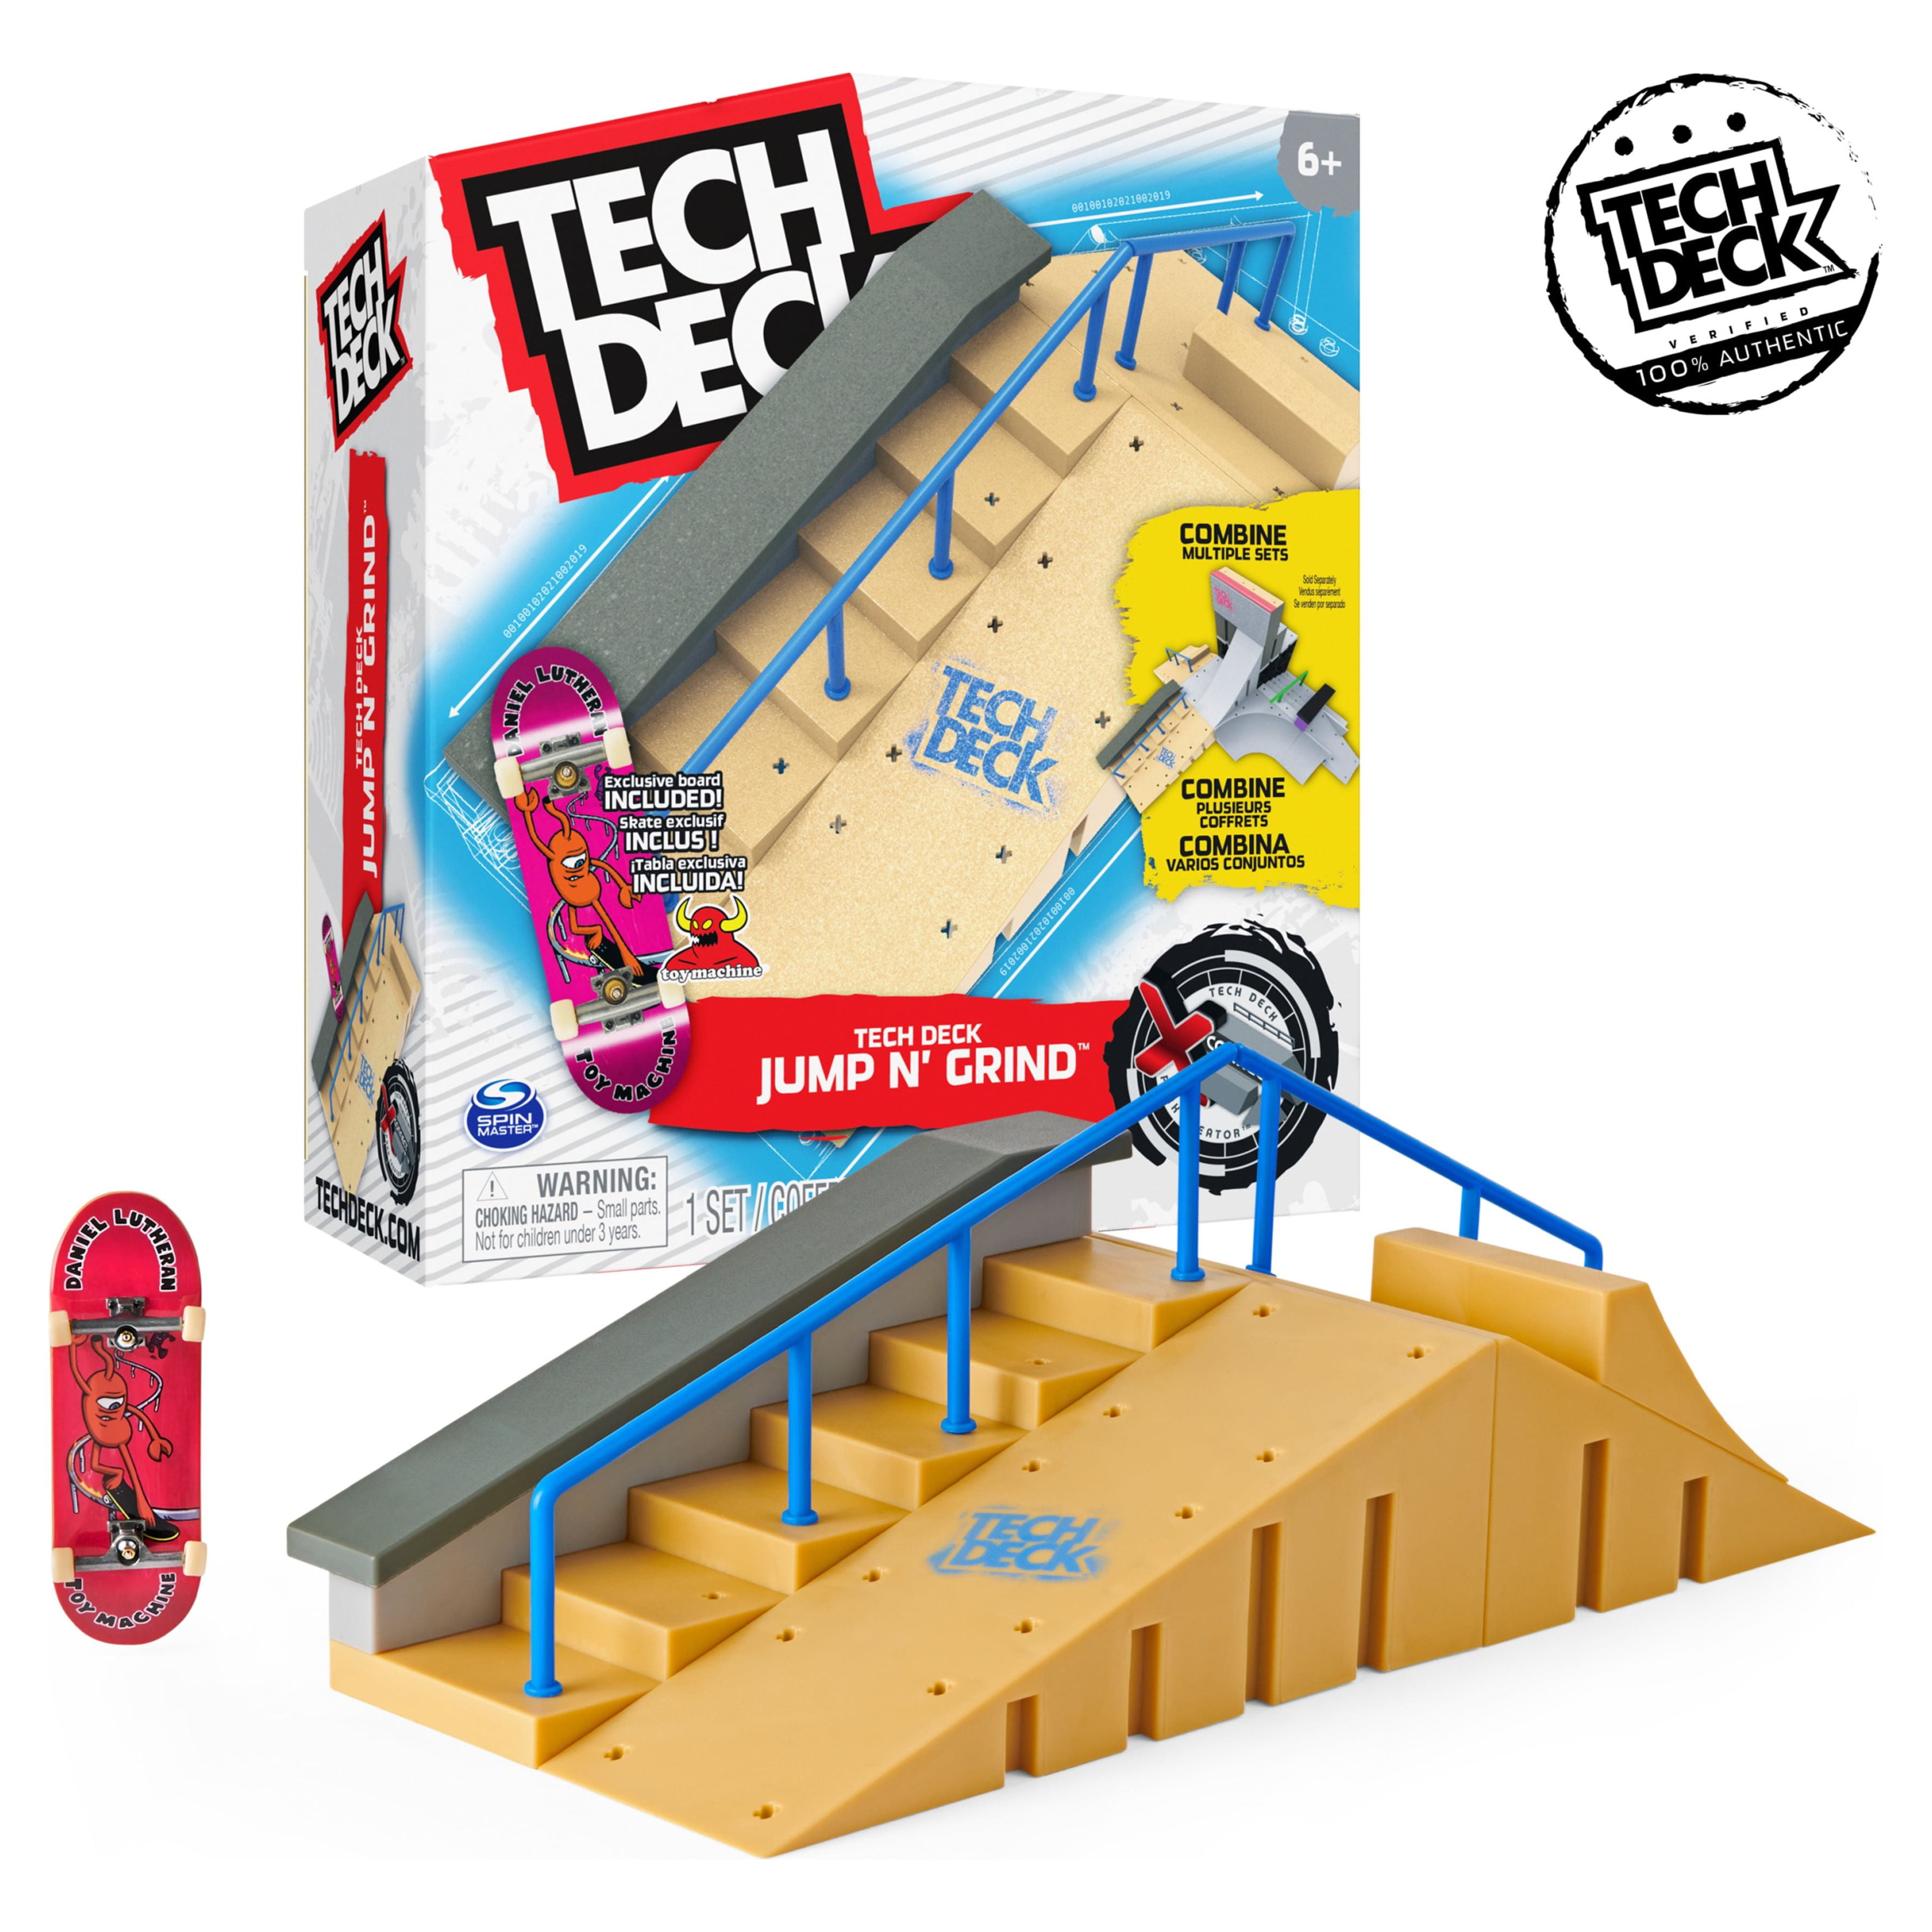
Start with a basic flow: a quarter‑pipe leading into a flat‑bank, then a mini‑stair and finally a gap for daring grinds. This sequence mirrors many real skate parks and teaches you to transition smoothly between obstacles.
Here’s a quick sketch of a beginner‑friendly configuration:
- 12 cm wide base (provides stability)
- 6 cm high quarter‑pipe at the left end
- 4 cm flat‑bank adjacent to the ramp
- Three‑step stair set (each step 2 cm high)
- 2‑cm gap placed after the stairs for a small “ollie‑gap” practice
Adjust the dimensions to fit your available space—most fingerboard parks comfortably fit on a standard desk or a 30 × 40 cm tabletop.
Popular Park Styles and Where to Find Inspiration
There are three main styles that dominate the fingerboard community:
Mini‑Mini Parks
Compact setups with a single ramp and a few ledges. Perfect for travel or cramped workspaces. Many online sellers offer kits that snap together without any tools.
Modular “Box” Parks
These consist of interchangeable “box” pieces that can be rearranged into bowls, half‑pipes, or street sections. Brands like Fingerboard World provide magnetic connectors that keep pieces aligned while allowing quick swaps.
Custom DIY Layouts
For the creative control freaks, designing your own park from scratch lets you incorporate personal touches—like a tiny replica of your favorite skate spot or a custom graffiti mural on the ramp’s side.
If you need visual cues, the Red Bull Fingerboard Series videos showcase a variety of park builds, from simple DIY boards to professional‑grade metal constructions.
Building Your Park Step‑by‑Step
Follow this straightforward process to assemble a functional park in under an hour:
- Measure your space. Mark the dimensions on a sheet of cardboard to visualize the layout.
- Cut the base. Using a fine‑tooth saw, trim the plywood to your marked size. Sand the edges to avoid splinters.
- Assemble ramps. Cut the ramp pieces according to your chosen dimensions, then glue them onto the base. Use clamps to hold them while the adhesive cures.
- Secure joints. Apply a bead of hot‑glue to each corner for extra stability.
- Finish the surface. Lightly sand any rough spots, then apply a thin coat of clear varnish if you want a glossy finish that mimics real skate decks.
- Test and tweak. Run your favorite fingerboard through the park. If a ramp feels too steep, shave a millimeter off the lip and re‑test.
Maintaining Your Fingerboard Park
Regular upkeep extends the life of your park. Wipe the surface with a dry microfiber cloth after each session to remove dust and oil from your fingers. If you notice squeaking, a light rub of silicone spray on the ramp edges can restore smoothness. For wooden parks, re‑apply a thin varnish layer every few months to prevent warping from humidity.
Where to Buy Components
Most hobby shops carry the basic materials you need—plywood sheets, craft glue, and sandpaper. Online marketplaces such as Amazon and eBay host dedicated fingerboard sections where you can find pre‑cut ramp kits. For premium parts, check out specialty sites like Fingerboard World or SkateTech Deck, which sell magnetic connectors, metal rails, and custom‑grip tape.
Tips for Progressing Beyond the Basics
- Vary the terrain. Switch between bowl‑style layouts and street sections to develop a versatile skill set.
- Integrate obstacles. Add small rails, grind boxes, or even a miniature skate‑shop backdrop for visual interest.
- Record your runs. Slow‑motion video helps you spot subtle foot placement errors.
- Join a community. Online forums like Fingerboard HQ often share free CAD files for advanced park designs.
FAQ
Q: How tall should a quarter‑pipe be for a standard Tech Deck?
A: Aim for a height of 10–12 mm; this provides enough curvature for pop‑shoves without making the landing too harsh.
Q: Can I use metal for ramps?
A: Yes, thin aluminum sheets work well and add durability, but be sure to sand any sharp edges to avoid damaging your board wheels.
Q: Is a varnish finish necessary?
A: Not strictly, but a clear coat reduces friction spikes caused by wood grain and gives the park a polished look.
Q: How often should I replace the park’s surface?
A: Most wooden parks last 1–2 years with regular care; replace when you notice persistent rough spots or warping.