How to Choose and Use Chemical Reagent Bottles in the Lab
Whether you’re setting up a fresh bench or just reorganizing supplies, the humble reagent bottle plays a surprisingly big role in safety, accuracy, and workflow. The right container can keep a volatile solvent from evaporating, prevent cross‑contamination, and even save you a few minutes when you need that last milliliter. Below is a practical walk‑through that covers the basics—material selection, labeling, storage, and a few tips that seasoned chemists swear by.
Understanding Bottle Materials
Not all glass or plastic is created equal. The material you pick should match the chemical’s personality.
Glass Options
- Borosilicate (e.g., Pyrex): Excellent resistance to thermal shock and most acids. Ideal for high‑temperature work.
- Quartz: Handles extreme heat and UV exposure, but costs a lot more.
- Soda‑lime: Cheap and widely available, yet vulnerable to corrosion by strong bases or hydrofluoric acid.
Plastic Choices
- Polyethylene (PE): Great for non‑polar solvents; flexible and less likely to break.
- Polypropylene (PP): Handles a broader temperature range and tolerates many acids and bases.
- Polyethylene terephthalate (PET): Transparent, making it easy to eyeball volume, but not suitable for aggressive reagents.
When in doubt, consult the manufacturer’s compatibility chart. A quick glance can spare you a costly spill later.
Size Matters—But So Does Shape
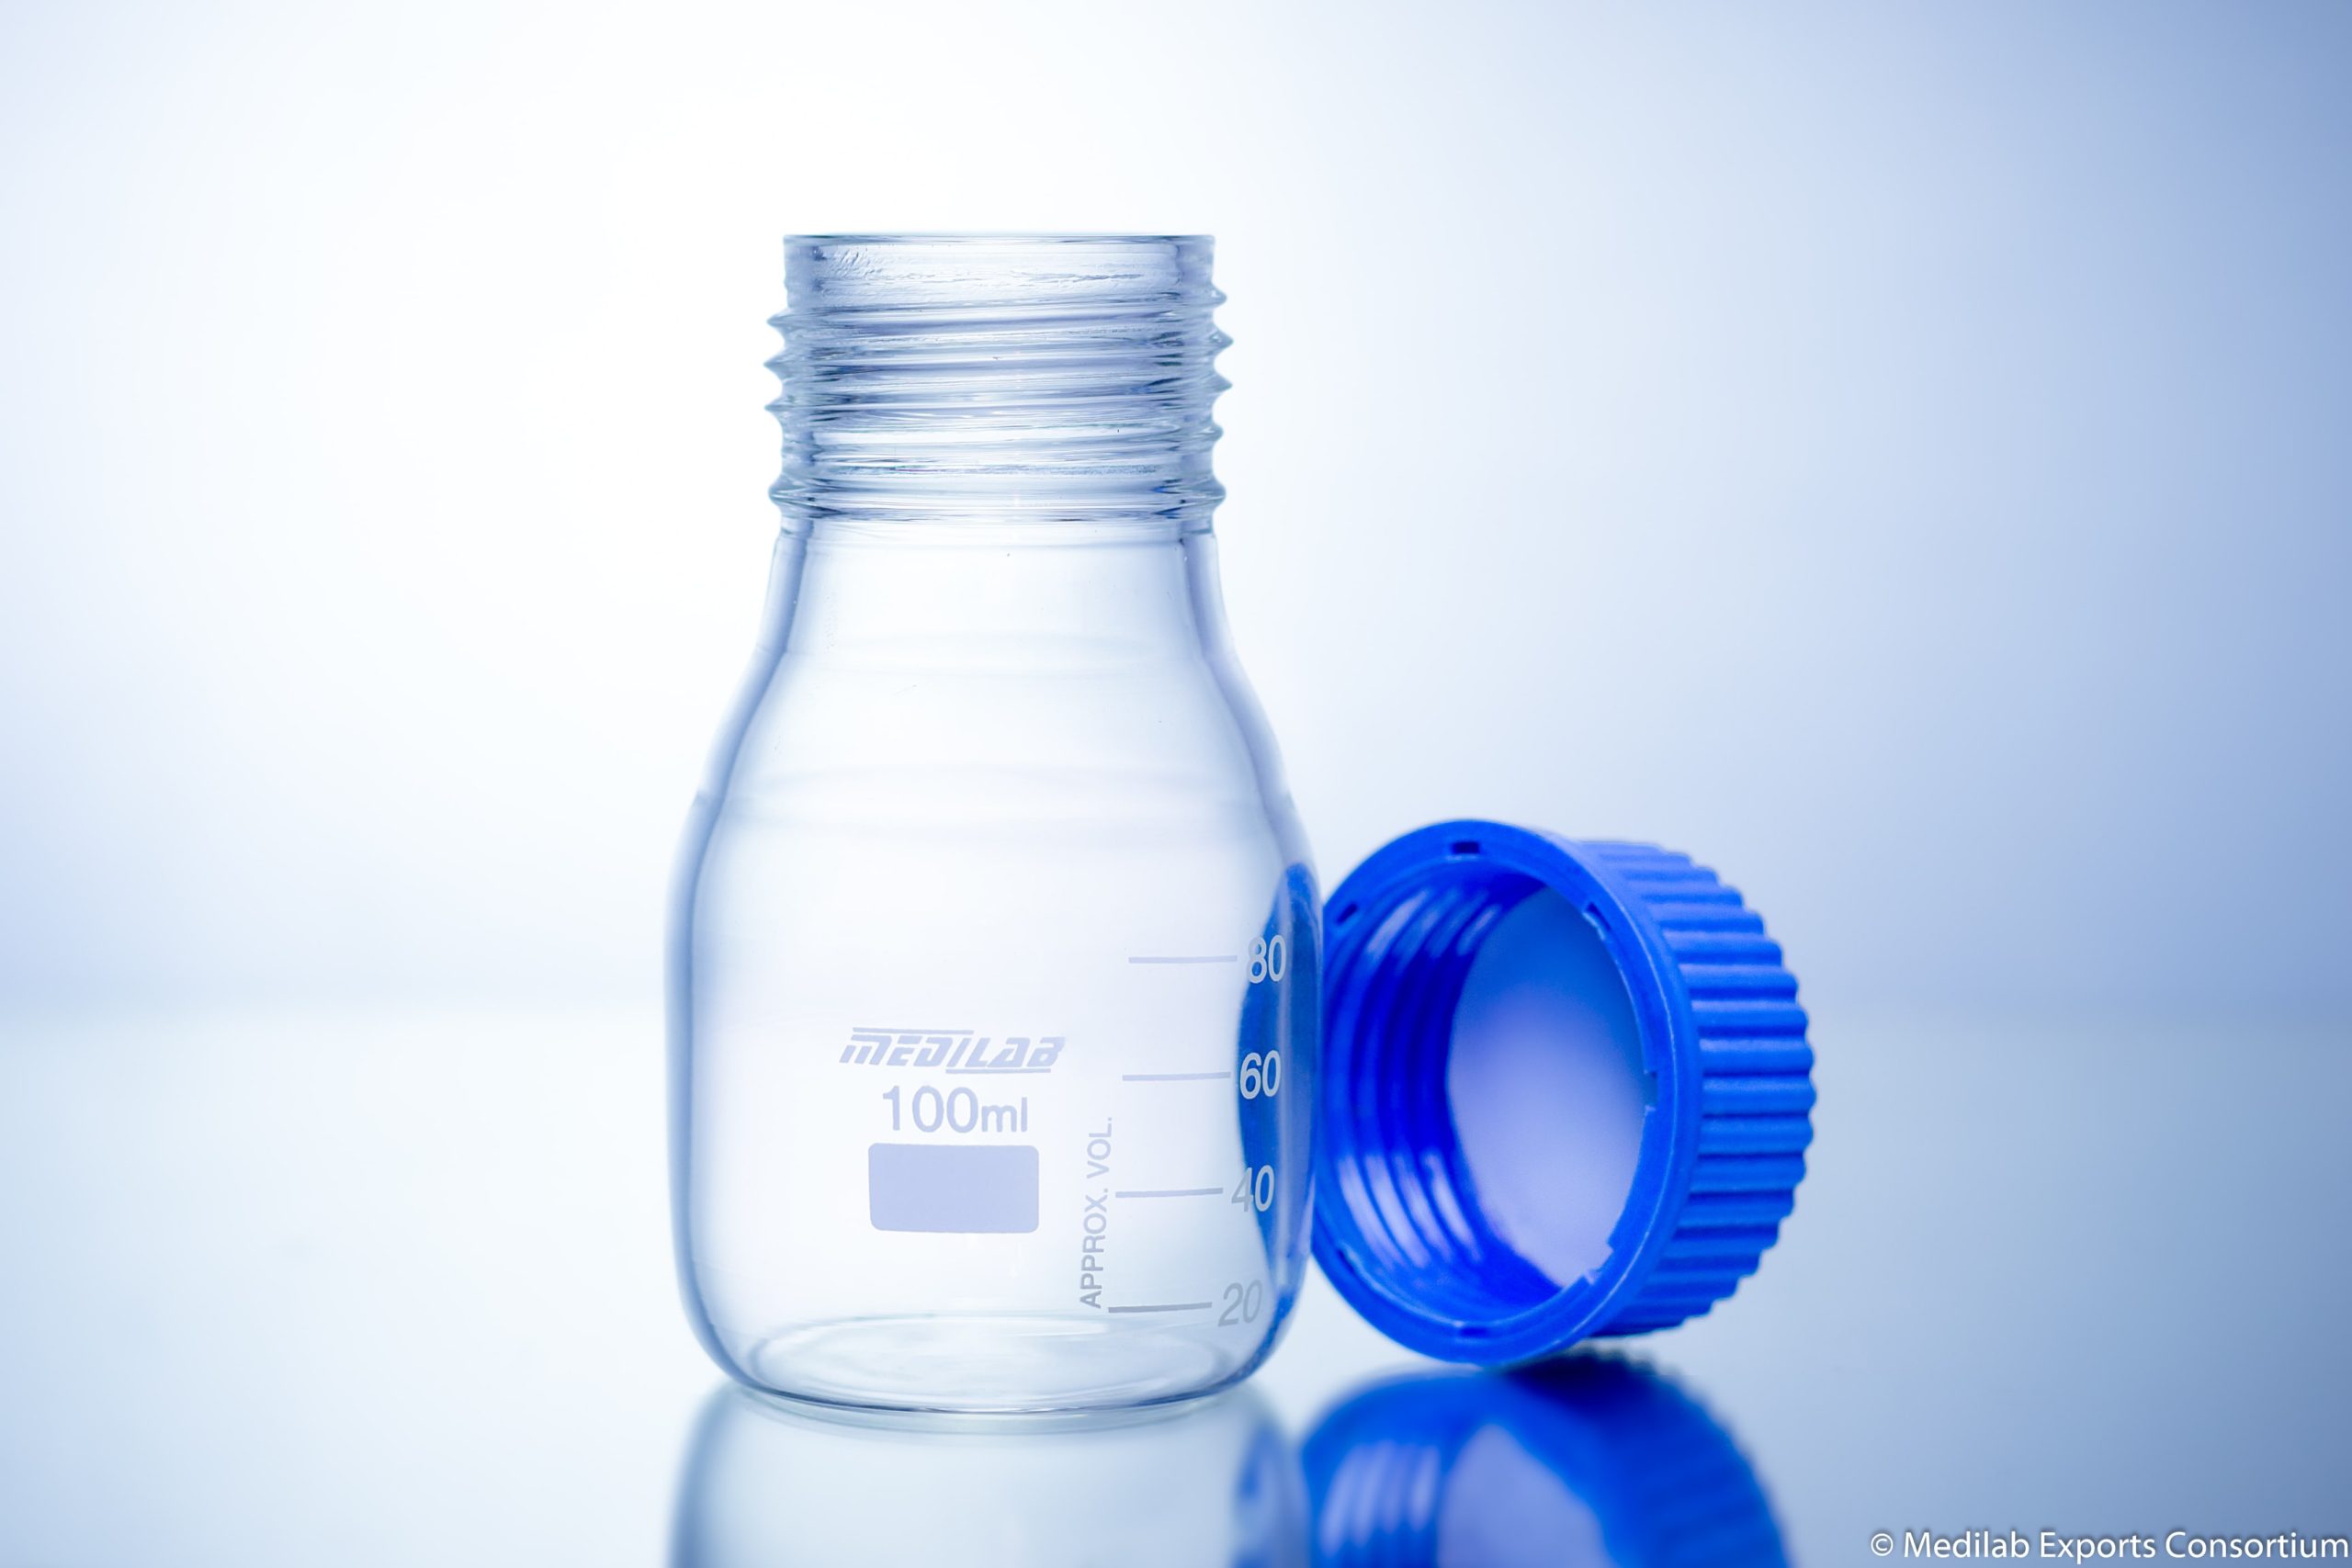
Common volumes range from 10 mL to 2 L. Smaller bottles reduce waste when you only need a few milliliters, while larger ones cut down on the number of caps you have to manage. The shape also influences stability: a wide‑mouth bottle is easier to fill, yet a narrow neck can help limit vapor loss.
Cap Types and Their quirks
- Screw caps: Most universal; look for PTFE liners if the contents are corrosive.
- Stopper caps: Useful for gases or reagents that must be vented slowly.
- Spray dispensers: Ideal for volatile organics, but ensure the material of the pump matches the solvent.
A snug fit is essential. A loose cap is the silent enemy of purity.
Labeling—Beyond the Basics
Legible, durable labels are a small investment that pays huge dividends.
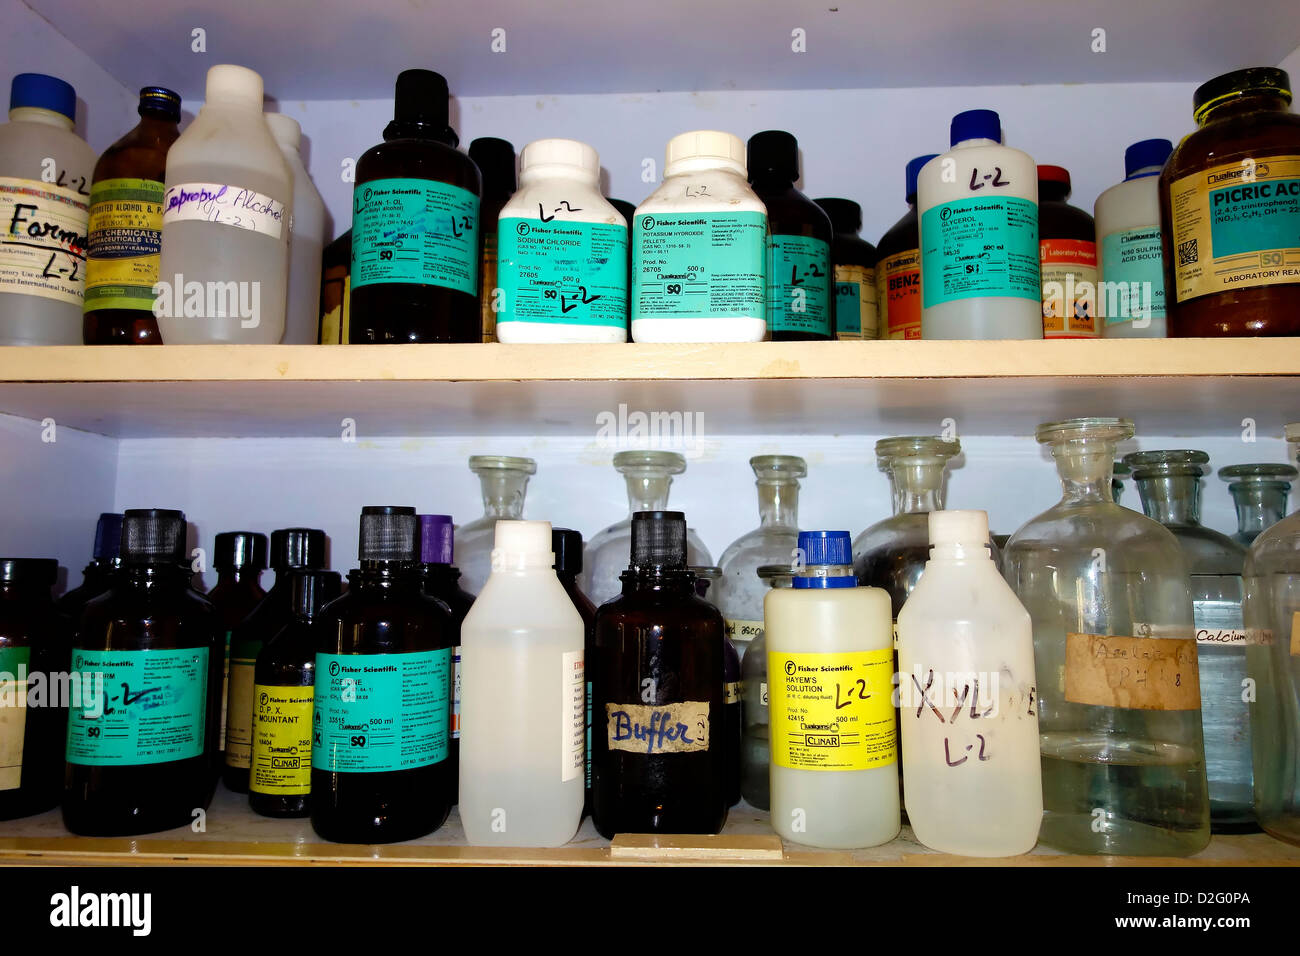
- Use solvent‑resistant inks; alcohol‑based markers can smudge on plastic.
- Include the chemical name, CAS number, concentration, and date opened.
- Color‑code hazard symbols for quick visual cues.
- Consider QR codes linked to a safety data sheet for digital access.
Even if you’re the only one in the lab, proper labeling prevents mix‑ups when you’re juggling multiple projects.
Storage Strategies for Longevity
Temperature, light, and humidity each have a story to tell about a reagent’s stability.
Temperature Control
Refrigerated reagents belong on the back shelf, away from the door where temperature spikes happen. For freeze‑sensitive chemicals, a cryogenic locker may be necessary.
Light Sensitivity
Opaque amber bottles shield light‑labile substances like hydrogen peroxide or certain organometallics. If you must use a clear bottle, wrap it in foil or store it in a dark cabinet.
Segregation Rules
- Acids away from bases—obviously.
- Oxidizers separate from organics to avoid runaway reactions.
- Flammable liquids in fire‑rated cabinets.
Simple visual cues—like a red tray for acids—can make compliance feel natural rather than forced.
Handling Tips that Save Time
Even with perfect containers, sloppy technique wastes material.
- Pre‑rinse the bottle with a small amount of the same solvent before transferring large volumes.
- Use a funnel with a wide lip to avoid splashing into the cap.
- When possible, fill bottles to no more than 80 % of their volume; this leaves headspace for expansion.
- Close caps immediately after use; a few seconds of exposure can change concentration.
Maintenance and Disposal
Regular checks catch cracks before they become leaks.
- Inspect glass for crazing—tiny hairline cracks that weaken the wall.
- Replace plastic bottles showing signs of stress cracking.
- When a bottle is no longer usable, follow your institution’s hazardous waste protocol. Never pour chemicals down the drain, even if they seem “harmless.”
Common Pitfalls and How to Avoid Them
Seasoned chemists have a few war stories that illustrate what not to do.
- Mixing incompatible caps: A PTFE‑lined screw cap on a bottle containing a strong base can degrade, leading to leaks.
- Over‑labeling: Too much text crowds the space, making critical warnings hard to spot.
- Neglecting headspace: Filling a bottle to the brim can cause pressure build‑up when the reagent expands.
A quick double‑check before you seal the bottle often catches these issues.
Putting It All Together
Choosing the right reagent bottle isn’t a one‑size‑fits‑all decision; it’s a balancing act between chemistry, workflow, and safety. By matching material to reagent, labeling thoughtfully, storing wisely, and maintaining vigilance, you create a reliable system that keeps experiments on track and the lab environment secure.