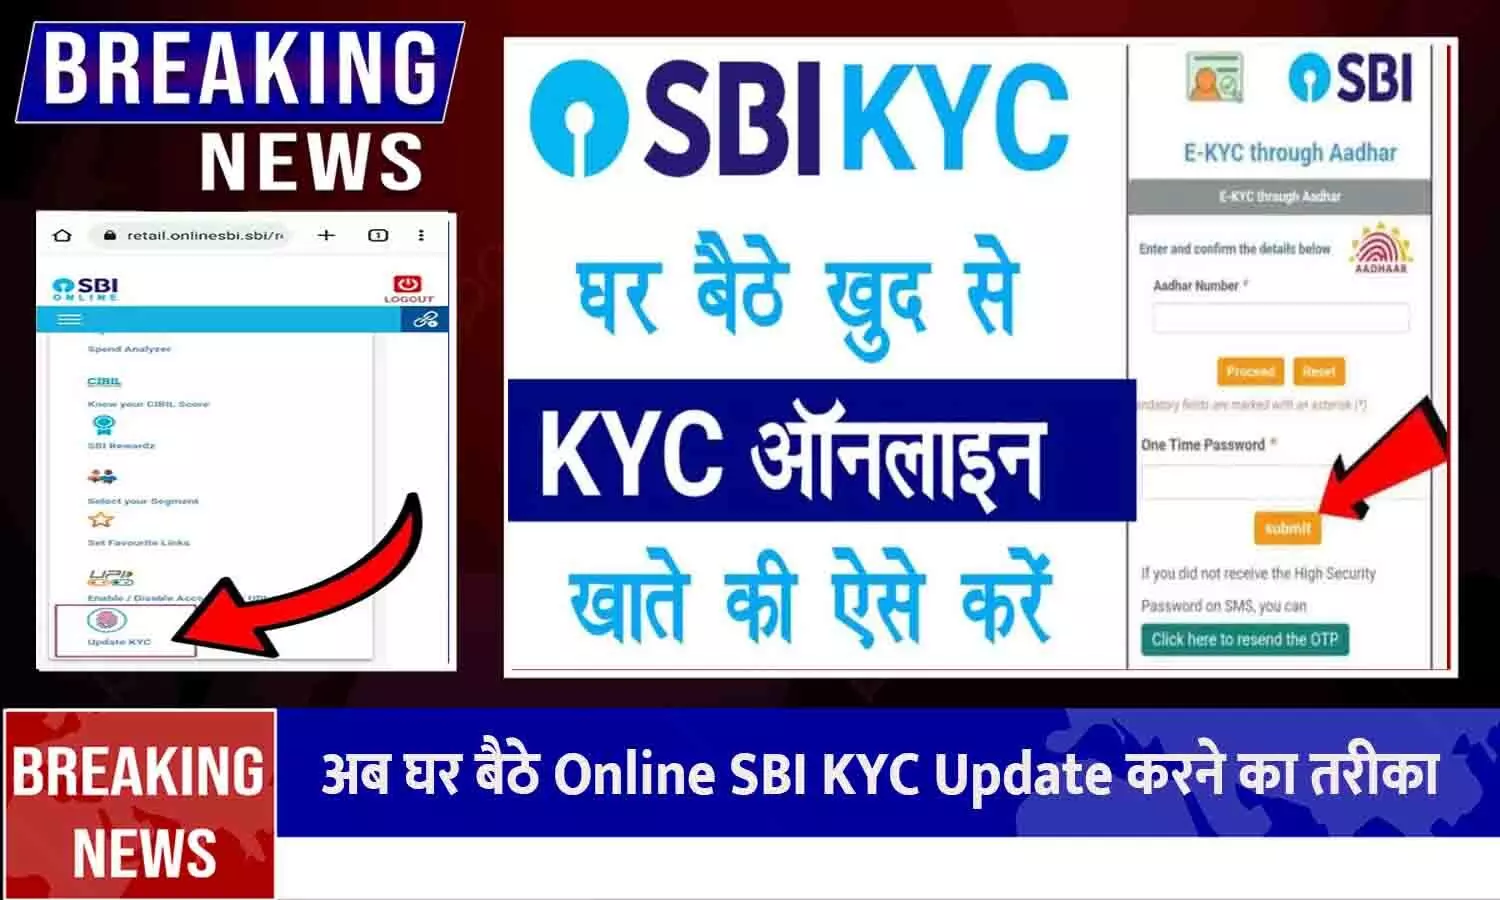
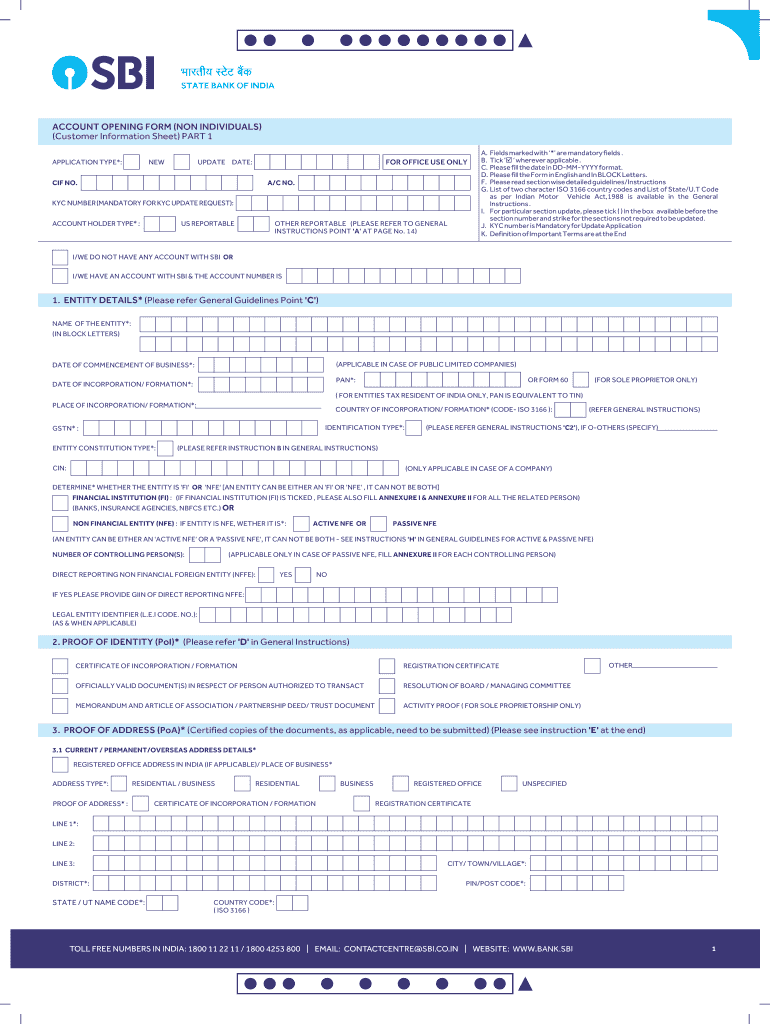
How to Complete the SBI KYC Form Online: Step‑by‑Step Guide
Ever stared at a banking form and wondered whether you’re missing a tiny detail? You’re not alone. The State Bank of India (SBI) requires every account holder to finish a KYC (Know Your Customer) update, and doing it online saves you a trip to the branch. Below is a friendly walk‑through that demystifies the process, from gathering documents to confirming the submission.
Why KYC Matters for SBI Customers
Regulators ask banks to verify who you are – not because they don’t trust you, but to curb fraud and money‑laundering. For SBI, a fresh KYC means you can continue to enjoy services like internet banking, NEFT, and mobile wallet integration without interruptions.
- Compliance: Keeps the bank aligned with RBI guidelines.
- Security: Reduces the risk of unauthorized transactions.
- Convenience: Unlocks full access to digital banking tools.
If your KYC expires, you might notice a sudden block on transfers or a request for additional verification. That’s why staying on top of the online form is worth the few minutes you’ll spend.
Preparing the Required Documents
Before you click “Start,” gather a handful of items. It’s surprisingly straightforward, yet a little preparation cuts down on back‑and‑forth.
- Valid photo ID (Aadhaar, PAN, passport, or driving licence).
- Proof of address matching the ID (utility bill, bank statement, or rent agreement).
- Recent passport‑size photograph (if the portal asks for it).
- Bank account number and IFSC code (just in case you need to cross‑check).
Make sure the documents are clear; blurry scans often trigger a “re‑upload” request, which can be frustrating.
Step‑by‑Step Process to Fill the Online Form
Now for the main event. Follow these steps, and you’ll be done before your coffee cools.
1. Visit the Official SBI KYC Page
Open onlinesbi.com and look for the “KYC Update” banner. Beware of look‑alike sites – the address should start with https://www.onlinesbi.com.
2. Log In with Your Credentials
Enter your username, password, and the OTP sent to your registered mobile. If you’ve forgotten your password, use the “Forgot Password” link – it’s a quick reset via your registered email.
3. Choose “New KYC” or “Update Existing KYC”
Most existing customers will click “Update Existing KYC.” New account holders need the “New KYC” option. The portal will automatically pull your basic details, but double‑check for typos.
4. Upload Documents
- Click “Browse” for each required field and select the scanned copy.
- Confirm the file size doesn’t exceed 2 MB; larger files often get rejected.
- Preview the uploaded image – a quick glance can catch a flipped page.
5. Fill Personal Information
Enter your full name exactly as it appears on the ID, your date of birth, and marital status. If you’ve changed your address recently, update it here – the system won’t accept an older address than the one on your proof.
6. Review and Submit
Take a moment to scroll through the form. Spot any missing asterisk? Those are mandatory fields. Once every box is ticked, click “Submit.” You’ll receive a reference number on the screen and an email confirming receipt.
Common Pitfalls and How to Avoid Them
Even with a simple process, a few hiccups can slow you down.
- Incorrect Document Format: The portal accepts only PDF, JPEG, or PNG. Trying a Word file will result in an error.
- Mismatched Details: If the name on your PAN differs by even a single character from your Aadhaar, the system flags it.
- Expired OTP: The one‑time password is valid for just two minutes. If you miss the window, request a new one.
- Network Interruptions: A shaky internet connection can cause an incomplete upload. A wired connection or strong Wi‑Fi helps.
When you encounter an error, the portal usually highlights the problematic field in red. Fix it, then hit “Save” again.
What Happens After Submission?
Once you’ve sent the form, the bank’s verification team kicks in. Typically they review the documents within 24‑48 hours. You’ll get an email or SMS notifying you of the outcome. If everything checks out, your KYC status changes to “Active” and you regain full access to SBI’s digital services.
Should there be an issue – say a blurry photo – the bank will ask you to re‑upload. It’s a good idea to keep the original scans handy, so you can respond promptly.
In the end, completing the SBI KYC form online is a small chore that pays off in smoother banking. With the right documents, a stable connection, and this guide at hand, you’ll breeze through the process without a hitch.