How to Connect a Sharp TV to WiFi Without a Remote
Maybe the remote’s batteries died, or you simply misplaced it. Either way, you’re staring at a Sharp television that refuses to join your home network. Good news: most Sharp models have enough built‑in controls to let you wire up Wi‑Fi without ever needing that plastic pointer.
Why You Might Need This Workaround
Streaming apps, firmware updates, and even basic channel guides now rely on an internet connection. Without Wi‑Fi, the TV reverts to a limited analog experience. Getting online restores the full smart‑TV feature set, and you won’t have to scramble for a new remote every time.
Gather What You’ll Need First
- Sharp TV’s physical button panel – usually on the side or bottom of the frame.
- A smartphone or laptop with the same Wi‑Fi network you want the TV to join.
- The TV’s model number (helps you locate the right menu layout).
Having these at hand saves you a few pointless trips back and forth.
Step 1: Access the TV’s Menu Using the Physical Buttons
Most Sharp sets include a “Menu” button, a “Enter/OK” key, and directional arrows. Press Menu to bring up the on‑screen interface. If the button isn’t obvious, look for a small circular icon or a line‑drawn square – manufacturers aren’t always consistent.
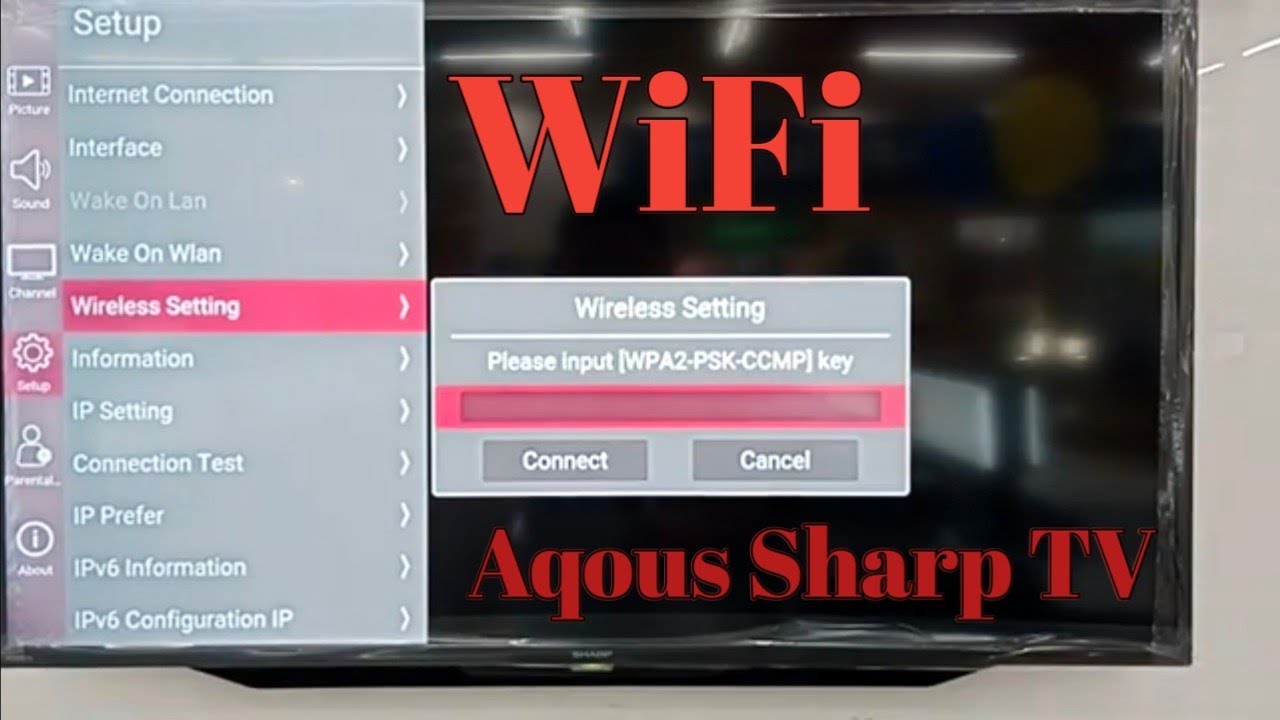
Navigate to Network Settings. On older models the path may read Setup → Network → Wi‑Fi. Use the arrows to scroll; press “Enter” to select.
Step 2: Choose Your Wi‑Fi Network
When the Wi‑Fi list appears, use the arrows to highlight your SSID. If you see a lock icon, that means the network is protected – you’ll need the password. Press “Enter” to open the password field.
Typing with the remote’s keypad is tedious, but the physical buttons work similarly. Each press corresponds to a character; the on‑screen cursor will blink, indicating where the next letter goes.
Step 3: Enter the Password
Take your time. A common slip is hitting “Enter” too soon, which aborts the entry and forces you to start over. If you make a mistake, look for a “Back” or “Delete” button – often represented by a left‑pointing arrow.
Once the password is correct, confirm with “Enter”. The TV will attempt to connect; you should see a brief “Connecting…” message followed by either a success confirmation or an error code.
Alternative: Use a Smartphone as a Remote
If the button navigation feels like a nightmare, many Sharp models support third‑party remote apps. The trick is to pair the phone via Bluetooth or Wi‑Fi Direct – but you still need an initial network connection for that.
Here’s a quick workaround:
- Download a universal remote app (e.g., AnyMote or Unified Remote) onto your phone.
- On the TV, go to Settings → Bluetooth using the physical panel.
- Enable “Pairing Mode”. The TV will broadcast a name like “SharpTV_XX”.
- Open the app, scan for devices, and select the TV.
- Once paired, the app can navigate menus, making the Wi‑Fi entry a breeze.
Note that some older Sharp sets lack Bluetooth, so this method only works on newer models.
Troubleshooting Common Hiccups
Wi‑Fi not listed. Your router might be set to 5 GHz only, while the TV only hears 2.4 GHz. Switch the router to mixed mode or temporarily enable the 2.4 GHz band.
Incorrect password error. Double‑check that you’re using the exact case—passwords are case‑sensitive. Also, watch out for hidden characters like trailing spaces; re‑enter the password from scratch.
Connection drops after a few minutes. This can stem from weak signal strength. Try moving the router closer, or use a Wi‑Fi extender. Some Sharp TVs also have a “Keep Wi‑Fi On” toggle under advanced settings that prevents the TV from powering down the radio.
Final Tips to Keep in Mind
Even without a remote, the built‑in buttons are surprisingly capable. Patience pays off, especially when typing passwords character by character. If you ever replace the remote, you’ll be glad you learned the workaround – it’s a handy fallback for future guests or lost controllers.