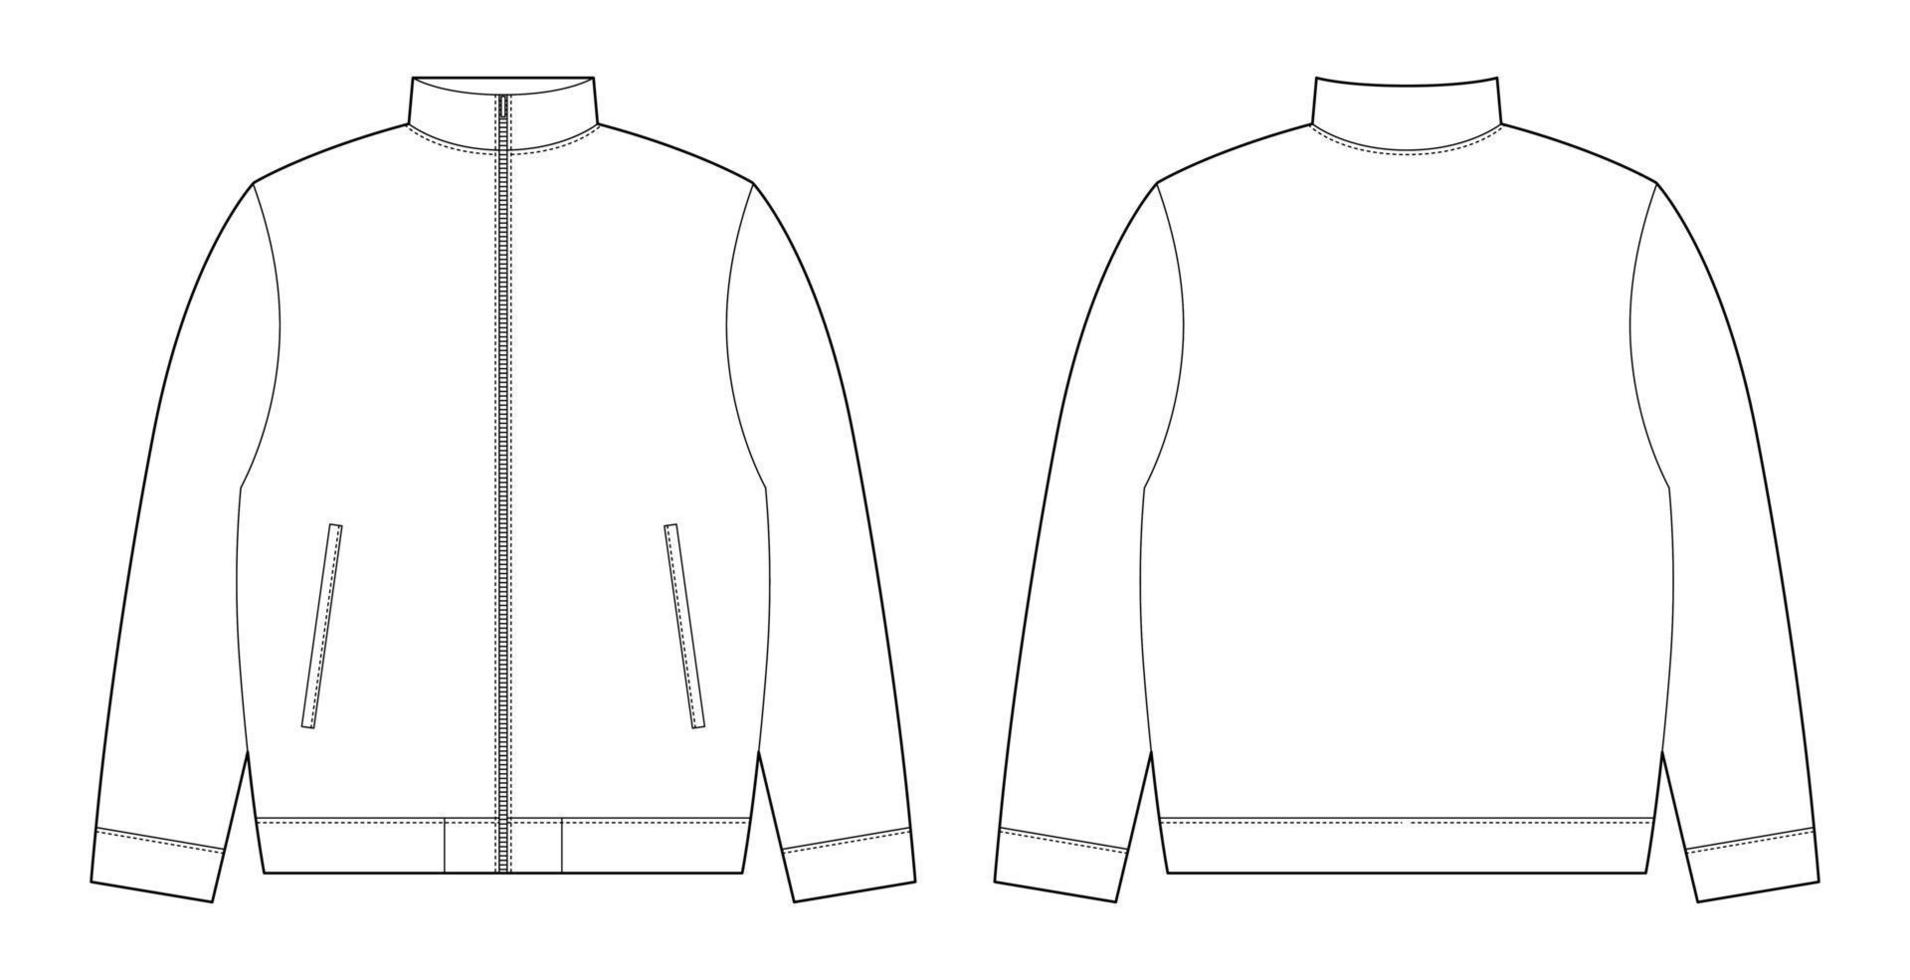
How to Design Your Dream Jacket: A Step‑by‑Step Guide
Imagine slipping on a jacket that looks like it was made just for you—color, cut, and details all matching your style and needs. Whether you’re a seasoned DIY’er or a first‑timer curious about customizing apparel, this guide walks you through the whole process, from concept to finished piece.
1. Define the Purpose and Audience
Before you dive into fabrics and trims, ask yourself a few simple questions:
- Will the jacket be for everyday wear, a sports activity, or a special event?
- Who will be wearing it—yourself, a team, or a brand’s fan base?
- What climate or performance requirements does it need to meet?
Answering these points narrows down the style options and helps you choose the right materials without second‑guessing later.
2. Gather Inspiration and Sketch Ideas
Take a quick scroll through Instagram, Pinterest, or even vintage lookbooks. Save images that catch your eye—whether it’s a bold sleeve pattern, a sleek silhouette, or an unusual zipper placement. Then, pull out a notebook or a digital sketch app and start doodling. Don’t aim for perfection; the goal is to capture the vibe.
Tip: Use a Mood Board
A mood board can be as simple as a collage of fabric swatches, color chips, and photos. It turns abstract ideas into a visual reference you’ll keep handy when you start sourcing materials.
3. Choose the Right Fabric
Fabric choice influences comfort, durability, and overall look. Here are three common categories you might consider:
- Performance textiles (e.g., nylon or polyester blends) for athletic or weather‑resistant jackets.
- Mid‑weight knits (like French Terry) for casual, everyday pieces.
- Premium wools or cashmere for a luxury feel.
Touch each material, check the weight, and think about care instructions. A jacket meant for the gym should breathe, while a fashion‑forward piece can afford a bit of shine.
4. Draft the Pattern
If you’re comfortable with pattern making, you can draft from scratch. Otherwise, start with a commercial pattern that matches your desired silhouette and modify it. Common adjustments include:
- Altering sleeve length or taper.
- Adding a vent or side gusset for mobility.
- Changing the neckline—crew, zip‑up, or off‑the‑shoulder.
While measuring, double‑check key points: chest circumference, shoulder width, and armhole depth. A small miscalculation can throw off the entire fit.
5. Select Trims and Details
Hardware can turn a plain jacket into a statement piece. Consider these elements:
- Zippers: metal for an industrial look, plastic for a lighter feel.
- Buttons: classic mother‑of‑pearl or modern sculptural shapes.
- Patches or embroidery: perfect for adding a logo or personal motto.
- Inner pockets: zippered for security, or hidden slash pockets for sleekness.
Don’t overdo it—choose a handful that complement rather than compete.
6. Create a Prototype (The Mock‑Up)
Before cutting your final fabric, make a test version from inexpensive muslin or cotton canvas. This “muslin” lets you check fit, seam placement, and the overall flow of the jacket. Pin the pieces together, try it on, and walk around. Spot any odd pulls or uncomfortable seams, then adjust the pattern accordingly.
7. Cut, Sew, and Assemble
Now the real work begins. Follow these steps for a clean finish:
- Lay out the pattern pieces on the fabric, aligning grain lines.
- Use sharp fabric scissors or a rotary cutter for precise edges.
- Mark notches, darts, and placement lines with tailor’s chalk.
- Pin or clip pieces together, then sew with a suitable stitch—typically a straight stitch for seams, a zigzag for edges that need stretch.
- Press seams as you go; a good press reduces bulk and improves the jacket’s shape.
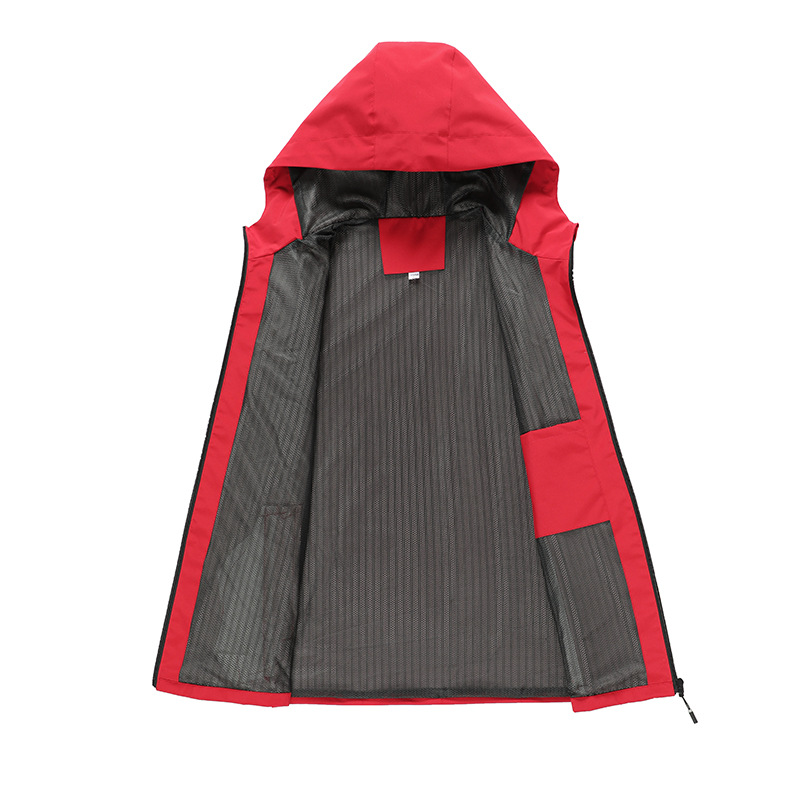
If you’re adding a lining, sew it separately then attach it to the outer shell, leaving an opening for turning the jacket right side out.
8. Finishing Touches
Details make the difference:
- Topstitch around major seams for a polished look.
- Install zippers and buttons, ensuring they glide smoothly.
- Attach any patches or embroidery after the main construction to avoid stretching the fabric.
- Give the jacket a final press, focusing on collars, cuffs, and hems.
9. Care Guidelines
Even the best‑crafted jacket will lose its charm without proper care. Include a simple care tag that says something like:
- “Machine wash cold, gentle cycle; tumble dry low or line dry.”
- “Do not bleach; iron on low heat if needed.”
Tailor these instructions to the fabric you chose.
10. Show It Off
Take a few photos in natural light, highlight the unique details, and share them on social media or with friends. If you’re designing for a team or brand, consider a short video that showcases the jacket’s movement.
Designing your own jacket is part art, part engineering. By breaking the project into manageable steps—purpose, inspiration, material, pattern, prototype, construction, and finishing—you’ll end up with a piece that feels truly yours. Ready to start cutting? Grab that fabric, and let the creativity flow.