How to Install AMD RAID Drivers for Windows 11 Quickly
When you’ve just built a PC or upgraded to Windows 11, the first thing that can feel a bit puzzling is getting your RAID array recognized. AMD’s RAID controller isn’t as front‑and‑center as some other components, but once the right driver is in place, the system sees every disk just the way you intended.
Why the Driver Matters
Windows 11 includes a generic storage stack, but it doesn’t speak the native language of AMD’s RAID‑0/1/5/10 configurations. Without the proper driver:
- The BIOS may show the array, yet Windows lists each disk separately.
- Performance can drop dramatically because the OS can’t leverage the controller’s caching.
- Some advanced features—like hot‑swap notifications—simply don’t work.
In short, the driver is the bridge between the hardware’s capabilities and the OS’s expectations.
Gather What You Need First
Before you dive in, make sure you have these items at hand:
- Motherboard model – check the exact AMD chipset (e.g., B550, X570).
- Windows 11 version – 22H2 or later is recommended for better compatibility.
- Internet connection – the AMD website hosts the latest drivers.
- A USB stick or secondary drive if you prefer an offline install.
Having these ready saves you from the classic “wait, where’s that file?” moment.
Step‑by‑Step Installation Guide
1. Locate the Official Driver Package
Head to AMD’s Support page. Select “Chipsets” → your series → “RAID Drivers”. Look for the package labeled “AMD RAID Driver for Windows 11”. It’ll usually be a zip file around 30 MB.
2. Download and Extract
Save the zip to a convenient folder. Right‑click → “Extract All…” and let Windows unpack the contents. Inside you’ll find an .exe installer and a .inf folder for manual installations.
3. Run the Installer
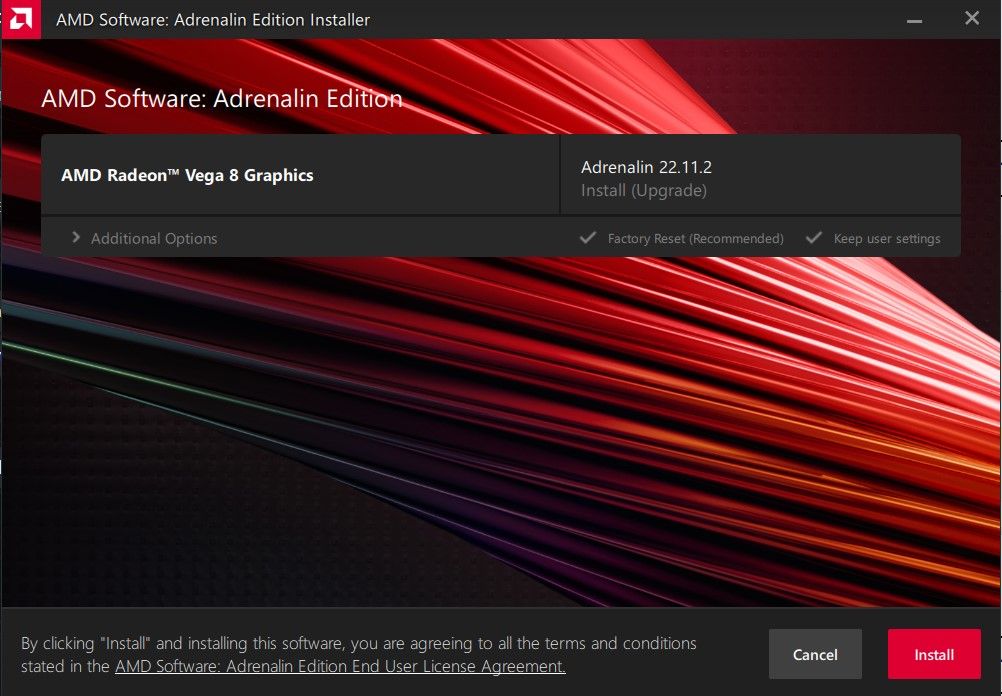
If you trust the source (the official AMD site), double‑click the .exe. A straightforward wizard appears:
- Accept the license agreement.
- Choose the installation location (default is fine).
- Click “Install”.
During the process, Windows may momentarily pause to apply the driver. Let it finish; a reboot will usually be prompted.
4. Verify the Driver Is Active
After reboot, open Device Manager (Win + X → Device Manager). Expand “Storage controllers” and you should see something like “AMD RAID Controller”. If a yellow exclamation mark is present, right‑click → “Update driver” → “Browse my computer for drivers” and point to the extracted folder.
5. Check RAID Functionality
Open the AMD RAID Management utility (often installed alongside the driver). Your arrays should appear with the correct size and status. Run a quick “Verify” on each volume to ensure integrity.
Troubleshooting Common Hiccups
Even with a smooth guide, a few bumps can appear.
- Driver refuses to install – Disable driver signature enforcement temporarily (Shift + Restart → “Troubleshoot” → “Advanced options” → “Startup Settings”).
- Array not detected – Double‑check BIOS settings: RAID mode must be enabled, not AHCI.
- Windows reports a generic driver – Uninstall the generic “Standard SATA controller” first, then reinstall the AMD driver.
Most issues resolve with a clean uninstall followed by a fresh install, so keep the original installer handy.
When to Update the Driver
AMD releases driver updates roughly every few months, often bundling performance tweaks or fixes for new Windows updates. Consider updating:
- After a major Windows 11 feature update.
- If you notice slower-than-expected transfer speeds.
- When AMD publishes a release note mentioning your specific chipset.
Regularly visiting the support page ensures you stay on the optimal version without unnecessary churn.
Alternative: Manual INF Installation
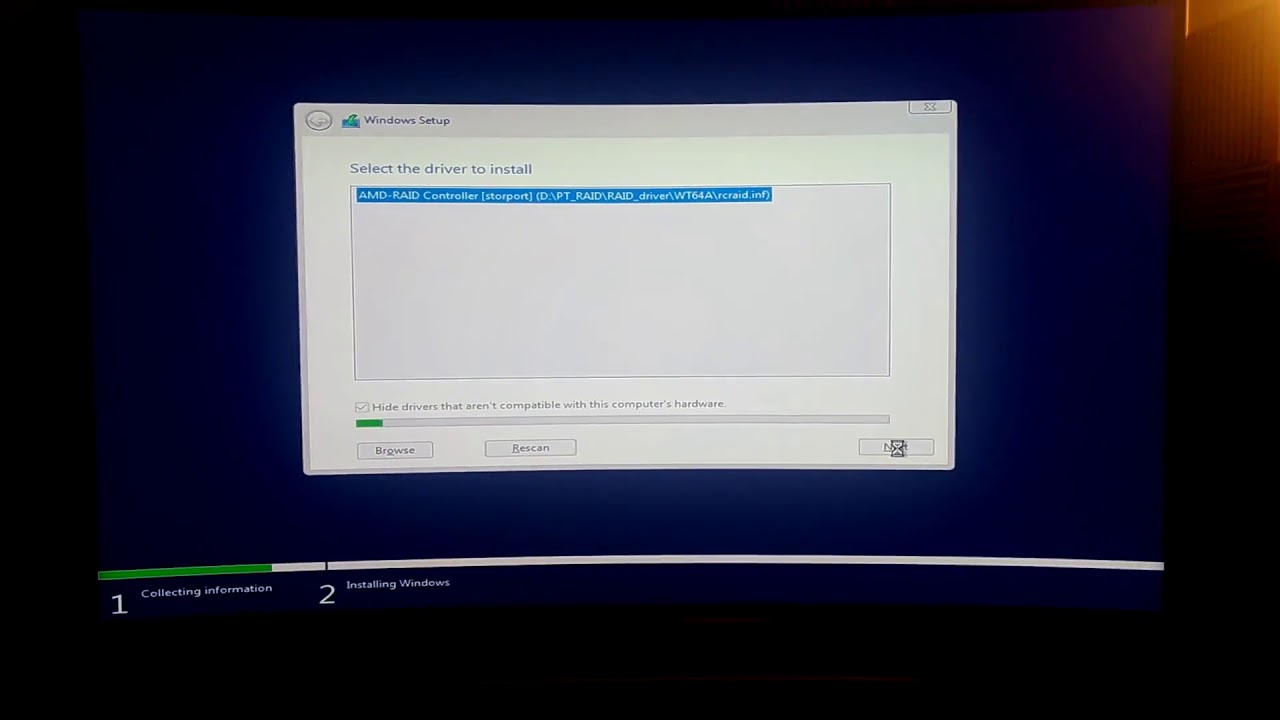
If you prefer a more hands‑on approach, you can skip the exe altogether. In Device Manager, right‑click the controller → “Update driver” → “Browse my computer” → “Let me pick from a list”. Choose “Have Disk”, navigate to the extracted .inf file, and confirm. This method is handy for offline environments or when Windows blocks the installer.
Final Thoughts
Getting AMD RAID drivers running on Windows 11 isn’t rocket science, but it does require a few deliberate steps. The payoff—a stable, high‑speed storage array—justifies the brief setup time. Keep the driver package saved, revisit the AMD site after major OS updates, and you’ll enjoy seamless storage performance for years to come.