How to Install PS2 Games on a USB Drive: The Ultimate Guide
The PlayStation 2 may be a relic, but its library still holds a special place in many gamers’ hearts. One of the cleanest ways to keep that nostalgia alive is to run your favorite discs from a USB stick. It sounds tech‑y, yet with the right tools the process is surprisingly straightforward.
What You’ll Need Before You Start
Gather these items, and you’ll avoid the classic “wait, I forgot something” moments that can stall a session.
- A USB flash drive (minimum 2 GB, preferably USB 2.0 for compatibility)
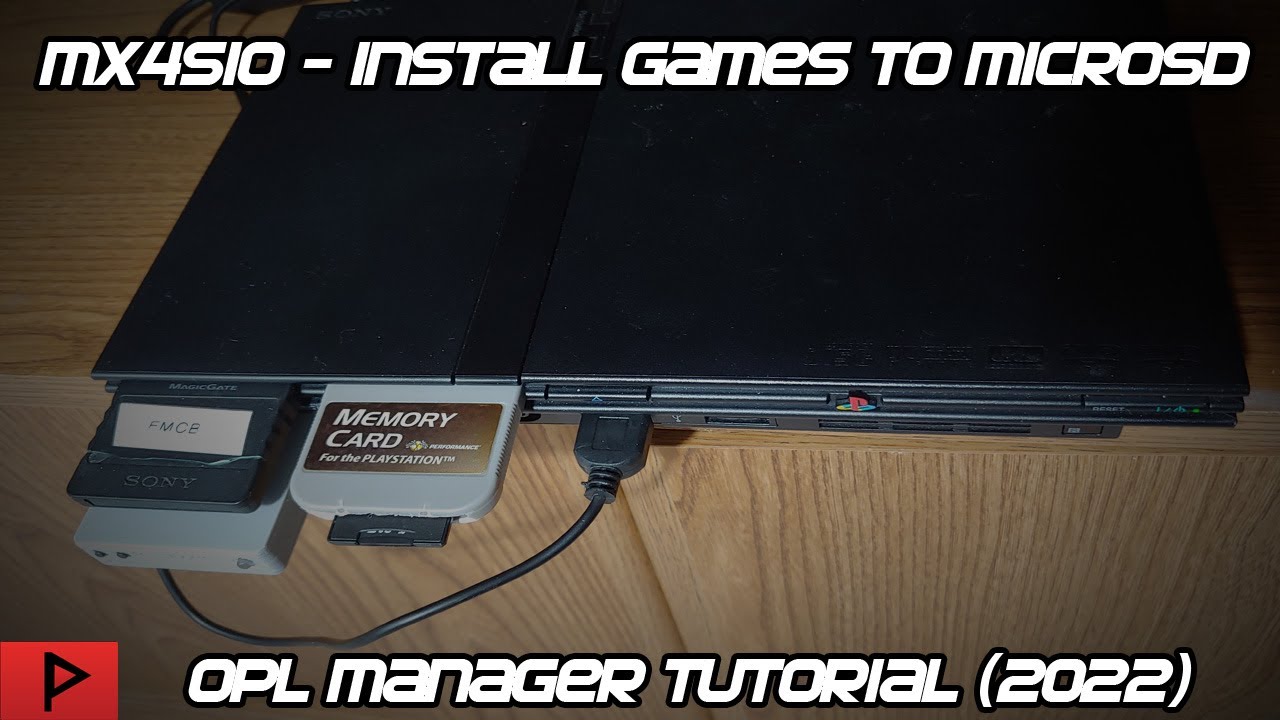
- A modded PS2 that can read USB – either a soft‑mod (like OPL) or a hardware mod such as a Free McBoot exploit
- The game files in .iso or .bin/.cue format
- A PC with a reliable file‑transfer program (WinRAR, 7‑Zip, or similar)
Make sure your USB is formatted to FAT32; the PS2’s USB controller can’t handle NTFS or exFAT.
Step‑By‑Step: Preparing the USB Drive
Formatting the stick correctly is the foundation. A quick misstep here can lead to the console simply ignoring your drive.
- Plug the USB into your computer.
- Open the drive’s properties and select Format. Choose FAT32 as the file system.
- Set the allocation unit size to Default and click Start. Confirm any warnings – the data will be erased.
When the format finishes, give the drive a simple name like PS2Games. Avoid spaces or special characters; the PS2’s loader can be finicky.
Organizing Your Game Files
Structure matters. Most USB loaders expect each game to sit in its own folder, named exactly as the .iso file (minus the extension).
- Create a folder called Games on the root of the USB.
- Inside Games, make a subfolder for each title, e.g., Final Fantasy X.
- Drop the corresponding .iso into that subfolder.
This layout makes it easy for the loader to generate a tidy menu.
Getting the Game Files
If you own the original discs, you can rip them using software like ImgBurn or PS2ISO. The key is to keep the file intact—no extra compression that the loader can’t read.
For those who prefer to download, ensure the source is reputable. A corrupted ISO will either fail to mount or crash mid‑game.
Loading Games with Open PS2 Loader (OPL)
OPL is the most popular USB loader for the PS2. It reads the drive, parses the folder structure, and presents a slick menu.
- Transfer the OPL ELF file to the BOOT folder on your USB (or place it on the memory card if you prefer).
- Boot the PS2 into the Homebrew Channel or Free McBoot environment.
- Select OPL from the launcher and let it scan the Games directory.
- Navigate the menu, highlight a title, and press X to start.
The first launch may take a few seconds while the loader reads the disc image into memory.
Fine‑Tuning Settings for Smooth Play
After a game runs, you might notice occasional stutters. Tweaking a few OPL options often solves the issue.
- Mode: Choose “USB” if you have a standard flash drive; “UDF” works for some larger drives.
- Cache Size: Increase this value (e.g., 256 KB) to reduce loading pauses.
- Video Mode: Set to “PAL” or “NTSC” matching your console’s output.
Save the settings and restart the game to see the difference.
Troubleshooting Common Hurdles
Even with a perfect setup, a few glitches can pop up.
USB Not Detected
Double‑check the format—FAT32 is non‑negotiable. Also, try a different USB port; some early PS2 models only support the rear port reliably.
Game Fails to Load
Confirm the file is a true ISO, not an .zip or .7z archive. Re‑extract if needed, and ensure the folder name matches the ISO exactly (case‑insensitive, but no extra spaces).
Frequent Freezes
Lower the cache size or switch the loader’s mode to “USB”. If the drive itself is too slow, consider upgrading to a faster, high‑quality flash stick.
Beyond the Basics: Advanced Tweaks
For the enthusiasts who like to push the limits, a few extra steps can broaden the library.
- Use USB 3.0 with a compatible adapter: While the PS2 can’t read USB 3.0 natively, a powered USB 2.0 hub can improve stability.
- Install a custom BIOS patch: Some homebrew patches improve compatibility with certain disc images.
- Chainloading multiple loaders: You can have OPL, PCSX2, and others side by side, choosing the best tool per game.
These tweaks aren’t required for most titles, but they’re handy when a stubborn game refuses to cooperate.
Wrapping Up the Setup
Once your USB is formatted, your games are organized, and OPL is humming, you’ve essentially turned your PS2 into a portable library. Plug the stick in, fire up the loader, and let the nostalgia roll.