How to Make YouTube TV Feel Like Traditional Television
If you’ve grown accustomed to the familiar click‑through of cable but now rely on YouTube TV, you might wonder how to bridge that gap. The good news? With a few household gadgets and a dash of tweaking, you can turn your streaming experience into something that feels just as “live” as the TV you grew up with.
What You’ll Need
Before diving in, gather the essentials. Most households already have these items, but double‑check to avoid mid‑setup surprises.
- Smart TV or streaming device (Roku, Amazon Fire TV, Apple TV, or Chromecast)
- Stable internet connection (at least 10 Mbps for smooth HD playback)
- YouTube TV subscription (active account with login credentials)
- HDMI cable (if using an external device)
That’s it—no extra hardware or pricey add‑ons required.
Step‑By‑Step Setup
1. Connect Your Streaming Device
Plug the device into an HDMI port on your TV. Power it up, and follow the on‑screen prompts to connect to your Wi‑Fi. If you’re using a built‑in smart TV, skip this and head straight to the app store.
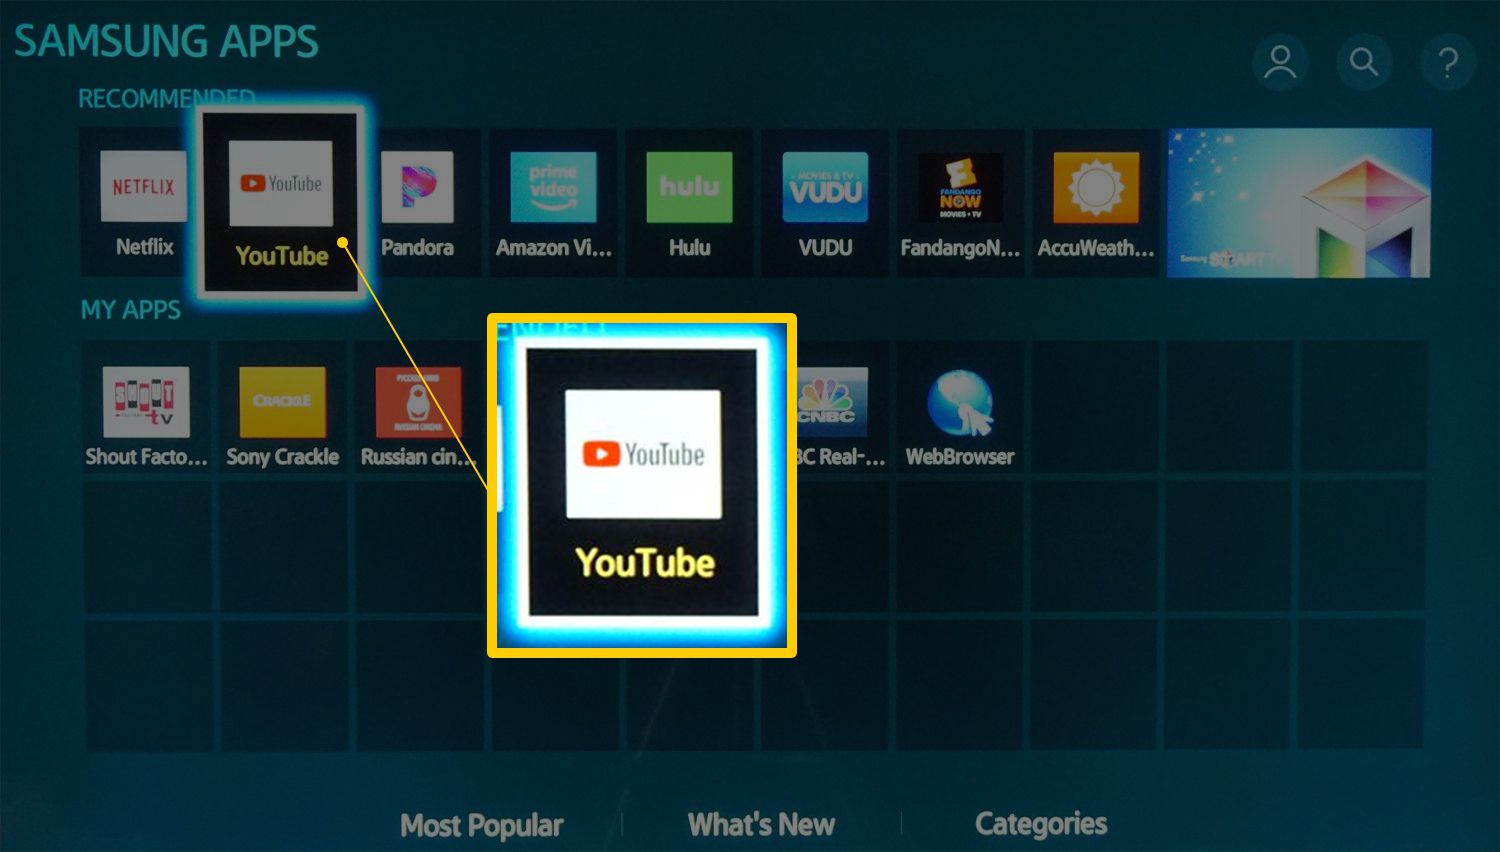
2. Install the YouTube TV App
Open the app marketplace—Google Play, Apple App Store, Roku Channel Store, etc.—and search for “YouTube TV.” Click install and wait a moment while it downloads.
3. Sign In and Configure
Launch the app, enter your Google credentials, and let the app verify your subscription. Once you’re in, go to Settings. Here’s where the magic happens:
- Enable Live TV guide so the interface shows a familiar channel grid.
- Activate HD playback for crisp picture quality.
- Turn on notifications for program reminders—just like a set‑top box.
4. Set Up a “Live” Experience
To mimic traditional TV, adjust a couple of preferences. In the Settings menu, select “Channel Guide” and choose the layout that displays channel numbers and logos. Some apps also let you create a “Favorites” lineup, so you can line up your go‑to shows at a glance.
5. Optimize Sound and Picture
Most modern TVs let you calibrate audio and video per source. Open your TV’s picture settings, choose “YouTube TV” as the source, and tweak brightness, contrast, and color to your liking. For sound, enable “Dolby Atmos” or “Surround Sound” if your TV supports it—this adds that cinema‑like depth you’d expect from live broadcasts.
Tips for a Seamless “Regular TV” Feel
Even after the basic setup, a few tricks can elevate the experience.
- Use a TV remote that supports HDMI‑CEC. This lets you control playback (pause, rewind, volume) directly from your TV remote, eliminating the need to juggle a phone or separate remote.
- Schedule recordings. YouTube TV’s cloud DVR works like a traditional VCR. Set recordings for shows you love, and they’ll appear in your library just as if you were using a physical recorder.
- Enable “Autoplay Next Episode.” This mimics the automatic continuation of series on cable, keeping the binge‑watch flow uninterrupted.
- Consider a dedicated streaming stick. A compact device tucked behind your TV keeps the setup tidy and reduces cable clutter.
Handling Common Hiccups
Sometimes the stream may lag or the guide won’t load. A quick reboot of your router often clears the glitch. If the app crashes repeatedly, check for updates—developers push fixes regularly. Lastly, ensure your subscription is active; an expired account will default to a blank screen.
With these steps, you’ll find that YouTube TV can sit comfortably alongside—or even replace—your old-fashioned antenna or cable box, delivering the familiar feel of regular TV without sacrificing the flexibility of streaming.