How to Master the Bird's‑Eye View Perspective: A Complete Guide
Ever looked up at a city skyline or a garden from above and wondered how artists and photographers capture that striking, all‑seeing angle? The Bird's Eye View Perspective is more than a trick; it's a powerful compositional tool that lets you convey depth, scale, and narrative with a single glance. This guide walks you through the fundamentals, practical techniques, and common pitfalls so you can confidently adopt the bird‑sized vision in your work.
What Exactly Is a Bird's Eye View Perspective?
At its core, the Bird's Eye View is a top‑down angle that places the viewer directly above the subject. Imagine standing on a rooftop, looking straight down at the street below. The perspective flattens the scene into a map‑like layout, yet it still preserves depth cues through scale, shadows, and line convergence.
Unlike a typical aerial shot, which might show the subject from a slight elevation, the Bird's Eye View keeps the camera axis perpendicular to the ground. This orientation removes the usual sense of horizon, making the composition feel both intimate and expansive. It’s a favorite in cityscape photography, landscape painting, and architectural renderings.
Core Elements That Define the Perspective
Horizon and Vanishing Points
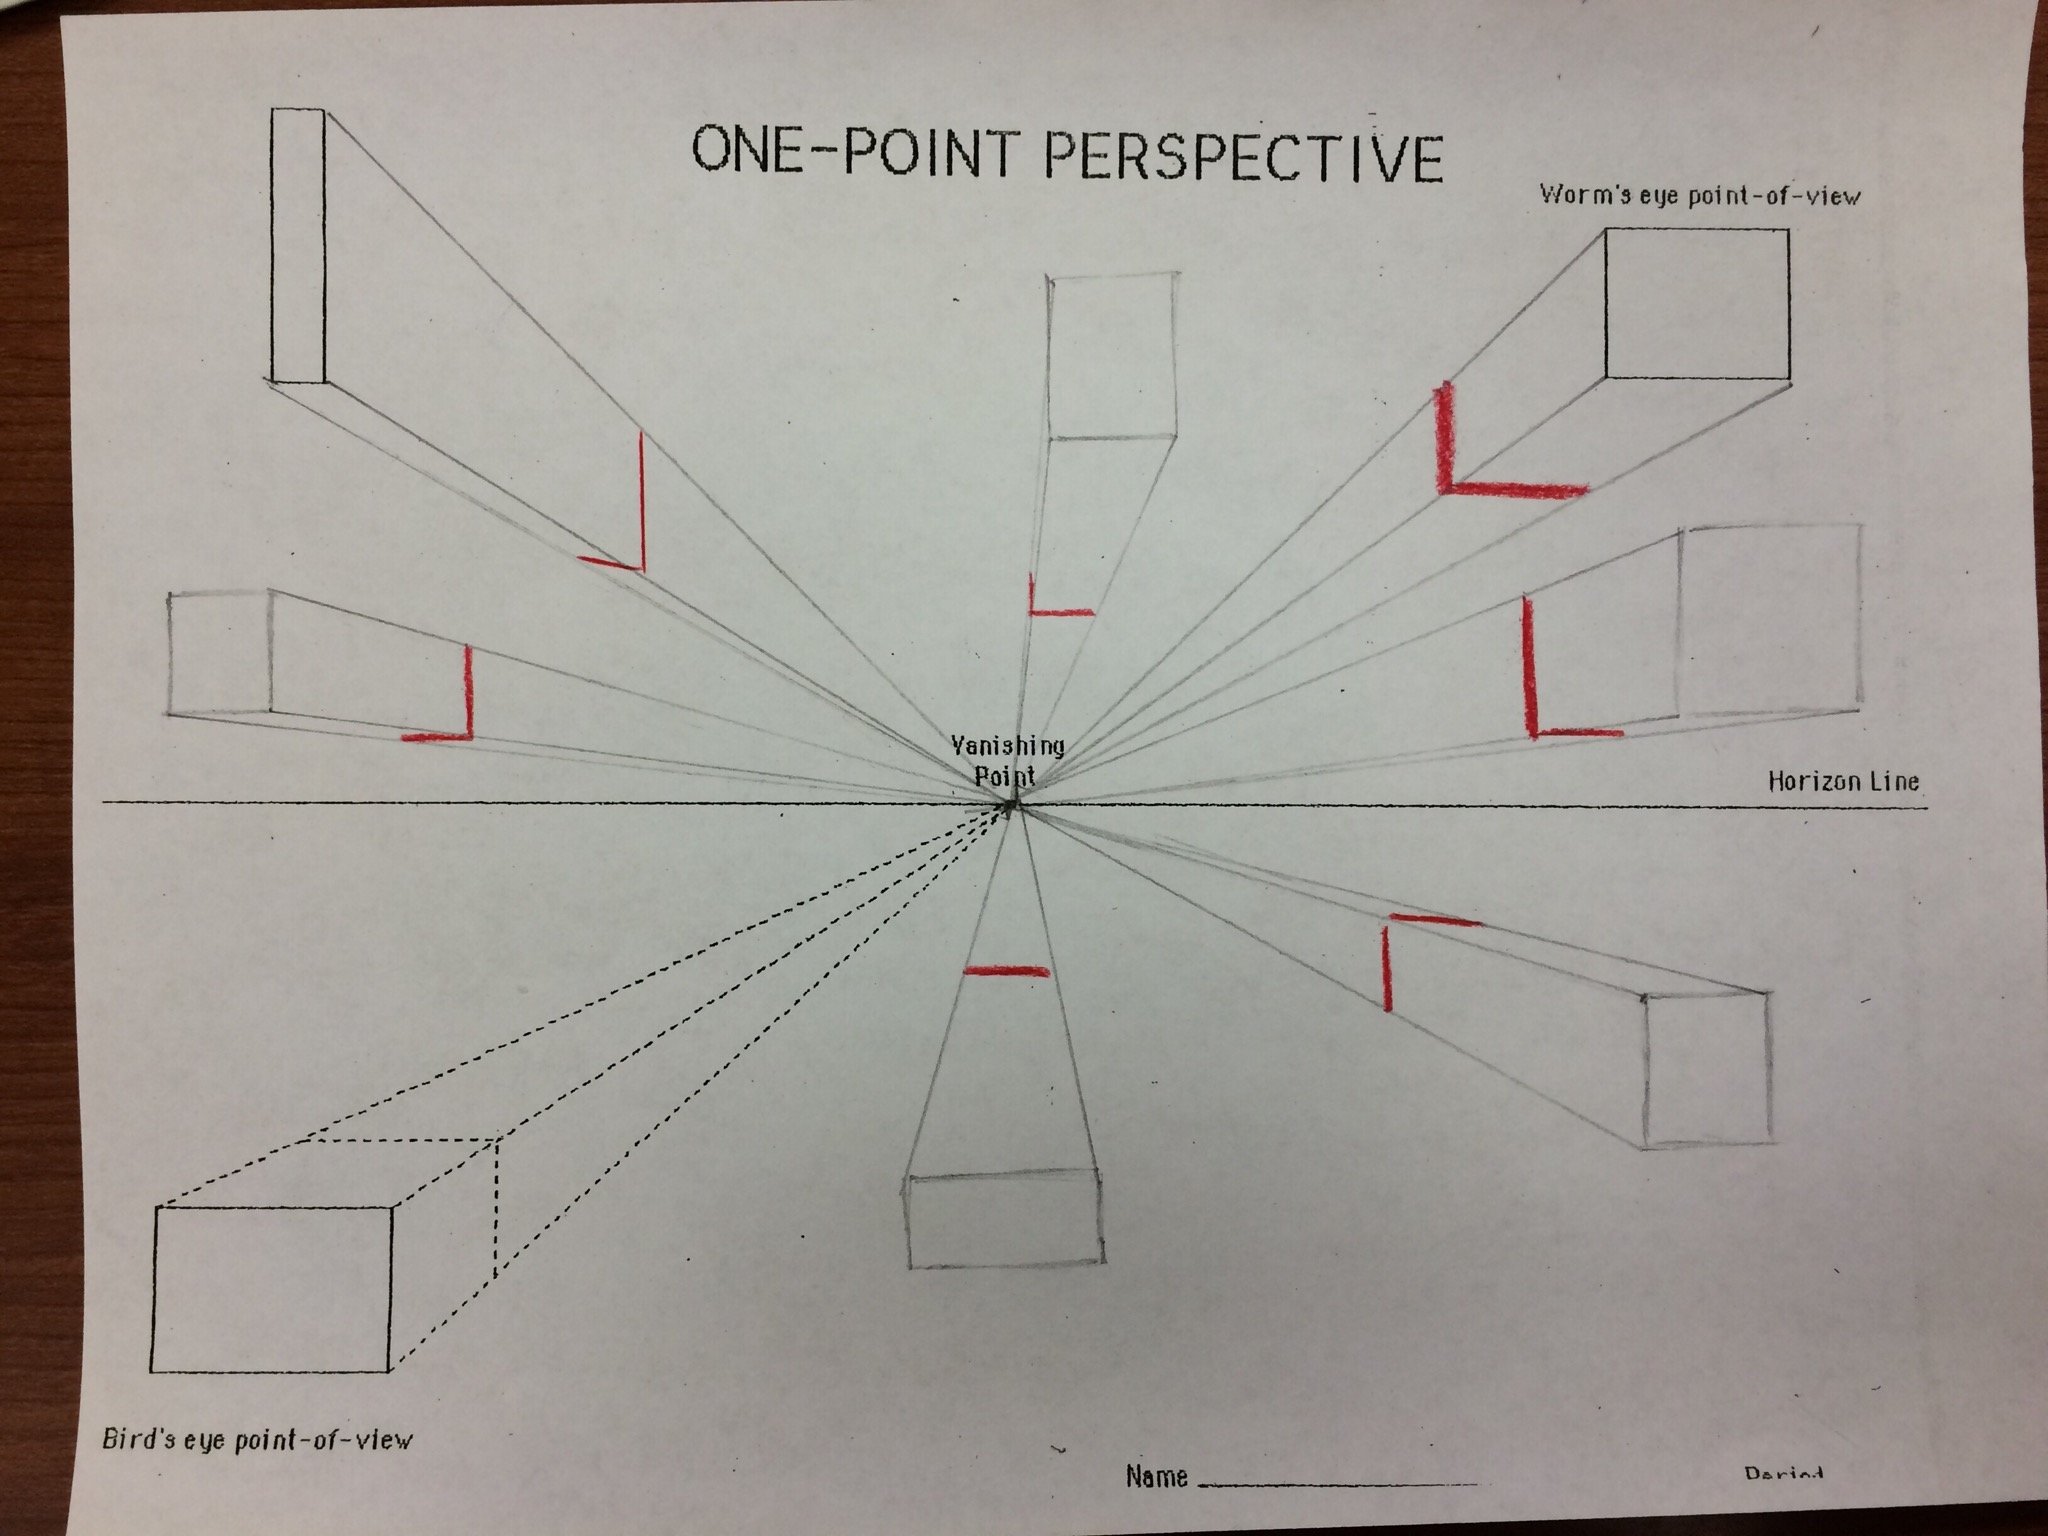
When the camera is directly overhead, the horizon line is either absent or lies at the edge of the frame. If you do angle the lens slightly, a vanishing point appears along the line of sight, pulling distant objects toward that point. Mastering how far you tilt determines how much depth you convey.
Scale and Proportion
Everything in a Bird's Eye View is measured from the same elevation, so size relationships become paramount. A small building can look massive if you capture its base square and the surrounding context. Conversely, a sprawling park may appear flat if you ignore the gradations of light and shadow that hint at its volume.
Light, Shadows, and Texture
Because the angle is so direct, shadows are minimal, but they still carry crucial information. A sharp, well‑placed shadow can imply a 3‑D shape and give the image a sense of time. Texture becomes the main storyteller: rough stone, smooth glass, or leafy foliage all provide clues about material and distance.
Why Artists and Photographers Love This Perspective
The Bird's Eye View breaks conventional storytelling rules, letting the viewer focus on patterns, geometry, and spatial relationships. It invites an analytical glance, making it ideal for showcasing architectural details, urban grids, or natural formations. In digital media, the perspective can be used to create immersive maps or dynamic game environments.
Capturing the View in Photography
Start by choosing a high‑altitude platform: a drone, a ladder, or even a balcony. The higher, the broader the view. Use a tripod and a low‑angle lens—preferably a wide‑angle or tilt‑shift to keep straight lines straight.
Set your camera’s ISO low to keep the image crisp. Adjust the white balance to match the light source—morning, midday, or evening. A neutral or slightly warmer setting often highlights architectural textures.
After shooting, consider post‑processing techniques: straightening the horizon, increasing contrast on edges, or adding a subtle vignette to guide focus toward the center of the frame.
Drawing or Sketching the Perspective
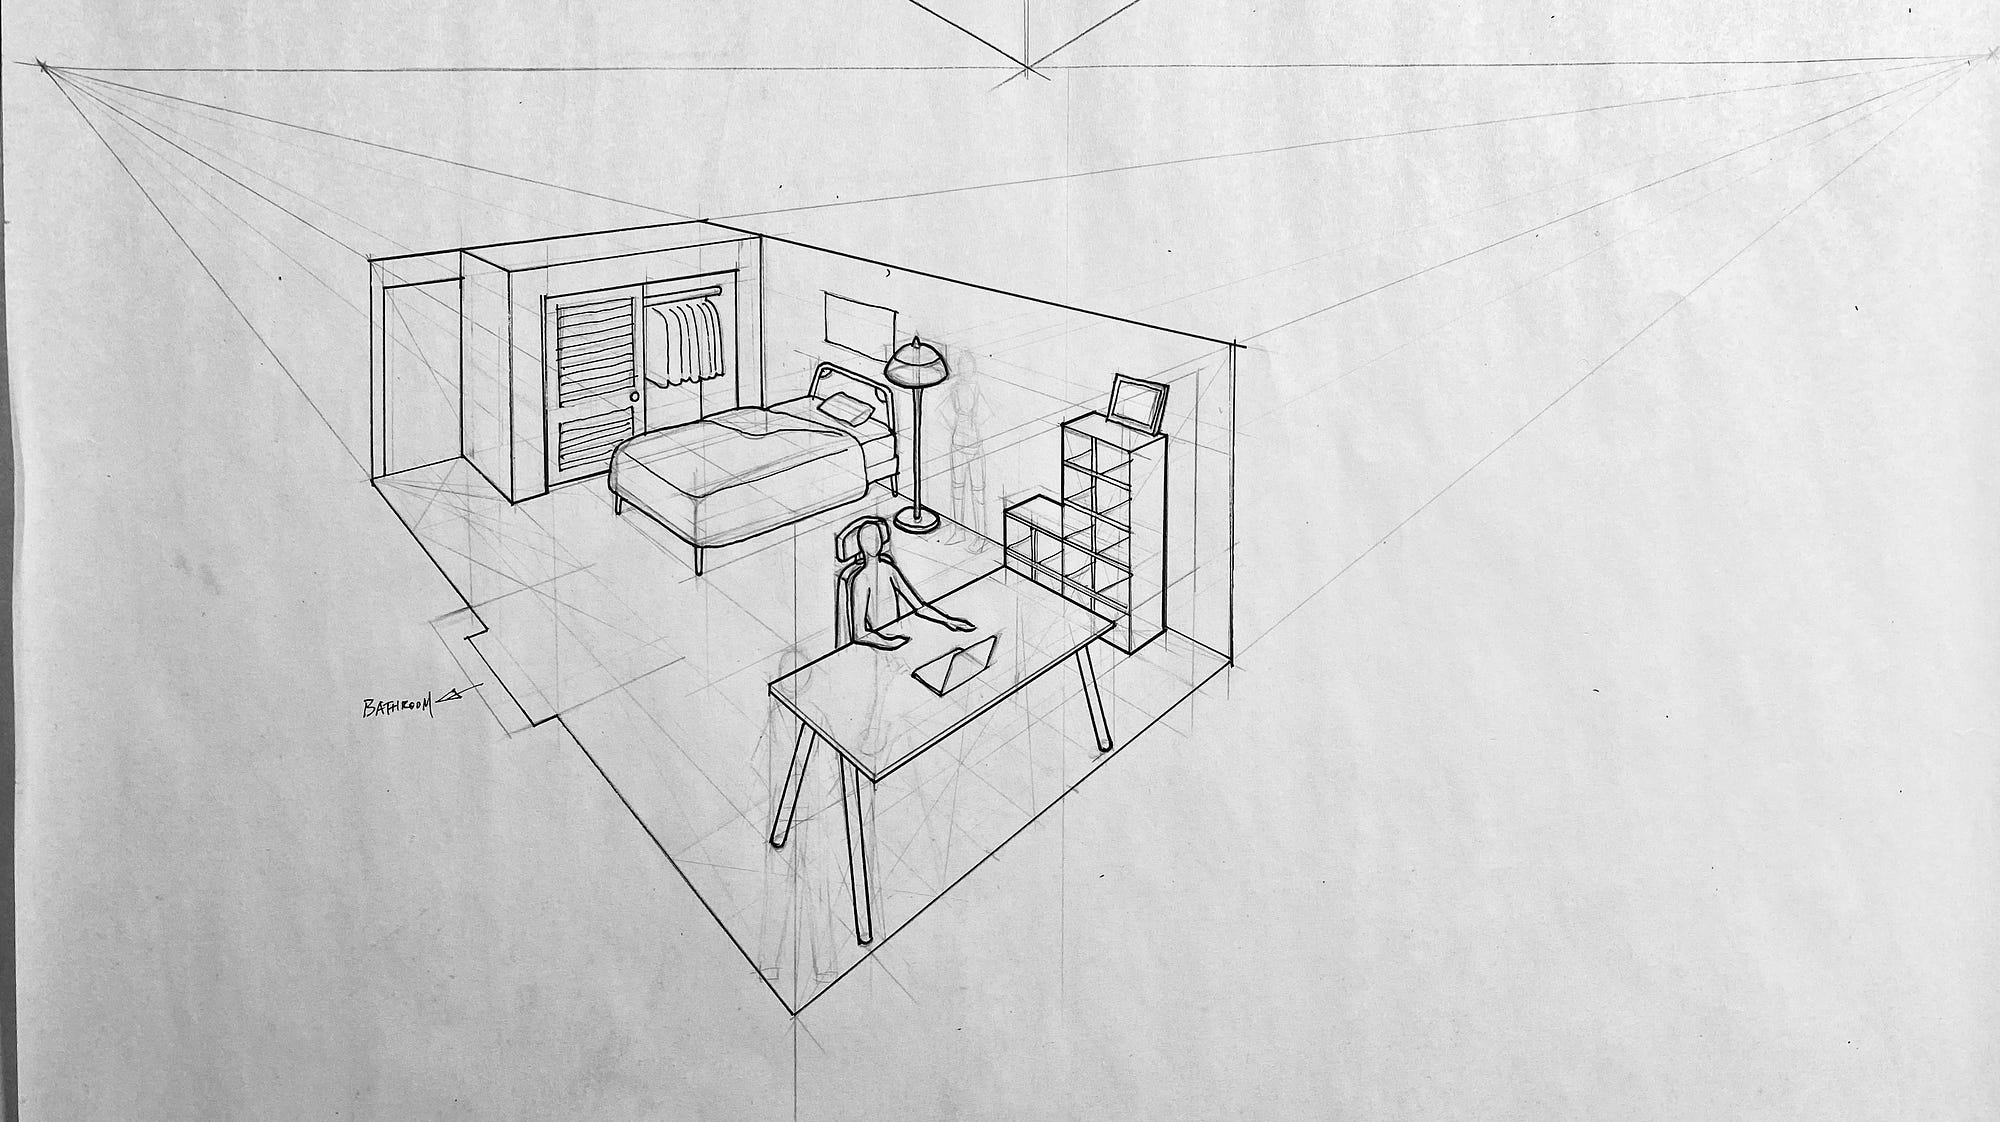
Begin by drawing a horizon line—usually at the top or bottom edge, depending on the intended tilt. Sketch a vanishing point if you plan a slight angle, then extend grid lines from it to map out the layout.
Use the grid to plot the main shapes: rectangles for buildings, curves for roads. Keep the scale consistent; the farther a shape appears, the smaller it should be relative to the viewer’s eye level.
Shade with light pencils or charcoal to create depth. A faint shadow beneath a building can suggest distance and weight. Finish with a clean line tool to emphasize edges.
Modeling the View in 3‑D Software
Software like Blender or SketchUp makes creating a Bird's Eye View intuitive. Position the camera at a 90‑degree angle, set a high point of view, and disable any ground plane to avoid perspective distortion.
Apply realistic textures and light sources that match the scene’s environment. A high‑contrast lighting setup—hard shadows from a sun lamp—helps to accentuate the geometry.
Common Pitfalls and How to Avoid Them
One frequent mistake is over‑compression: too much tilt can warp shapes and distort scale. Keep the camera as close to vertical as possible unless a dramatic angle is required.
Another issue is ignoring light. Even in a top‑down view, the direction of light can hint at form. A weak shadow can flatten the scene; a strong one can add drama and realism.
Practice Ideas to Hone Your Skills
1. Map a familiar area—your backyard, a city block, or a classroom—and photograph it from above. Compare your image to a top‑down sketch.
2. Create a series of drawings that gradually increase in tilt angle to observe how scale changes.
3. Use a drone to capture a 30‑minute loop of an urban plaza at different times of day, noting how light alters perception.
4. Experiment with tilt‑shift lenses to create miniaturization effects, a playful way to test perspective