How to Master Water Installation: A Complete Guide
Water installation is a cornerstone of any building project, whether you’re renovating a kitchen or fitting a new commercial complex. Getting the pipes right the first time saves time, money, and future headaches. This guide walks you through the essential concepts, tools, and step‑by‑step actions you need to feel confident tackling the job.
Understanding the Basics of Water Installation
At its core, water installation involves delivering clean water from a supply line to every faucet, appliance, and fixture while safely routing waste away. The two main subsystems are the cold‑water supply and the hot‑water system. In residential settings, copper, PEX, or CPVC are common choices; commercial projects often favor steel or insulated ductile iron for durability.
Local building codes dictate pipe diameters, pressure ratings, and required backflow prevention devices. Before you cut any pipe, grab a copy of the latest plumbing code for your jurisdiction and keep it handy.
Planning Your Project
A solid plan reduces surprise re‑work. Start by mapping out every fixture—sinks, toilets, showers, and appliances—on a scaled floor plan. Note the distance from the main shut‑off valve and consider the most direct routes that avoid structural obstacles.
Key considerations include:
- Water pressure requirements (usually 40‑60 psi for homes).
- Potential need for a pressure‑reducing valve if the municipal supply is high.
- Location of the water heater and the need for a dedicated hot‑water line.
- Future expansion, such as adding a dishwasher or outdoor tap.
Once the layout is sketched, calculate the total length of each pipe type. This helps you order the right amount of material and prevents waste.
Essential Tools and Materials
Having the right gear on hand makes the work smoother and safer. Below is a concise checklist of what you’ll likely need:
- Pipe cutter (copper or PEX specific)
- Adjustable wrench and pipe wrench
- Deburrer or sandpaper for smooth pipe ends
- Thread seal tape and pipe‑dope
- Shark‑bite or crimp fittings (if using PEX)
- Pressure gauge and test pump
- Pipe insulation for hot‑water lines
- Safety glasses and gloves
Don’t forget a reliable flashlight for those dim crawl‑spaces—visibility can be a game‑changer.
Step‑by‑Step Installation Process
1. Shut Off the Main Supply
Locate the main water shut‑off valve, usually found near the meter or in the basement. Turn it clockwise until it stops. Open a low‑lying faucet to release residual pressure before you begin.
2. Rough‑In the Supply Lines
Lay out the pipe runs according to your plan, securing them with pipe straps or clamps every 4‑6 feet. For copper, cut to length, clean the ends, and apply solder with a torch. With PEX, slide the crimp ring onto the pipe, insert the fitting, and use a crimp tool to seal.
Remember to install a shut‑off valve at each fixture point; ball valves are a popular, durable choice.
3. Connect the Hot‑Water System
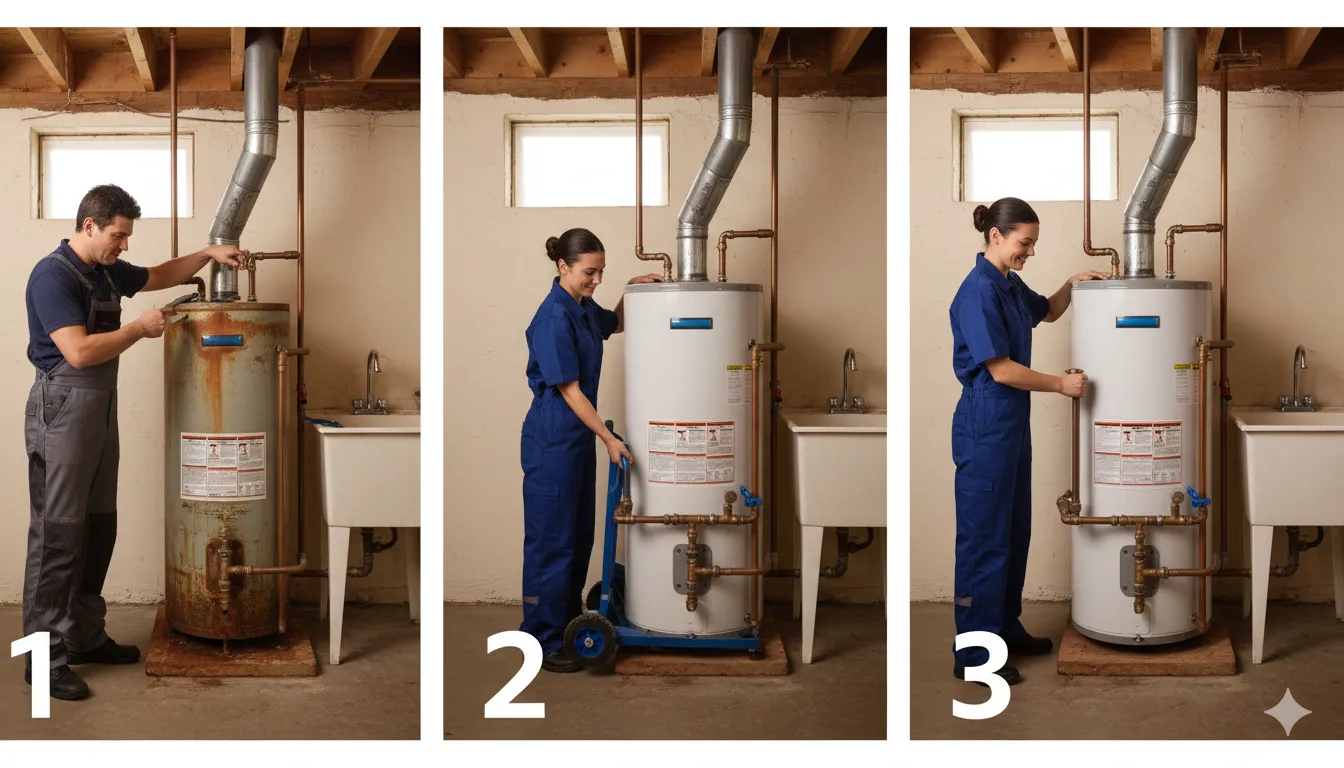
If you’re installing a new water heater, position it near the main supply line but allow space for maintenance. Connect the cold‑water inlet with a ¾‑inch pipe and the hot‑water outlet with a matching size, adding a temperature‑and‑pressure relief valve as required by code.
4. Pressure Test the Network
Attach a pressure gauge to a convenient fixture, close all valves, and use a hand‑pump or electric test pump to raise the system pressure to 1.5 times the normal operating level (typically around 90 psi). Hold the pressure for at least 15 minutes; any drop indicates a leak that must be repaired before proceeding.
5. Insulate and Secure
Wrap hot‑water lines with foam insulation to improve energy efficiency and reduce heat loss. Double‑check that all pipes are properly supported to avoid sagging, which can cause stress at joints.
6. Final Hook‑Ups and Testing
Install fixtures, attach flexible supply lines, and turn the main valve back on slowly. Test each faucet, shower, and appliance for proper flow and temperature. Look for drips at every connection, and tighten or reseal as needed.
Compliance and Documentation
After the installation is complete, schedule an inspection with your local building department if required. Provide them with a copy of the layout, pipe specifications, and a record of the pressure test results. Keeping detailed documentation helps future homeowners or property managers understand the system’s history.
Maintenance Tips to Extend the Life of Your System
Even the best‑installed water network needs occasional care. Here are a few practical habits:
- Check shut‑off valves annually for stiffness and replace if they start to leak.
- Flush the water heater once a year to prevent sediment buildup.
- Inspect exposed pipes for signs of corrosion or insulation damage, especially in colder climates.
- Consider installing a water‑softener if you have hard water; it protects pipe interiors and prolongs fixture life.
By staying proactive, you can catch small issues before they turn into costly repairs.
Frequently Asked Questions
What is the best pipe material for a DIY water installation?
PEX is often favored for DIY projects because it’s flexible, requires fewer fittings, and can be installed with simple crimp tools. However, if you’re working in a region with high UV exposure or need a fire‑rated system, copper or CPVC may be more appropriate.
Do I need a permit for a residential water installation?
Most municipalities require a permit for any new supply line or major alteration to existing plumbing. Check with your local building department; they’ll also tell you whether an inspection is mandatory after you finish.
How can I tell if my water pressure is too high?
Typical residential pressure sits between 40 and 60 psi. If you notice water hammer, rapid faucet flow, or premature wear on fixtures, it may be higher than ideal. A pressure‑reducing valve can bring it back into the safe range.
Is it safe to use pipe‑dope on PEX fittings?
No. Pipe‑dope is designed for metal threads. PEX connections rely on crimp rings or push‑fit fittings, which seal mechanically. Using pipe‑dope with PEX can interfere with the seal and cause leaks.