How to Print Passport Photos: A Quick Step‑by‑Step Guide
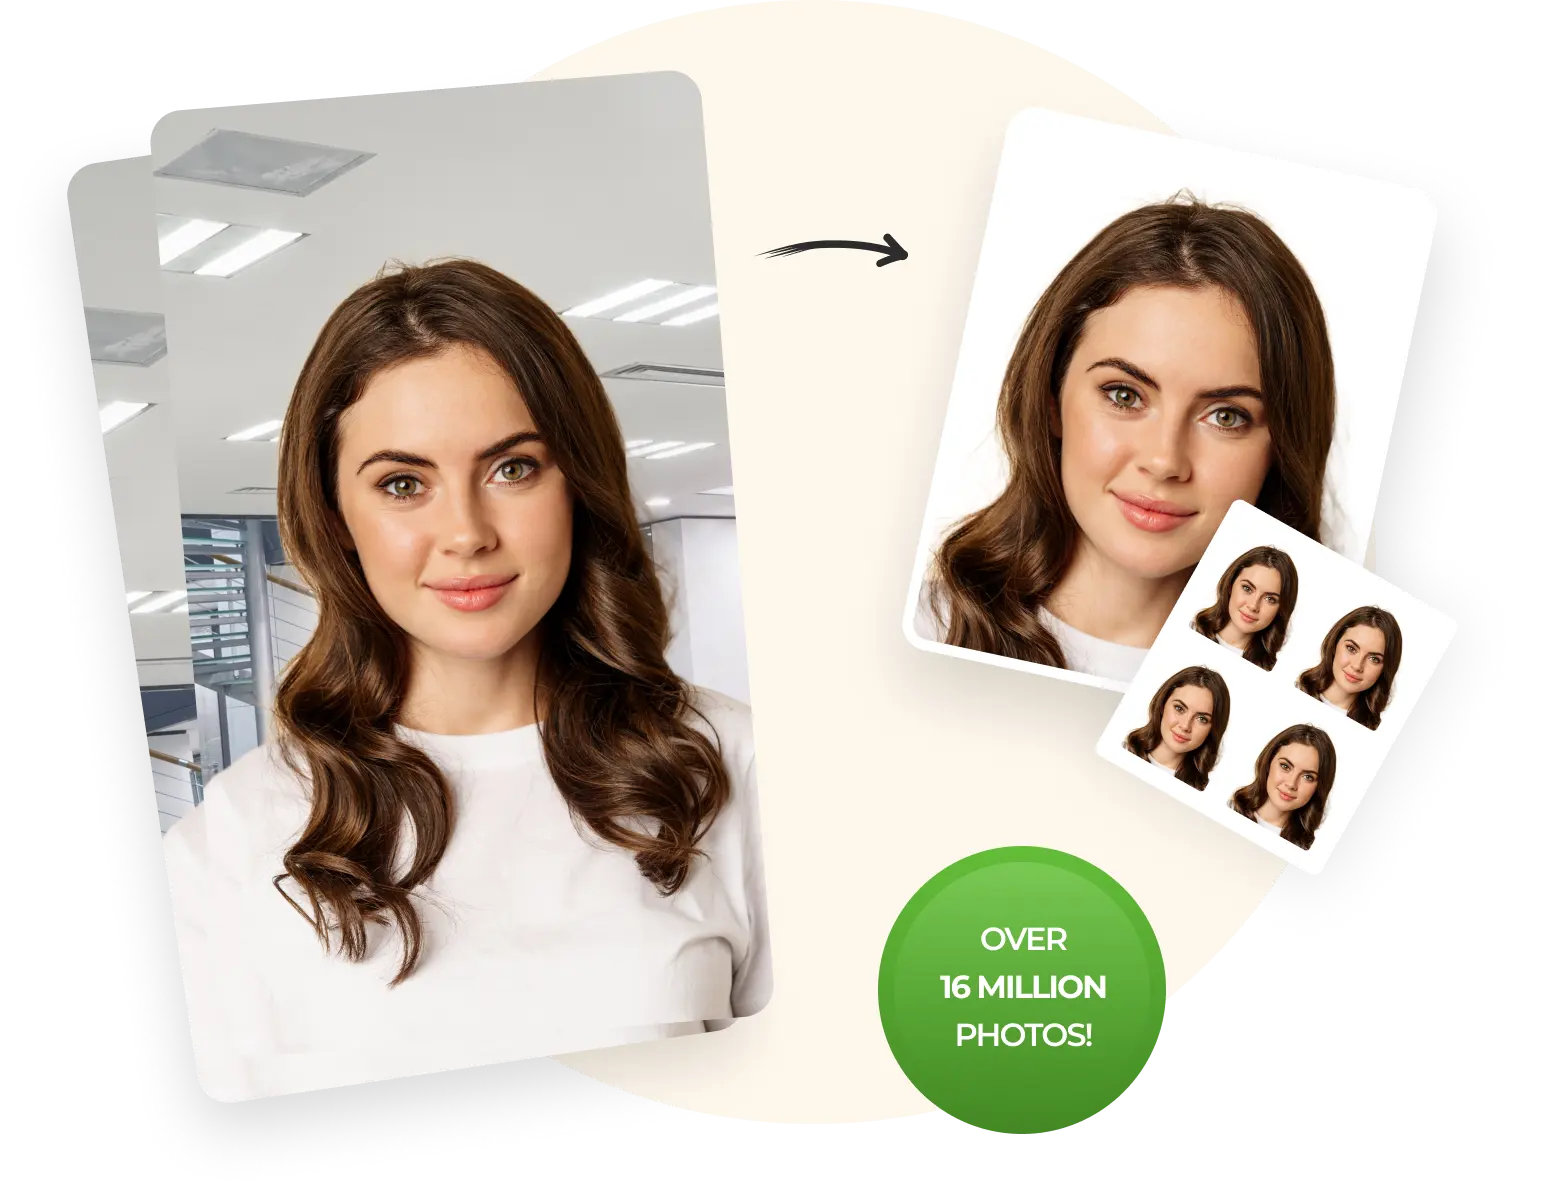
Need a passport photo but don’t want to wait in line at a studio? Printing your own picture is easier than most people think, and with a few simple rules you can avoid the dreaded “rejected” stamp. Below you’ll find everything from choosing the right backdrop to getting the perfect print at home or a local shop.
What Makes a Passport Photo Acceptable?
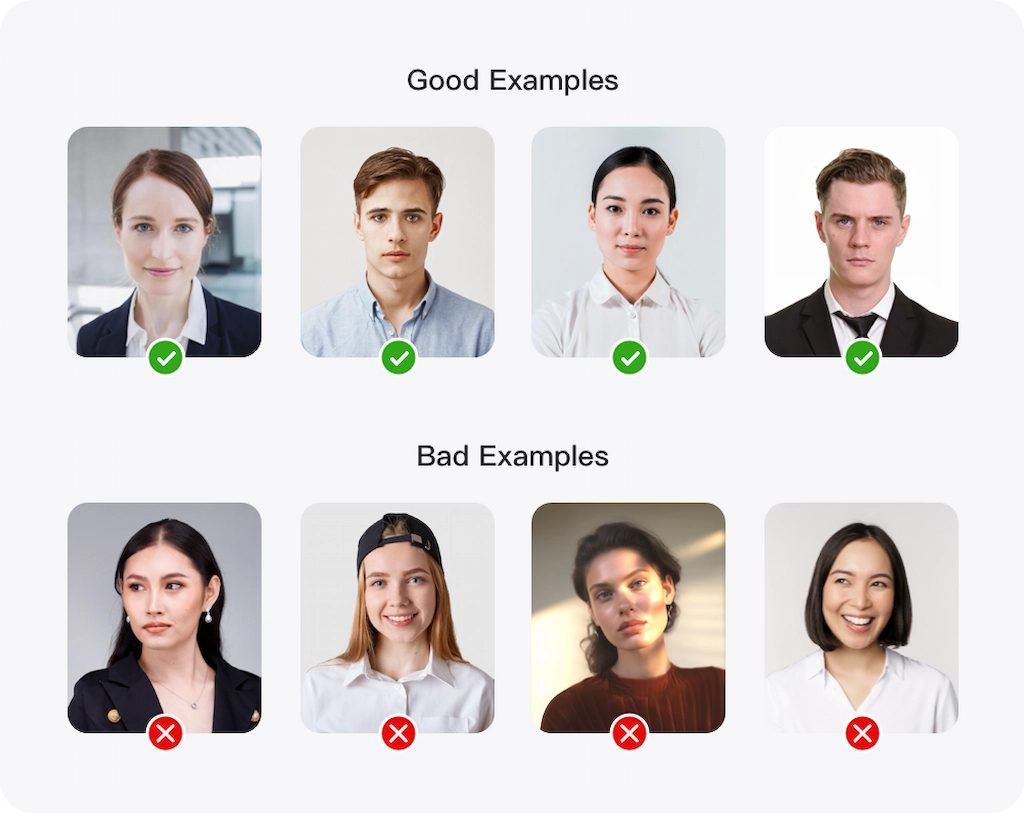
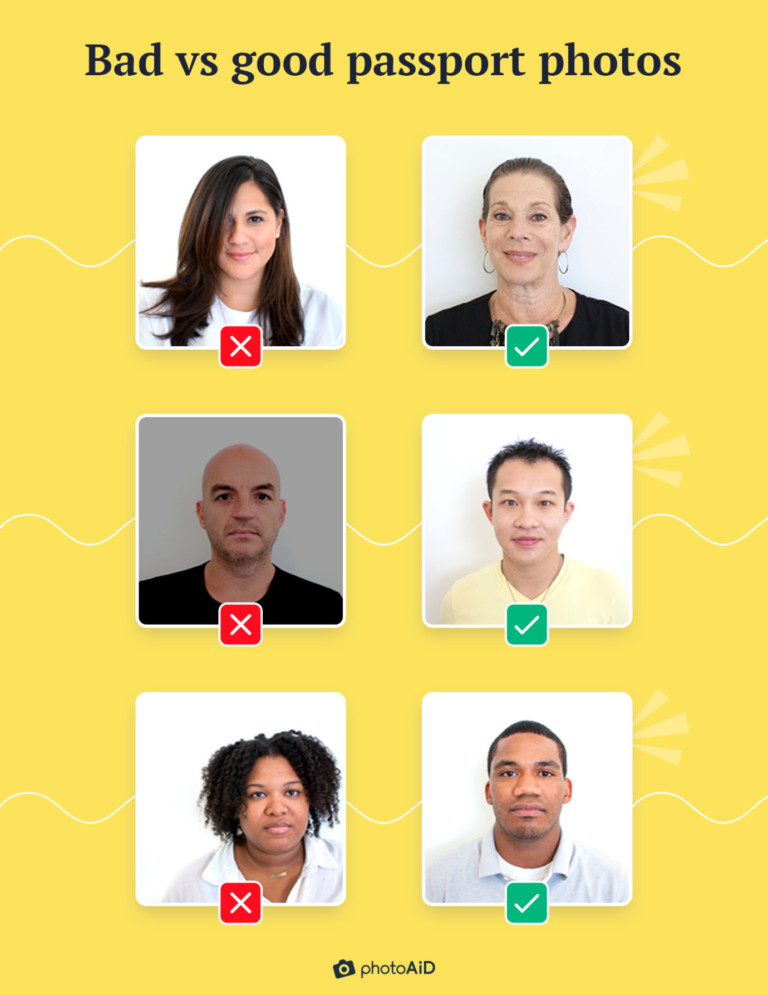
Before you even snap a shot, keep the basics in mind. Most countries follow similar standards, but there are a few non‑negotiables:
- Plain, light‑colored background (white or off‑white)
- Head centered and facing straight ahead
- Neutral expression – no smiles, frowns, or raised eyebrows
- Good lighting without shadows on the face or background
- Photo size that matches official dimensions (usually 2 × 2 inches or 35 × 45 mm)
If any of these are off, the passport office will ask you to redo the photo, costing you time and possibly money.
Step 1: Set Up a DIY Photo Station
All you need is a wall, a tripod or stable surface, and a decent camera—most smartphones do the trick. Follow these quick tips:
- Background: Hang a white sheet or use a plain wall. Make sure it’s smooth and free of patterns.
- Lighting: Position yourself near a window for natural light, or use two lamps at 45‑degree angles to eliminate shadows.
- Camera height: Align the lens with your eyes; you don’t want a high‑angle look.
- Distance: Stand about a foot away from the background to avoid a halo effect.
Take several shots. Slight variations in head tilt or lighting can make a big difference later.
Step 2: Crop and Resize Correctly
Now the digital work begins. Use a free tool like GIMP, Paint.NET, or an online passport‑photo editor. Here’s the usual workflow:
- Open the photo and rotate if needed so your eyes are level.
- Crop to the required dimensions. Most editors let you set an exact width and height in inches or millimeters.
- Ensure the head size fits the government guidelines—usually the face should cover 50‑70 % of the frame.
- Save the file in high‑resolution (300 dpi) JPEG format.
Tip: Some countries demand a specific pixel count (e.g., 600 × 600 px). Double‑check the official website before finalizing.
Step 3: Choose the Right Printing Method
You have two practical options:
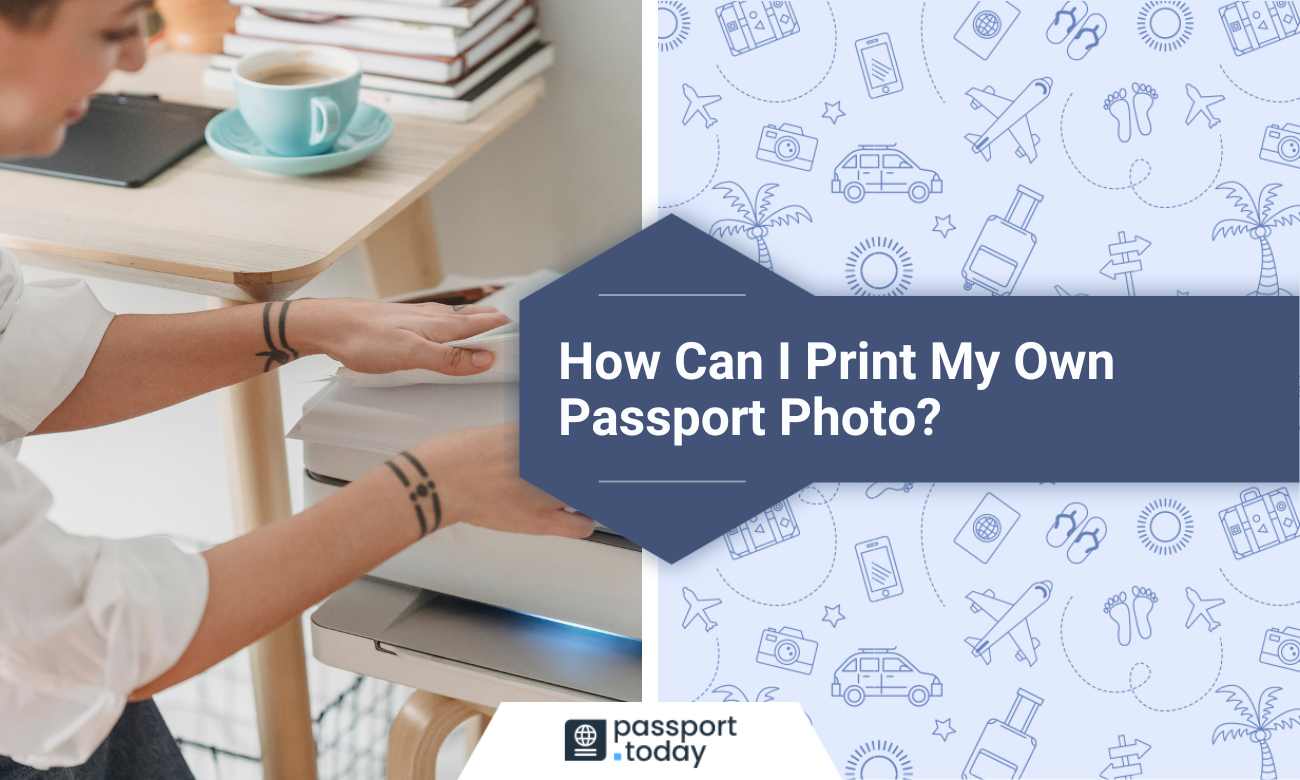
Print at Home
If your printer supports photo paper, this can be the fastest route.
- Use glossy or matte photo paper—avoid regular office paper.
- Select “Best Quality” or “Photo” mode in the printer settings.
- Print a test page first to verify color and size.
Remember to cut the prints precisely with a ruler and a sharp blade; a crooked edge could invalidate the image.
Print at a Local Shop
Many pharmacies, supermarkets, or copy centers offer passport‑photo printing. Bring a USB drive or email the file to the attendant.
- Ask for the exact paper size required by your passport authority.
- Confirm that they won’t automatically add borders or filters.
- Inspect the final print before leaving—look for smudges or off‑center cuts.
Common Pitfalls and How to Avoid Them
Even seasoned travelers slip up sometimes. Below are the most frequent errors and quick fixes:
- Glasses glare: Remove glasses or tilt them slightly; many agencies no longer allow glasses at all.
- Shadowed background: Add a thin strip of white cardboard behind you if the wall casts a faint shadow.
- Wrong facial expression: Practice a neutral look in the mirror—think of holding a gentle breath.
- Incorrect dimensions: Use an online ruler tool to double‑check pixel size before printing.
Quick Checklist Before You Submit
Give yourself a final scan with this short list:
- Background is plain, no objects visible
- Face occupies the required percentage of the frame
- No shadows, reflections, or red‑eye
- Correct size, 300 dpi, JPEG format
- Printed on appropriate photo paper, trimmed cleanly
If everything checks out, you’re ready to include the photo with your passport application. No more waiting for a studio appointment, and no surprise rejections due to a poorly printed picture.