How to Properly Adjust the Riving Knife on Your Table Saw
Every woodworker knows that a riving knife is the unsung hero of a table saw. It keeps the cut clean, the workpiece stable, and, most importantly, helps prevent kick‑back. Yet many users set it up once and forget about it, only to discover later that the blade is drifting or the fence isn’t aligning quite right. This guide walks you through the adjustment process step by step, so you can keep your saw humming and your fingers safe.
Why the Riving Knife Matters
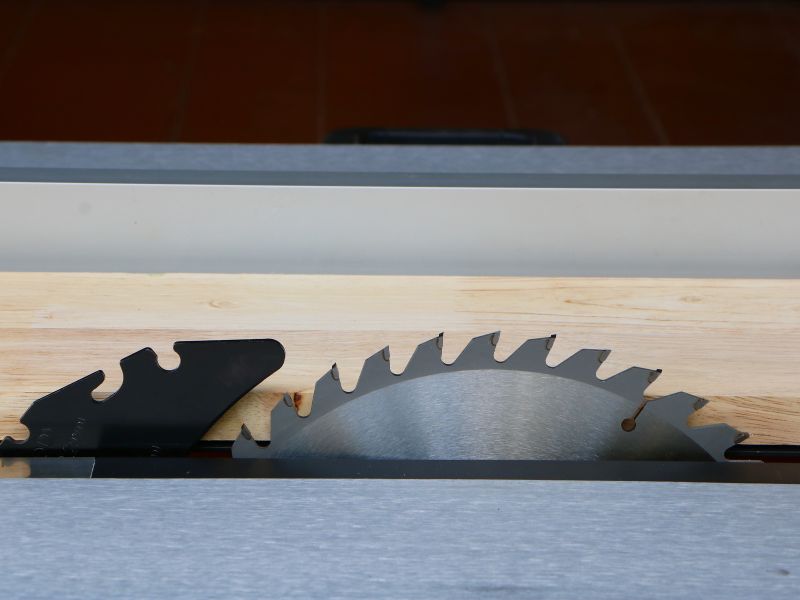
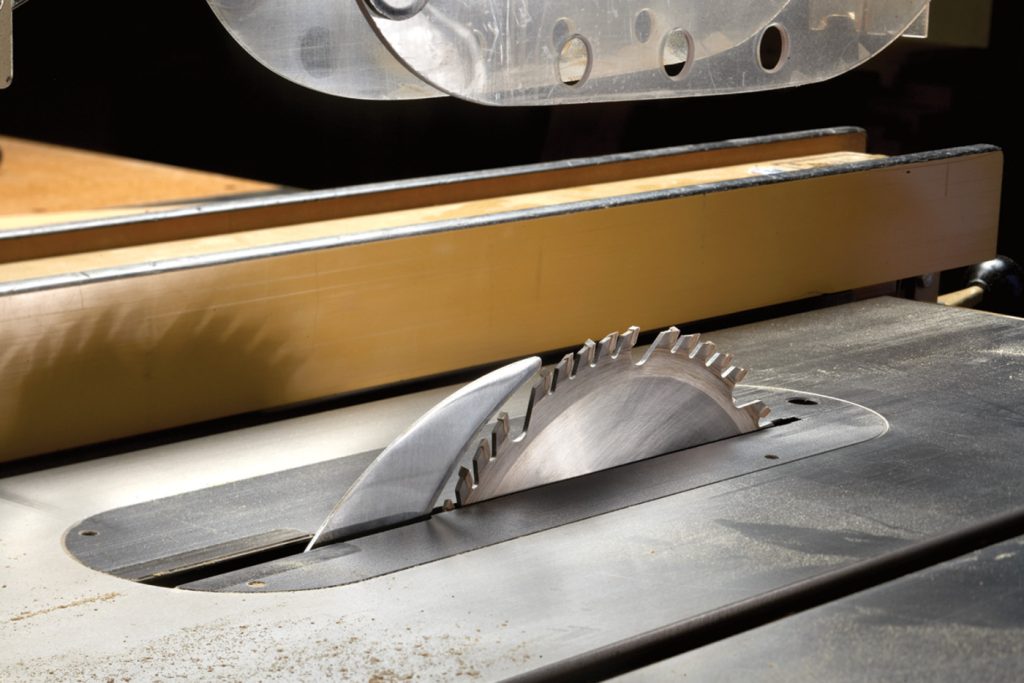
Unlike a simple splitter, a riving knife moves with the blade, maintaining a constant gap that matches the blade’s kerf. When the blade lifts or tilts, the knife follows, keeping the two halves of the board from pinching together. The result is smoother cuts, less tear‑out, and dramatically reduced risk of the workpiece being thrown back toward you.
Tools You’ll Need
- Flat‑head screwdriver (most saws use a #2 slot)
- Phillips screwdriver (for some European‑style models)
- Allen wrench, if your saw has set‑screw adjustments
- Safety glasses and hearing protection
- A clean, well‑lit workspace
Step‑by‑Step Adjustment
1. Disconnect Power and Secure the Saw
Before touching anything, unplug the saw or shut off its circuit breaker. If the saw sits on a stand, lock the wheels or braces. Safety first, always.
2. Remove the Blade Guard and Blade
Most adjustments require a clear view of the knife’s mounting. Loosen the guard, slide it aside, then use the proper wrench to loosen the arbor nut and lift the blade out. Keep the blade in a safe place; you’ll need it again soon.
3. Locate the Riving Knife Mounting Screws
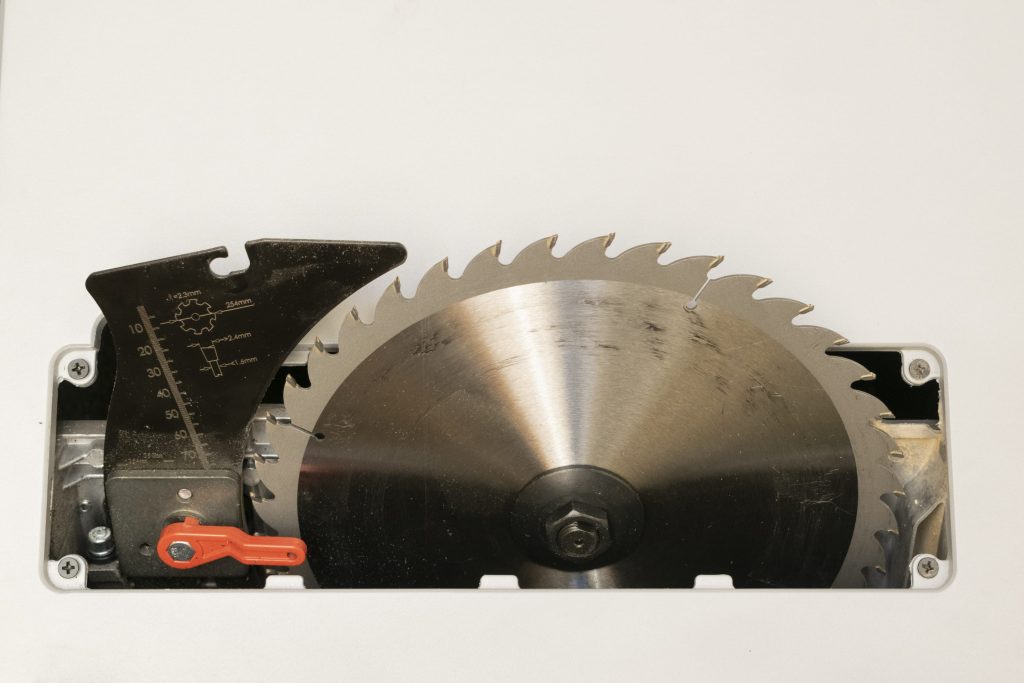
The knife is usually held by two small screws on either side of the arbor. On some models, a single central lock lever does the job. Identify which mechanism your saw employs.
4. Align the Knife with the Blade
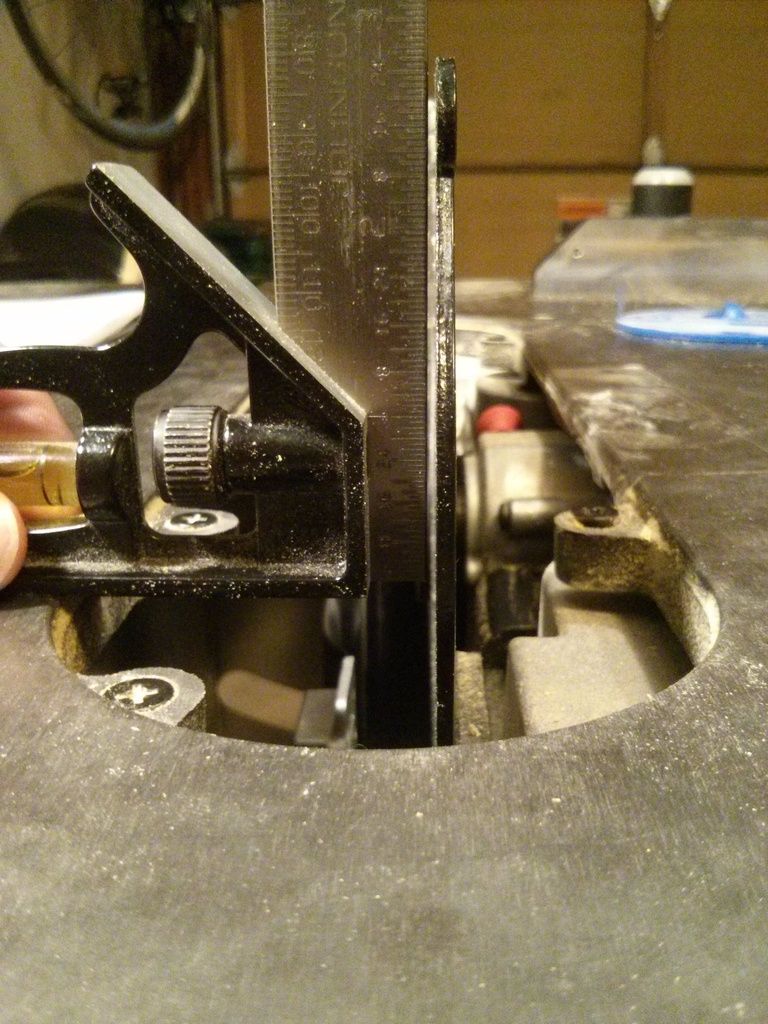
When the blade is reinstalled, the riving knife should sit flush with the top of the blade’s teeth. Use a straight edge or a piece of scrap wood to check the gap—ideally, it should be just wide enough for the kerf, no more than 0.2 mm on either side.
- Turn the adjustment screws clockwise to bring the knife closer to the blade.
- Turn counter‑clockwise to move it away.
Make tiny tweaks, then rotate the blade by hand to feel the clearance. If the knife rubs, back off a fraction; if there’s a noticeable gap, tighten a little more.
5. Check Blade Tilt and Height
If you use a tilting blade, the knife must stay parallel throughout the tilt range. Lower the blade to its most extreme angle and verify the gap again. Some saws have a separate tilt‑compensating screw—adjust it until the knife follows the blade perfectly.
6. Reinstall the Blade and Guard
Slide the blade back onto the arbor, making sure the teeth face the correct direction (usually clockwise when looking at the front). Tighten the arbor nut to the manufacturer’s torque setting—most DIYers use a firm hand, but a torque wrench is ideal.
Re‑attach the blade guard, ensuring it moves freely and doesn’t interfere with the knife.
7. Perform a Test Cut
Run a scrap piece of plywood through the saw with the fence engaged. Watch the cut: the kerf should be clean, the wood should stay flat on the table, and there should be no wobble from the knife. If you notice binding or unevenness, revisit the clearance adjustments.
Common Pitfalls to Avoid
- Over‑tightening the screws. This can warp the knife or damage the mounting plate.
- Ignoring blade tilt. A knife set only for vertical cuts will scrape when the blade tilts.
- Using the wrong blade. Thick or specialty blades may require a slightly larger gap.
- Skipping the test cut. Small misalignments become obvious only under load.
Maintaining Your Riving Knife
Dust and resin can build up on the knife’s edges, especially after long sessions. Wipe it down with a clean rag and a dab of mineral oil every few weeks. If the knife becomes bent or chipped, replace it—most manufacturers sell replacements at a modest price, and the safety benefit far outweighs the cost.
When to Seek Professional Help
If you notice persistent kick‑back despite perfect alignment, the issue may lie elsewhere: worn bearings, a loose table, or a warped blade. In those cases, a qualified technician can diagnose the underlying problem. Likewise, if your saw’s mounting bolts are stripped, a professional can reseat or replace them without compromising the machine’s integrity.