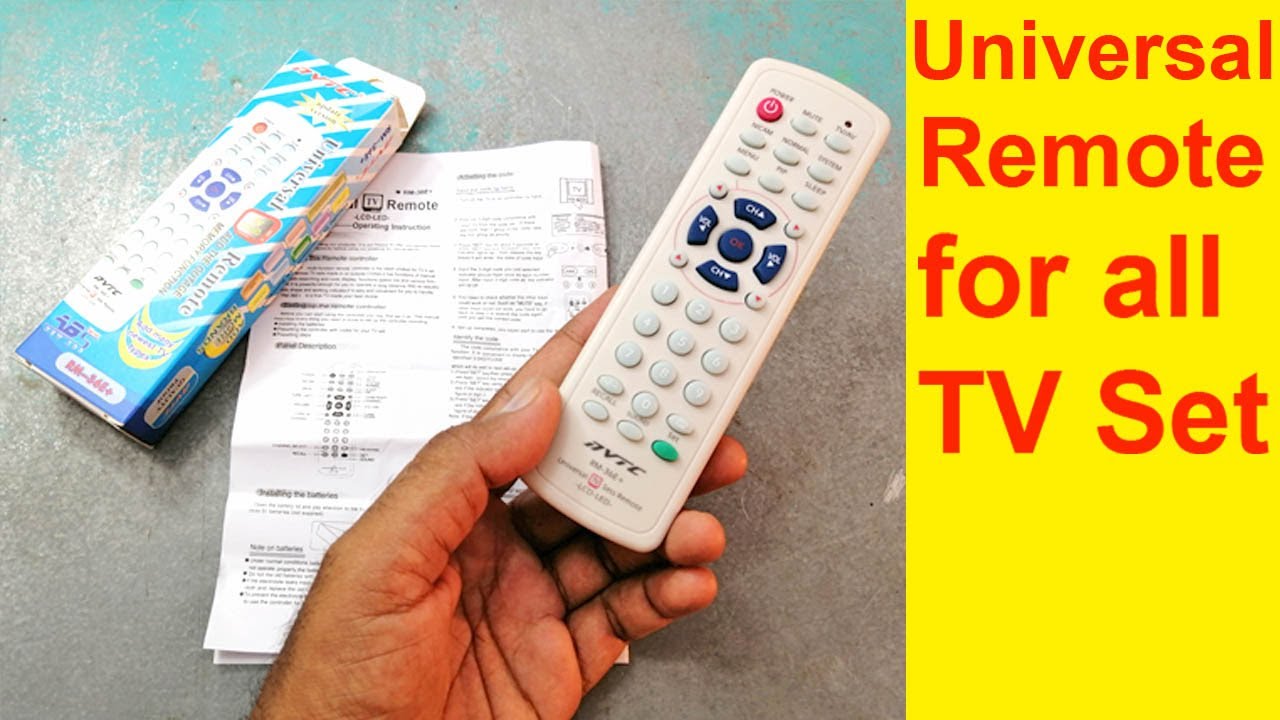
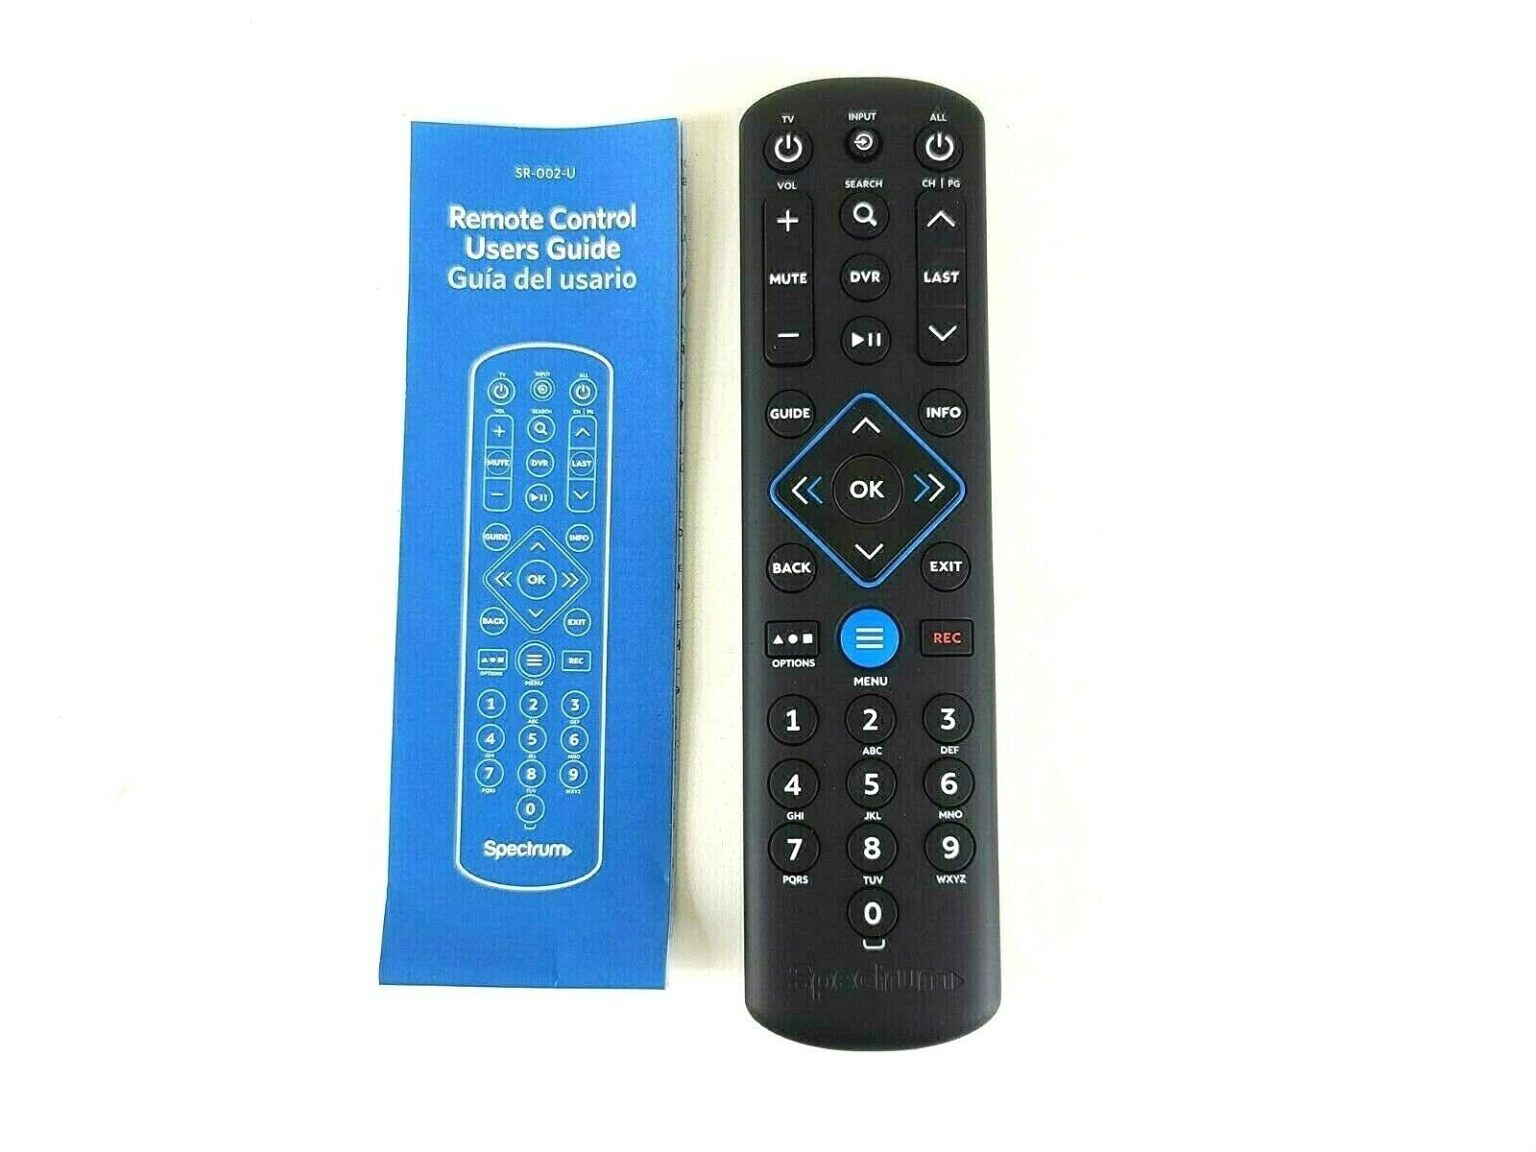
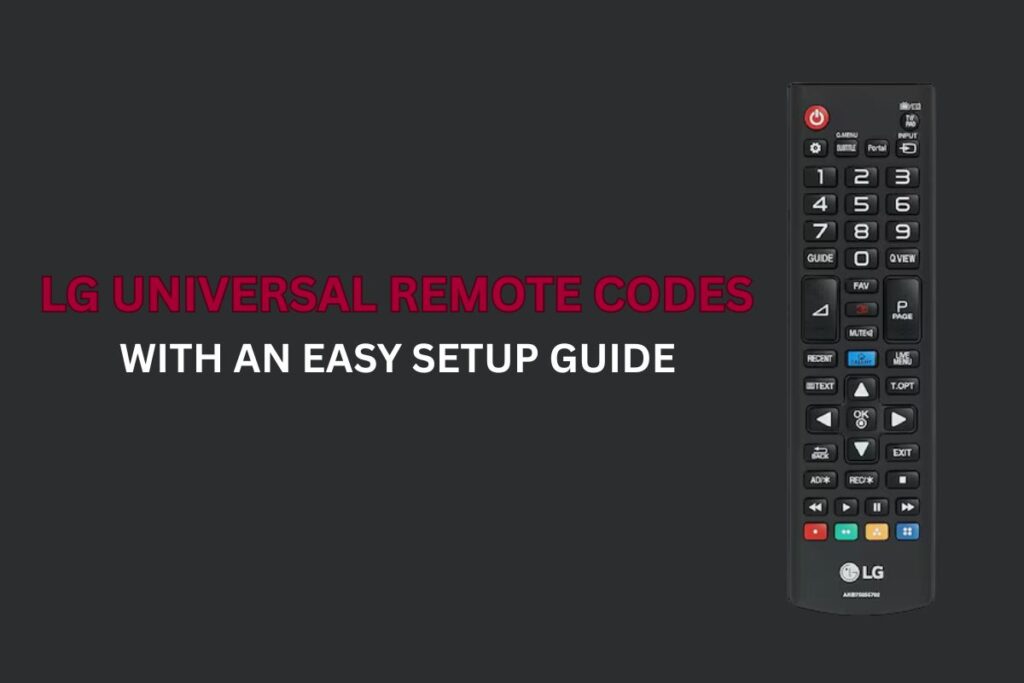
How to Set Up Your Universal Remote: The Simple Guide
There is nothing quite as frustrating as staring at a wall of electronics while holding a remote that refuses to cooperate. You press the power button, and the TV stays dark. You tap volume, and the sound system remains silent. It’s a universal experience—pun intended. Setting up a universal remote shouldn’t feel like decoding ancient text, yet for many of us, it often does.
The good news is that these devices have become significantly more reliable over the years. They are designed to bridge the gap between your aging TV, your new Soundbar, and that streaming stick you just bought. If you are ready to replace that handful of cluttered remotes with one sleek device, this guide will walk you through the process without the usual headache.
Gather Your Tools Before You Start
Before you even open the box, take a moment to prepare. Rushing into the setup process often leads to missed steps or incorrect code entries. You will need a few specific items to ensure the process goes smoothly:
- Fresh AAA batteries (most universal remotes are picky about power sources).
- The user manuals or code lists for your devices (TV, receiver, cable box).
- A soft, well-lit area where you can see the device indicators clearly.
- Patience. Seriously. It’s not a joke. This can sometimes take a few tries.
Having these items ready removes friction from the process. Nothing interrupts the flow like scrambling to find batteries or squinting at a tiny LED light in a dark living room. Set the stage, and the rest will likely follow.
Understanding the Setup Methods
Universal remotes generally use two main methods to learn how to control your devices: code entry and auto-search. Most modern remotes also offer a "smart setup" option where they connect via Wi-Fi, but let’s stick to the foundational methods that work for almost every brand.
Code Entry is the most direct approach. The manufacturer has pre-loaded their remote with thousands of infrared codes. You find the code that matches your device's brand and model, enter it, and you are done. It is fast, but only if you have the correct code list handy.
Auto-Search is the fallback when code lists are missing or confusing. The remote cycles through its internal database, sending signals one by one until your TV responds. It’s methodical but can be tedious if your device sits at code number 98 out of 100. Choose your method based on how much information you have available.
Step-by-Step: The Code Entry Method
This is the preferred method for most users because it is efficient. Here is how to execute it properly.
First, locate the button for the device you are programming—usually labeled TV, DVD, CABLE, or AUX. Press and hold this button until the indicator light stays solid. This tells the remote it is in programming mode.
Next, look for a "Setup" or "Program" button. Press and hold this until the light blinks or stays solid, depending on your specific model. Enter the five-digit code for your TV brand. Use the standard number pad. If the remote accepts the code, the light will typically blink or turn off.
Test it immediately. Point the remote at your TV and press the Power button. If the TV turns on or off, you are in business. If not, repeat the process with the next code in the list for your brand. Note: One brand often has multiple codes. Code 1234 might not work, but 1235 might.
When Codes Fail: The Auto-Search Technique
If you cannot find a code list, or if none of the listed codes work, switch to auto-search. This method requires your device to be in standby mode—powered off but plugged in.
Put the remote into code-search mode (usually by holding the device key and Setup key simultaneously). Once the light stays on, press and hold the Number 1 button. The remote will begin sending codes one at a time, indicated by a flashing light.
Watch your TV. The moment it responds by turning on or changing channels, immediately release the button. This is critical. If you hold it too long, the remote will keep searching and store the wrong code. Once released, test the basic functions like volume and power. If they all work, lock the code in by pressing the device key again.
Troubleshooting Common Hiccups
Not every setup goes without a bump. If your remote seems dead on arrival, check the batteries first. Weak batteries often cause intermittent signal issues that look like programming errors.
If the code search works but only the power button functions, your device may have "partial code" compatibility. You might need to manually program the volume buttons using the advanced setup guide in your manual. This involves entering a master code that unlocks device-specific buttons.
Another common issue is range. Ensure there are no physical obstructions between the remote and the device’s infrared receiver. Modern devices sometimes hide their IR sensors behind grilles or logos, requiring you to angle the remote specifically.
FAQ
Why does my remote stop working after a day?
This is often a battery issue. Low-voltage batteries can send weak signals that initially register but fail as the battery drains further. Replace them with high-quality alkalines.
Can I program buttons for apps like Netflix?
Yes, provided your remote supports IR learning or has smart capabilities. Standard universal remotes usually only control hardware functions (power, volume). If it has an "IR Learn" feature, you can copy buttons from your original cable box remote.
Setting up a universal remote is a skill that pays off in convenience. Once dialed in, it simplifies your nightly routine and clears clutter from the coffee table. Take your time, double-check your codes, and enjoy a streamlined viewing experience.