How to Start Embroidery Painting: A Beginner’s Step‑by‑Step Guide
What Is Embroidery Painting?
Embroidery painting, often called thread painting, blends the texture of needlework with the visual language of traditional painting. Instead of brushes, you use a needle and colored floss to “paint” on fabric, building images stitch by stitch. The result is a tactile artwork that catches light differently than canvas or paper, giving depth that only thread can provide.
Essential Tools and Materials
- Fabric base – plain cotton, linen, or a lightly stretched canvas works best.
- Embroidery floss – cotton or silk strands in a wide color palette.
- Needles – sharp embroidery needles, size 4–8 depending on floss thickness.
- Hoop – a sturdy embroidery hoop to keep the fabric taut.
- Scissors – small, sharp scissors for trimming floss.
- Water‑soluble fabric marker – for sketching your design before stitching.
Preparing Your Canvas
Begin by washing the fabric to remove any sizing that could repel floss. Iron it while still slightly damp, then place it in the hoop, pulling it tight enough that the surface is smooth but not stretched to the point of warping. Lightly sketch your image with the water‑soluble marker; these lines will fade after a few washes, leaving only the stitches.
Basic Stitches Every Beginner Should Know
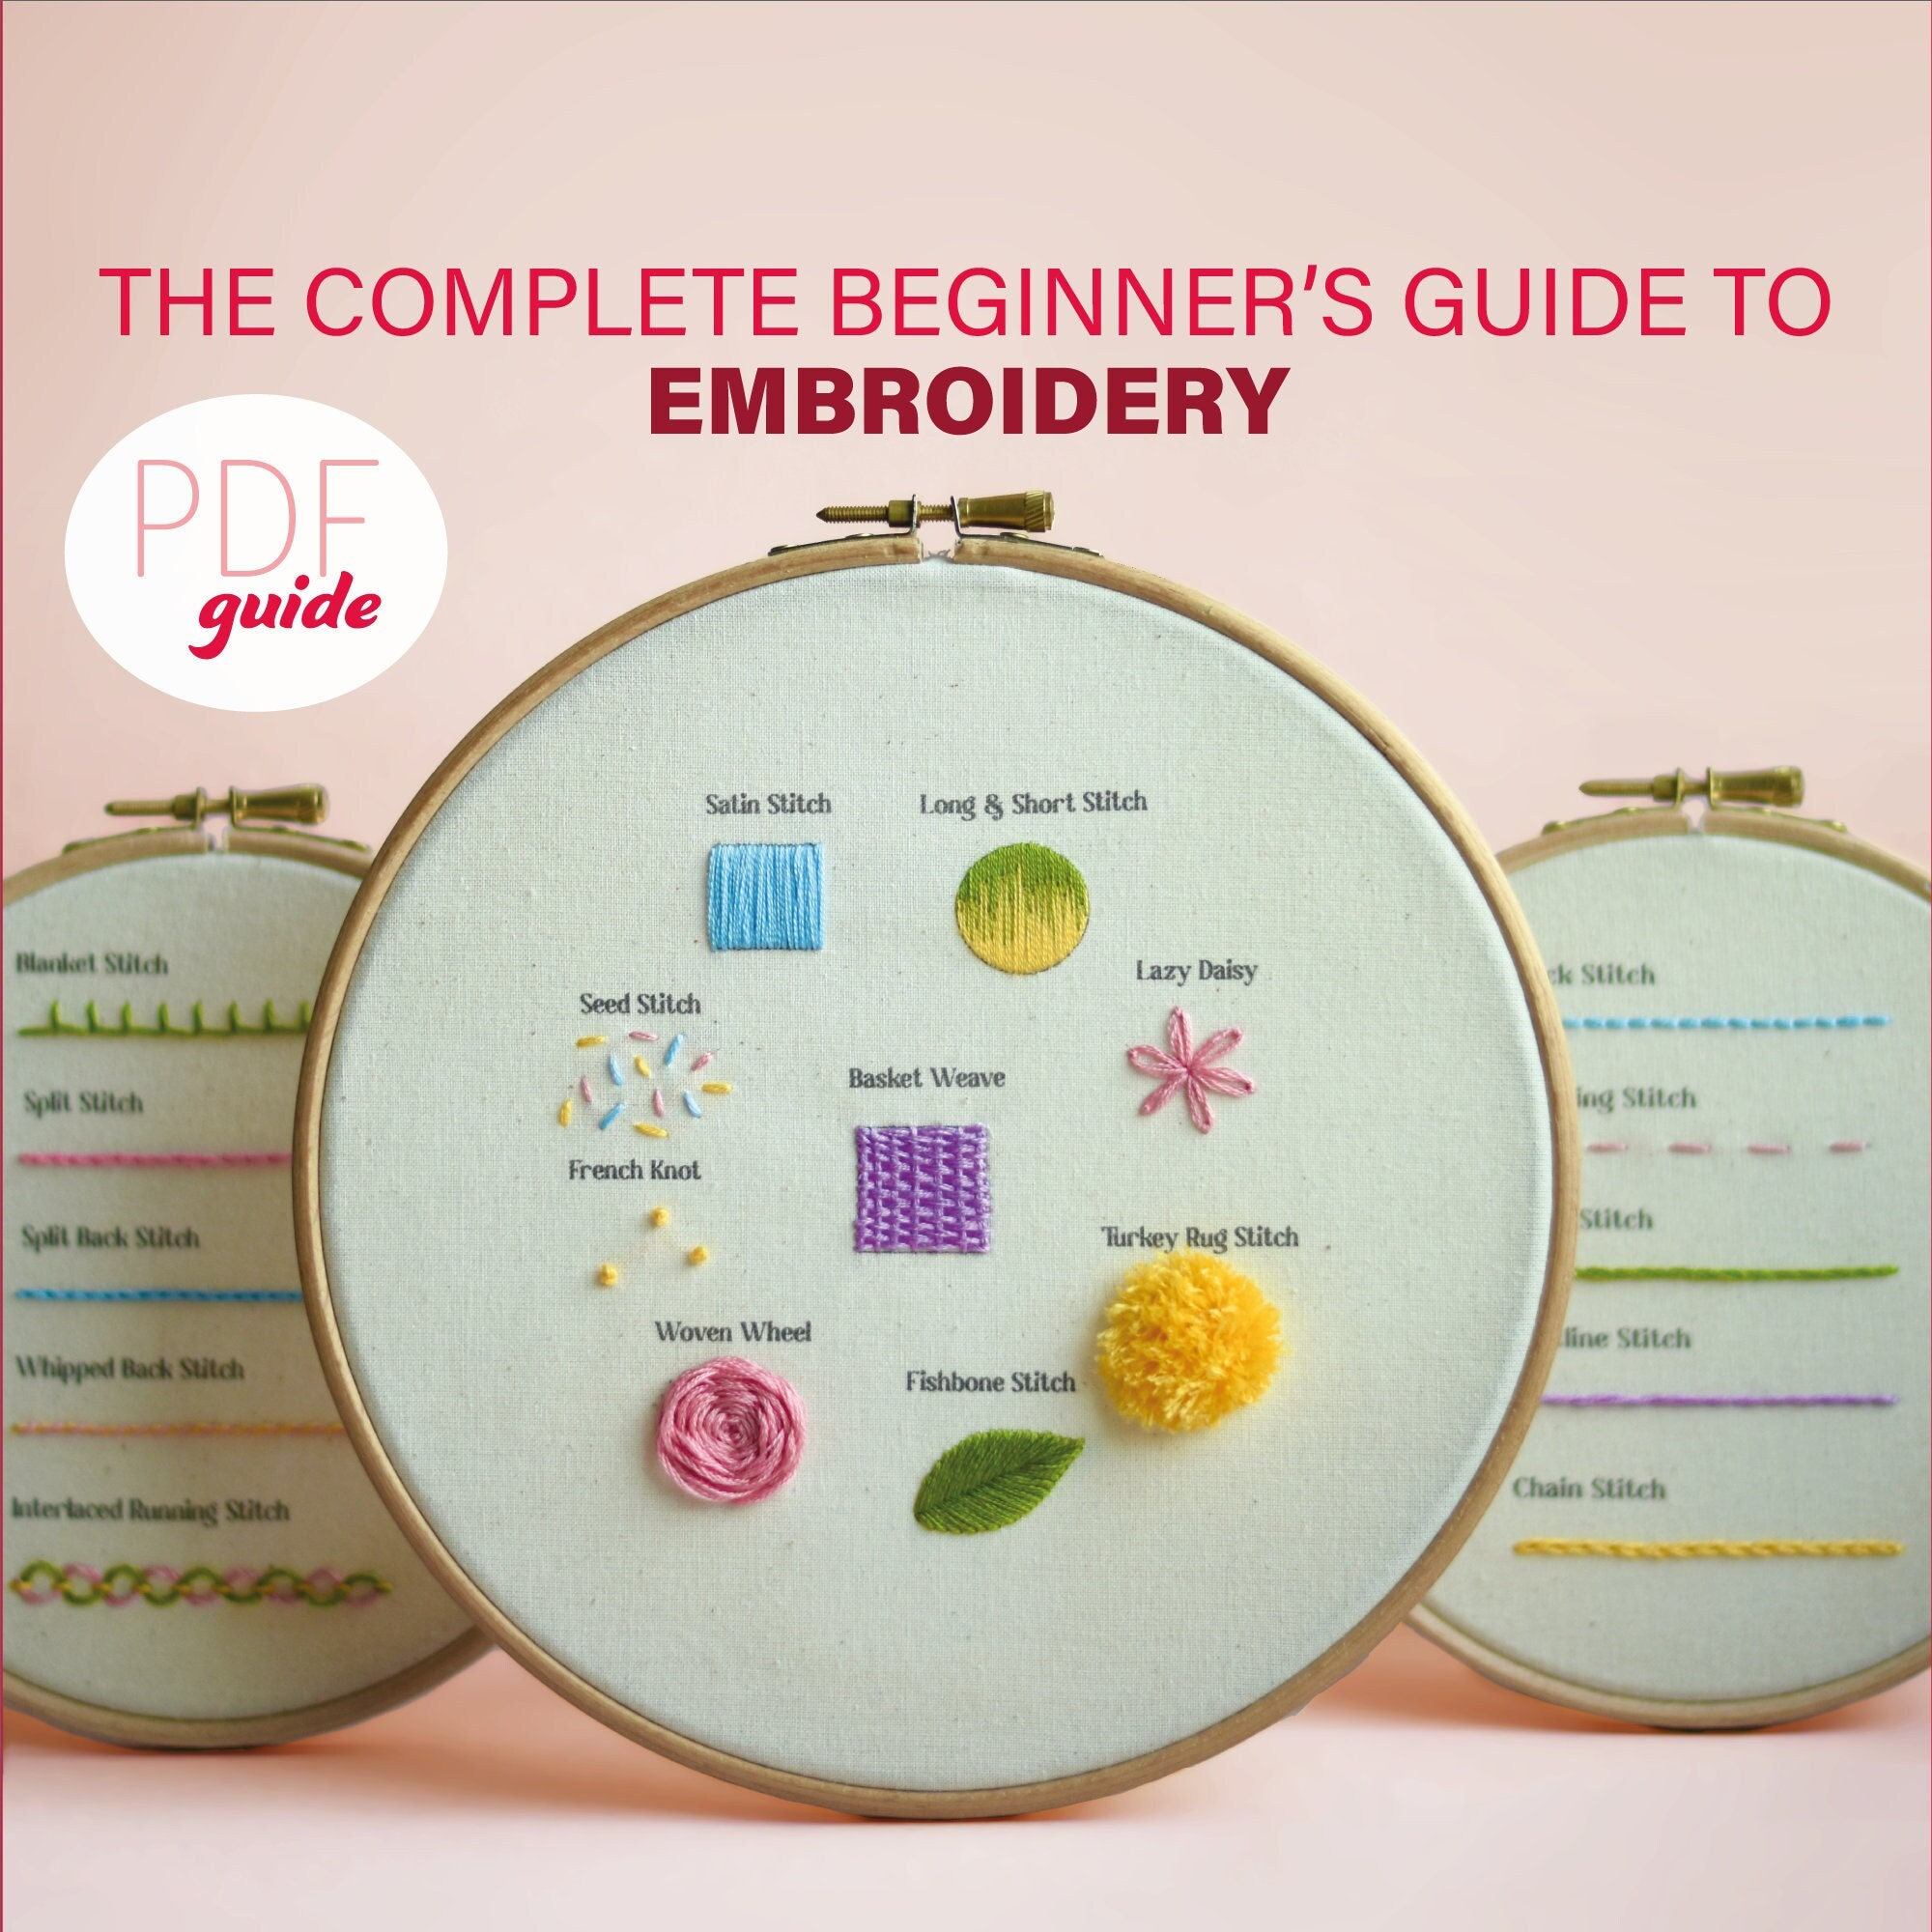
Three stitches form the backbone of most embroidery paintings. The split stitch mimics a fine brushstroke, ideal for outlines and delicate shading. Long‑and‑short stitch builds volume by alternating longer and shorter lines—great for foliage or fabric folds. Finally, the couching stitch lets you lay a thicker thread on the surface, perfect for bold accents or highlights.
Step‑by‑Step Project: Simple Flower Design
1. Choose a small, high‑contrast image—a single daisy works well.
2. Outline the petals with a split stitch in a light hue, keeping the stitches close together for a smooth edge.
3. Fill the center using long‑and‑short stitch, gradually darkening the color toward the middle to suggest depth.
4. Add a few couching stitches in a contrasting shade to suggest sunlight hitting the petal tips.
5. When the piece is complete, gently rinse the fabric to wash away any marker residue, then press it flat.
Tips for Adding Depth and Color
Layering is key. Start with a base color that’s slightly lighter than your final shade, then overlay darker tones to create shadows. Varying stitch direction also influences perception—strokes that follow the curve of an object make it appear rounded, while straight, horizontal stitches can flatten a surface. When mixing cotton and silk floss, the subtle sheen of silk catches light, adding a natural highlight without extra stitching.
Common Mistakes and How to Fix Them
One frequent error is pulling the fabric too tight in the hoop, which can cause puckering as you add stitches. Loosen the hoop slightly or use a larger fabric piece to avoid this. Another issue is over‑working a single area; the floss can become frayed, leading to uneven lines. If that happens, trim the damaged strand and start a fresh one from the nearest color pool. Finally, many beginners forget to secure the thread at the back of the work—use a small knot or a few backstitches to keep the floss from unraveling.
Caring for Your Finished Piece
Once your embroidery painting is complete, treat it like any other embroidered textile. Hand‑wash in cold water with a mild detergent, avoiding harsh agitation that could loosen stitches. Air‑dry flat, then press on the reverse side with a low‑heat iron, using a pressing cloth to protect the surface. Framing behind glass not only showcases the piece but also shields it from dust and accidental snags.
Frequently Asked Questions
Can I use acrylic paint instead of floss?
While acrylics can be applied to fabric, they lack the three‑dimensional texture that thread provides. For a true embroidery painting experience, stick with floss or yarn.
Do I need a special hoop for larger projects?
A larger hoop or a frame stretcher is advisable for pieces bigger than 12 inches; it keeps the fabric uniformly taut and prevents sagging.
How do I choose colors that blend well?
Start with a limited palette—three to five shades of the same hue—then expand as you become comfortable. Observing natural objects, like flowers, can guide you in selecting harmonious tones.