How to Upgrade Your 2016 EZ‑GO Golf Cart Seat Covers
Why Seat Covers Matter on a Golf Cart
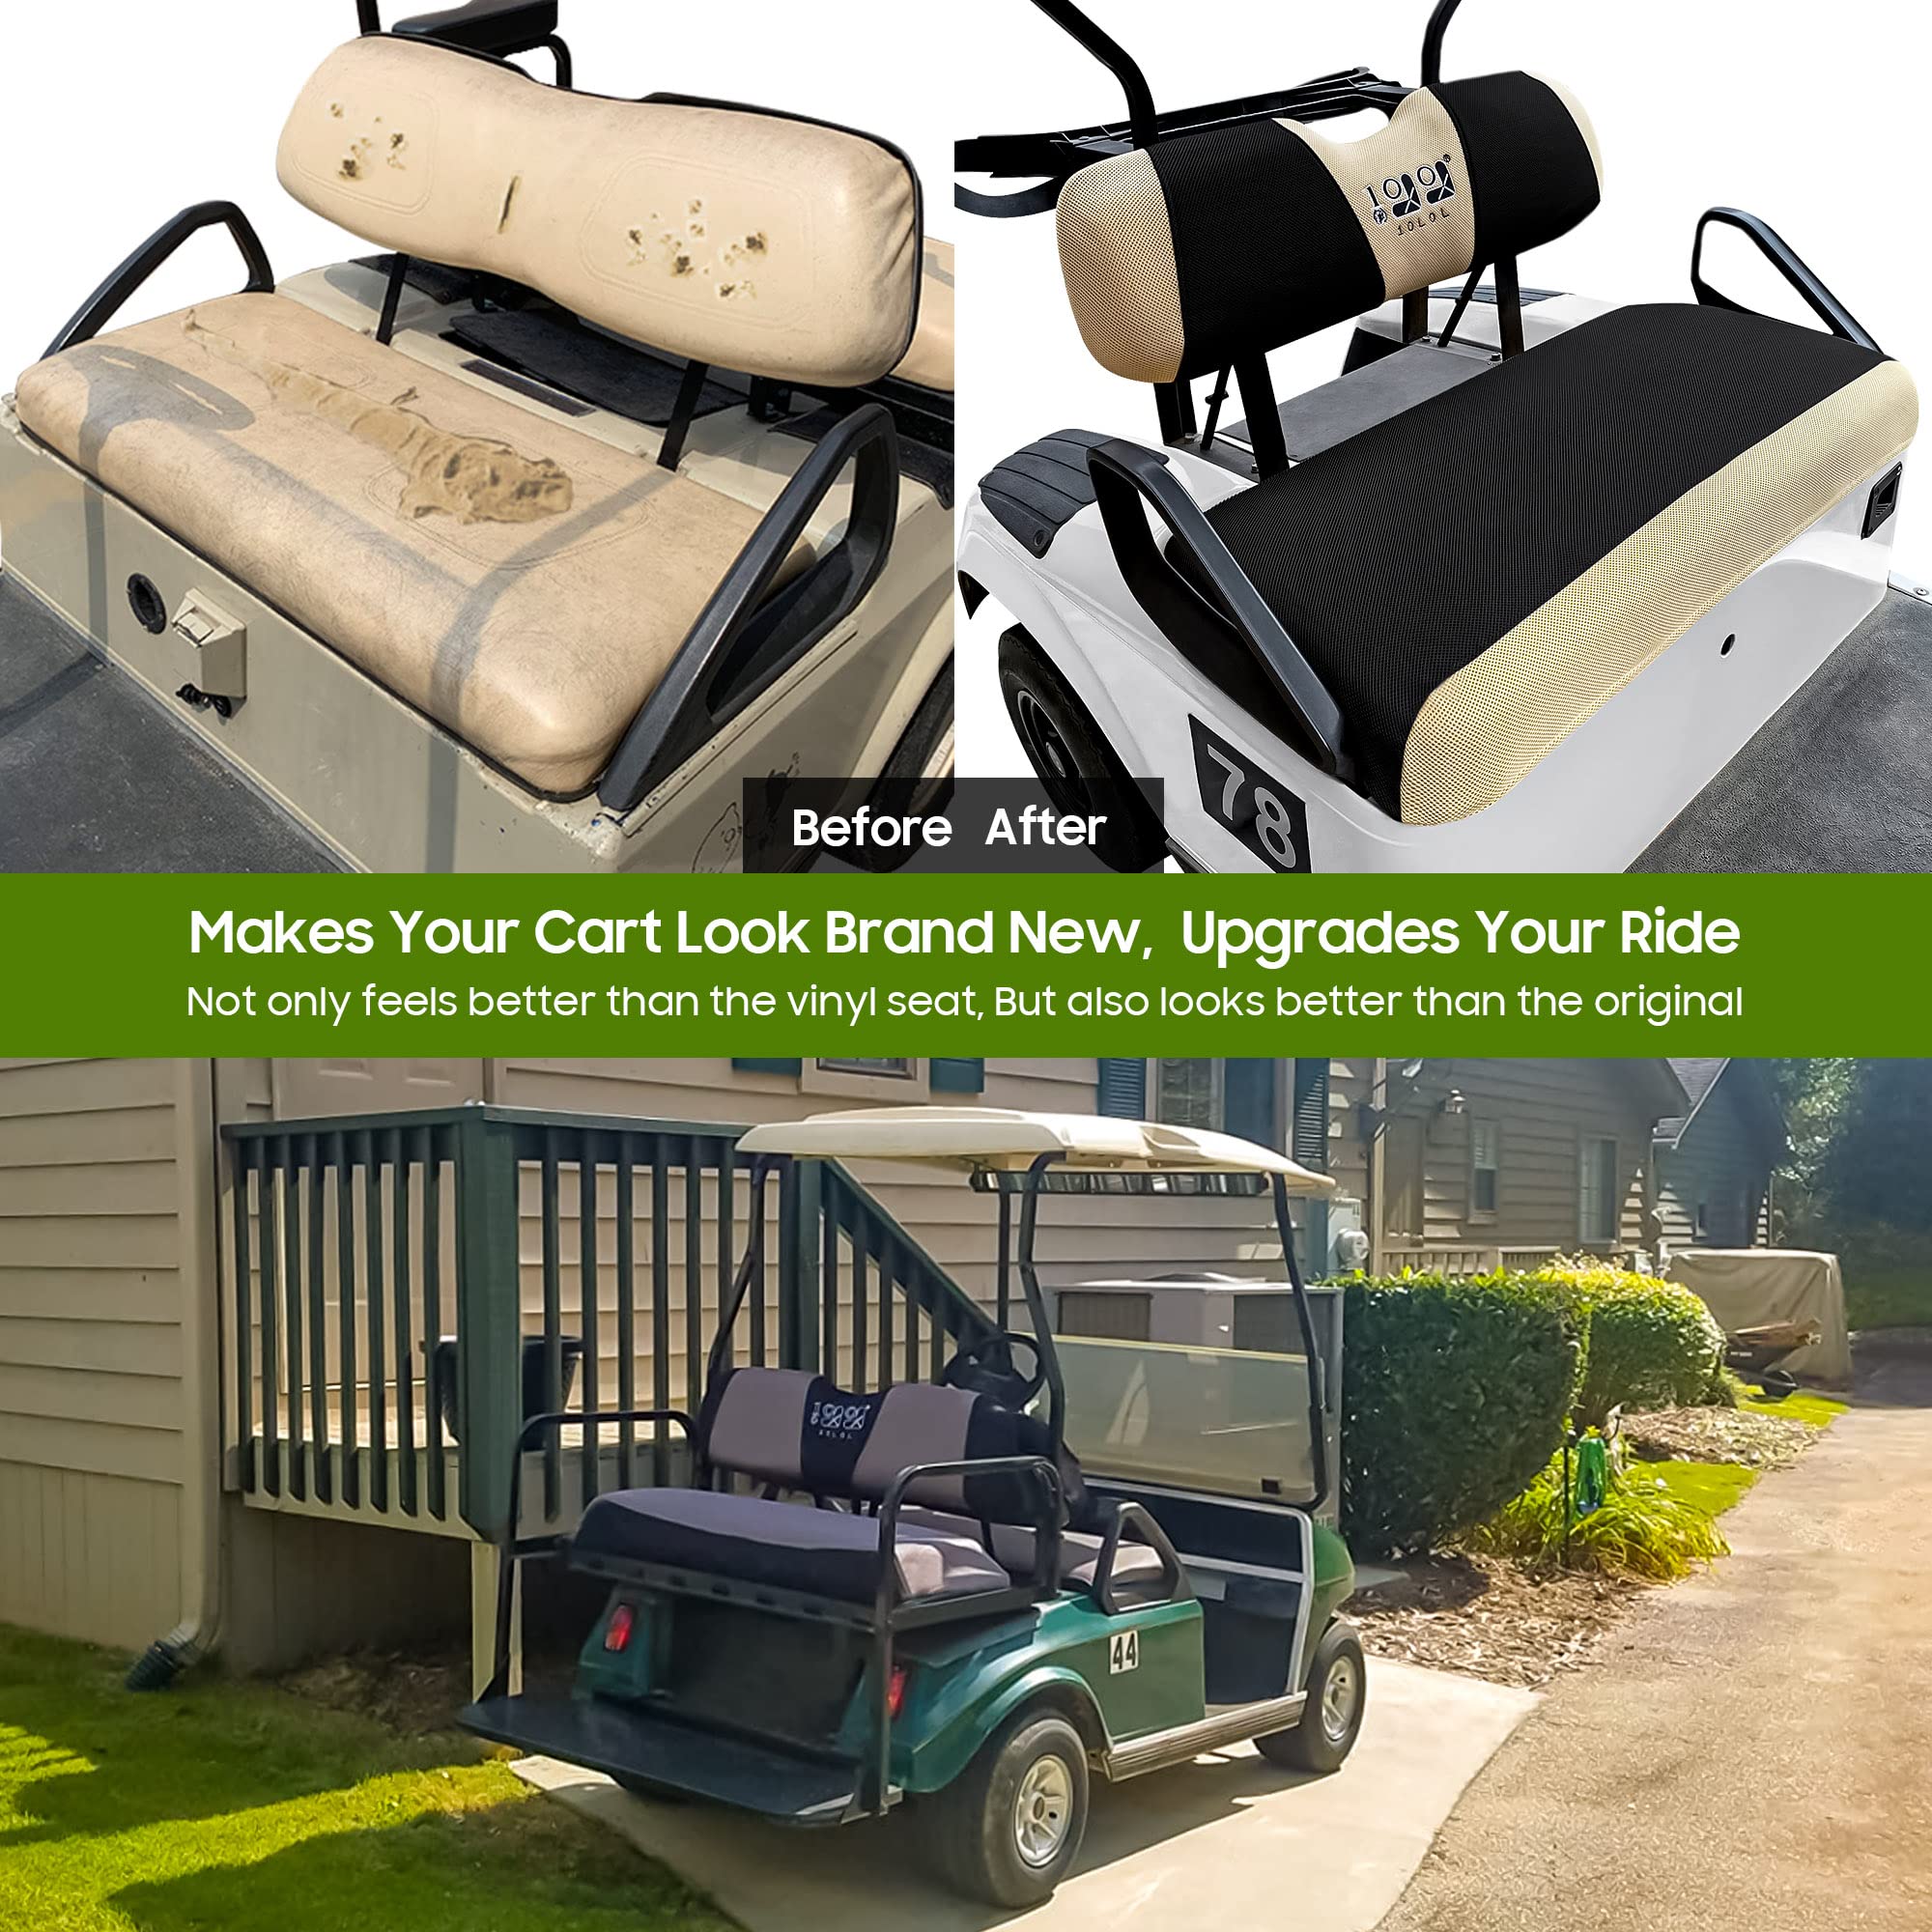
Even though a golf cart isn’t a daily driver, the seats get a lot of wear. Sun‑bleached fabric, spilled drinks and the occasional mud splash can turn a comfortable ride into a gritty experience. Swapping out the original upholstery isn’t just about looks; it adds a layer of protection, improves grip and can even boost resale value.
Choosing the Right Material
There’s a surprising variety of fabrics and synthetics on the market. Here’s a quick look at the most common options:
- Vinyl – Water‑resistant, easy to wipe clean, but can feel stiff in extreme heat.
- Polyester Mesh – Breathable and lightweight, ideal for hot climates.
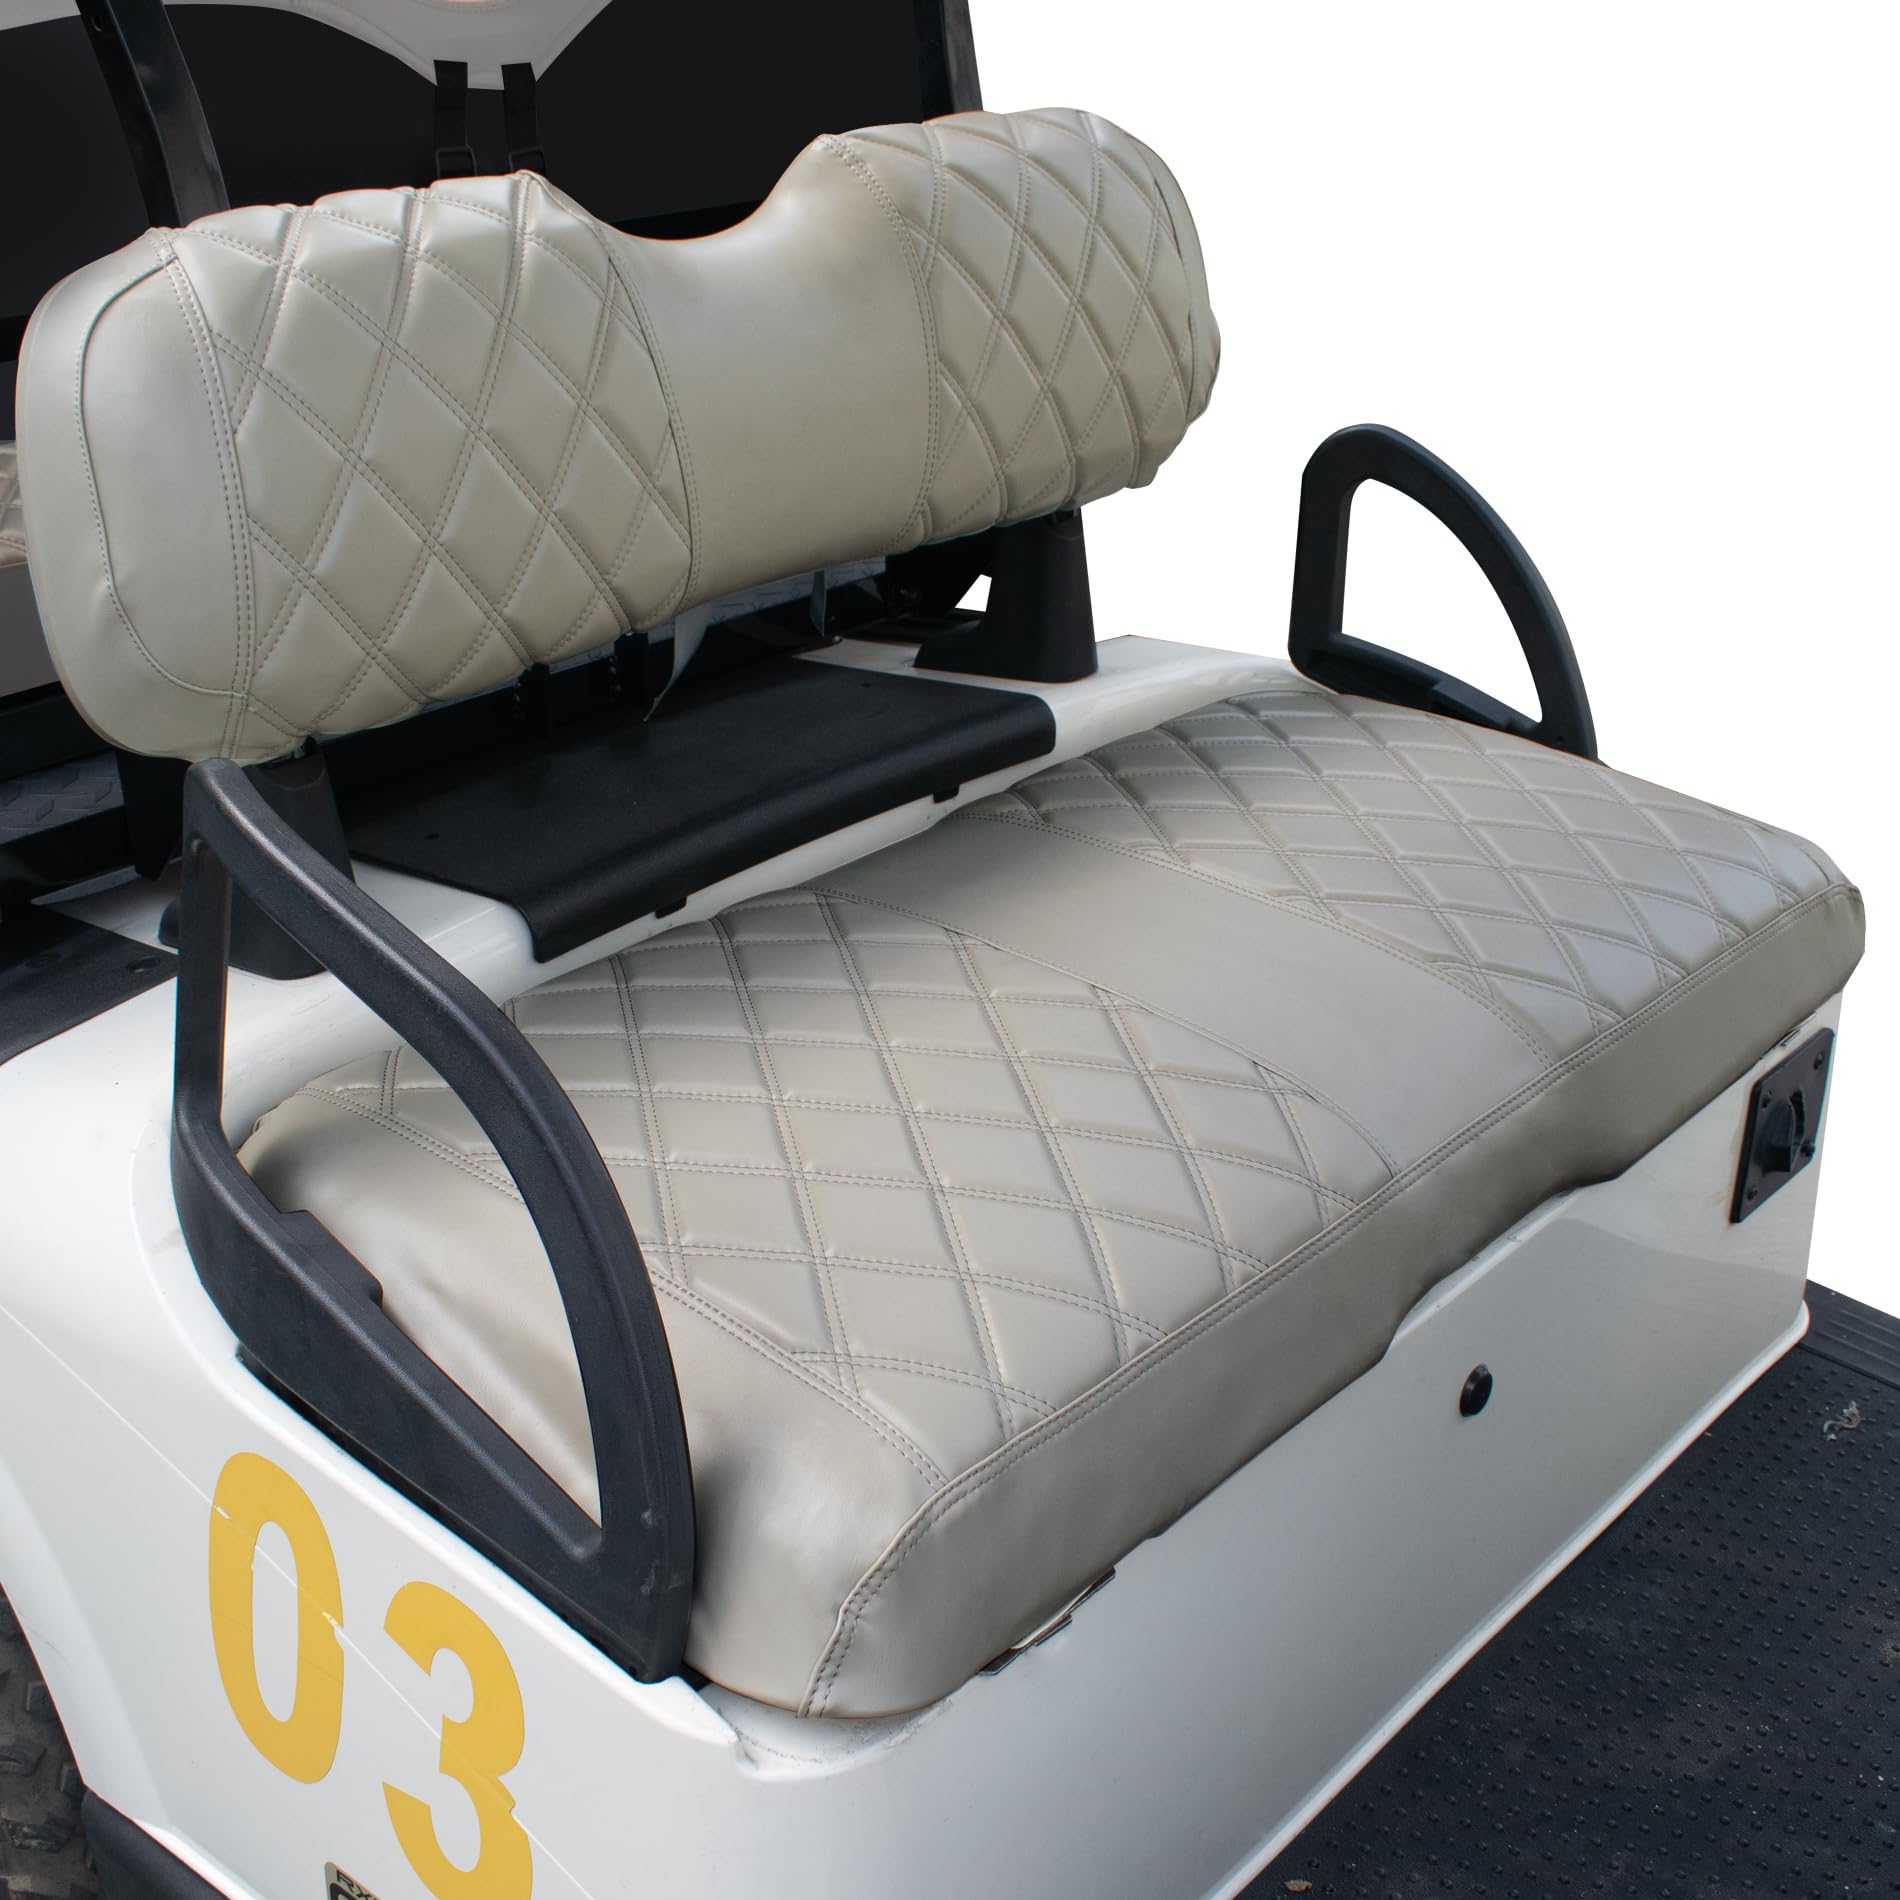
- Leather‑like PU – Gives a premium feel while staying budget‑friendly.
- Neoprene – Excellent for moisture resistance and offers a snug, cushioned ride.
Consider the climate where you use the cart most often. If you’re in a sunny region, a UV‑treated vinyl or mesh will keep the seats from cracking. For rainy areas, neoprene’s water‑repellent qualities shine.
Measuring for a Perfect Fit
Before you order anything, take precise measurements. The 2016 EZ‑GO models have slightly different seat widths depending on the series (EZ‑GO Express vs. TXT). Grab a tape measure and note:
- Seat width (from side to side)
- Seat depth (front to back)
- Backrest height
- Throat opening width (the gap between the seat and the backrest)
If you’re unsure, most vendors provide a printable template. A snug fit prevents bunching and ensures the cover stays in place during turns.
Installation Steps You Can Do Yourself
Most seat‑cover kits come with all the hardware you’ll need, but a few basic tools make the job smoother.
What You’ll Need
- Phillips screwdriver
- Flat‑head screwdriver
- Zip ties or quick‑release clamps (often included)
- Soft cloth and mild cleaner
Step‑by‑Step Guide
- Remove the old cover. Unbolt any clips holding the original upholstery and pull it away gently. Some models have hidden screws under the seat cushion – check the underside.
- Clean the seat frame. Wipe away dust, grease or leftover adhesive. A clean surface lets the new cover adhere properly.
- Position the new cover. Lay it over the seat, align the holes and the throat opening. Most covers feature pre‑punched holes for bolts.
- Secure the bolts. Re‑insert the original fasteners, tightening just enough to hold the fabric without crushing it.
- Trim excess material. If the cover is slightly larger, use a sharp utility knife to trim along the edges, being careful not to cut the stitching.
- Test the fit. Sit down, adjust any slack and make sure the backrest doesn’t shift.
Adding a Personal Touch
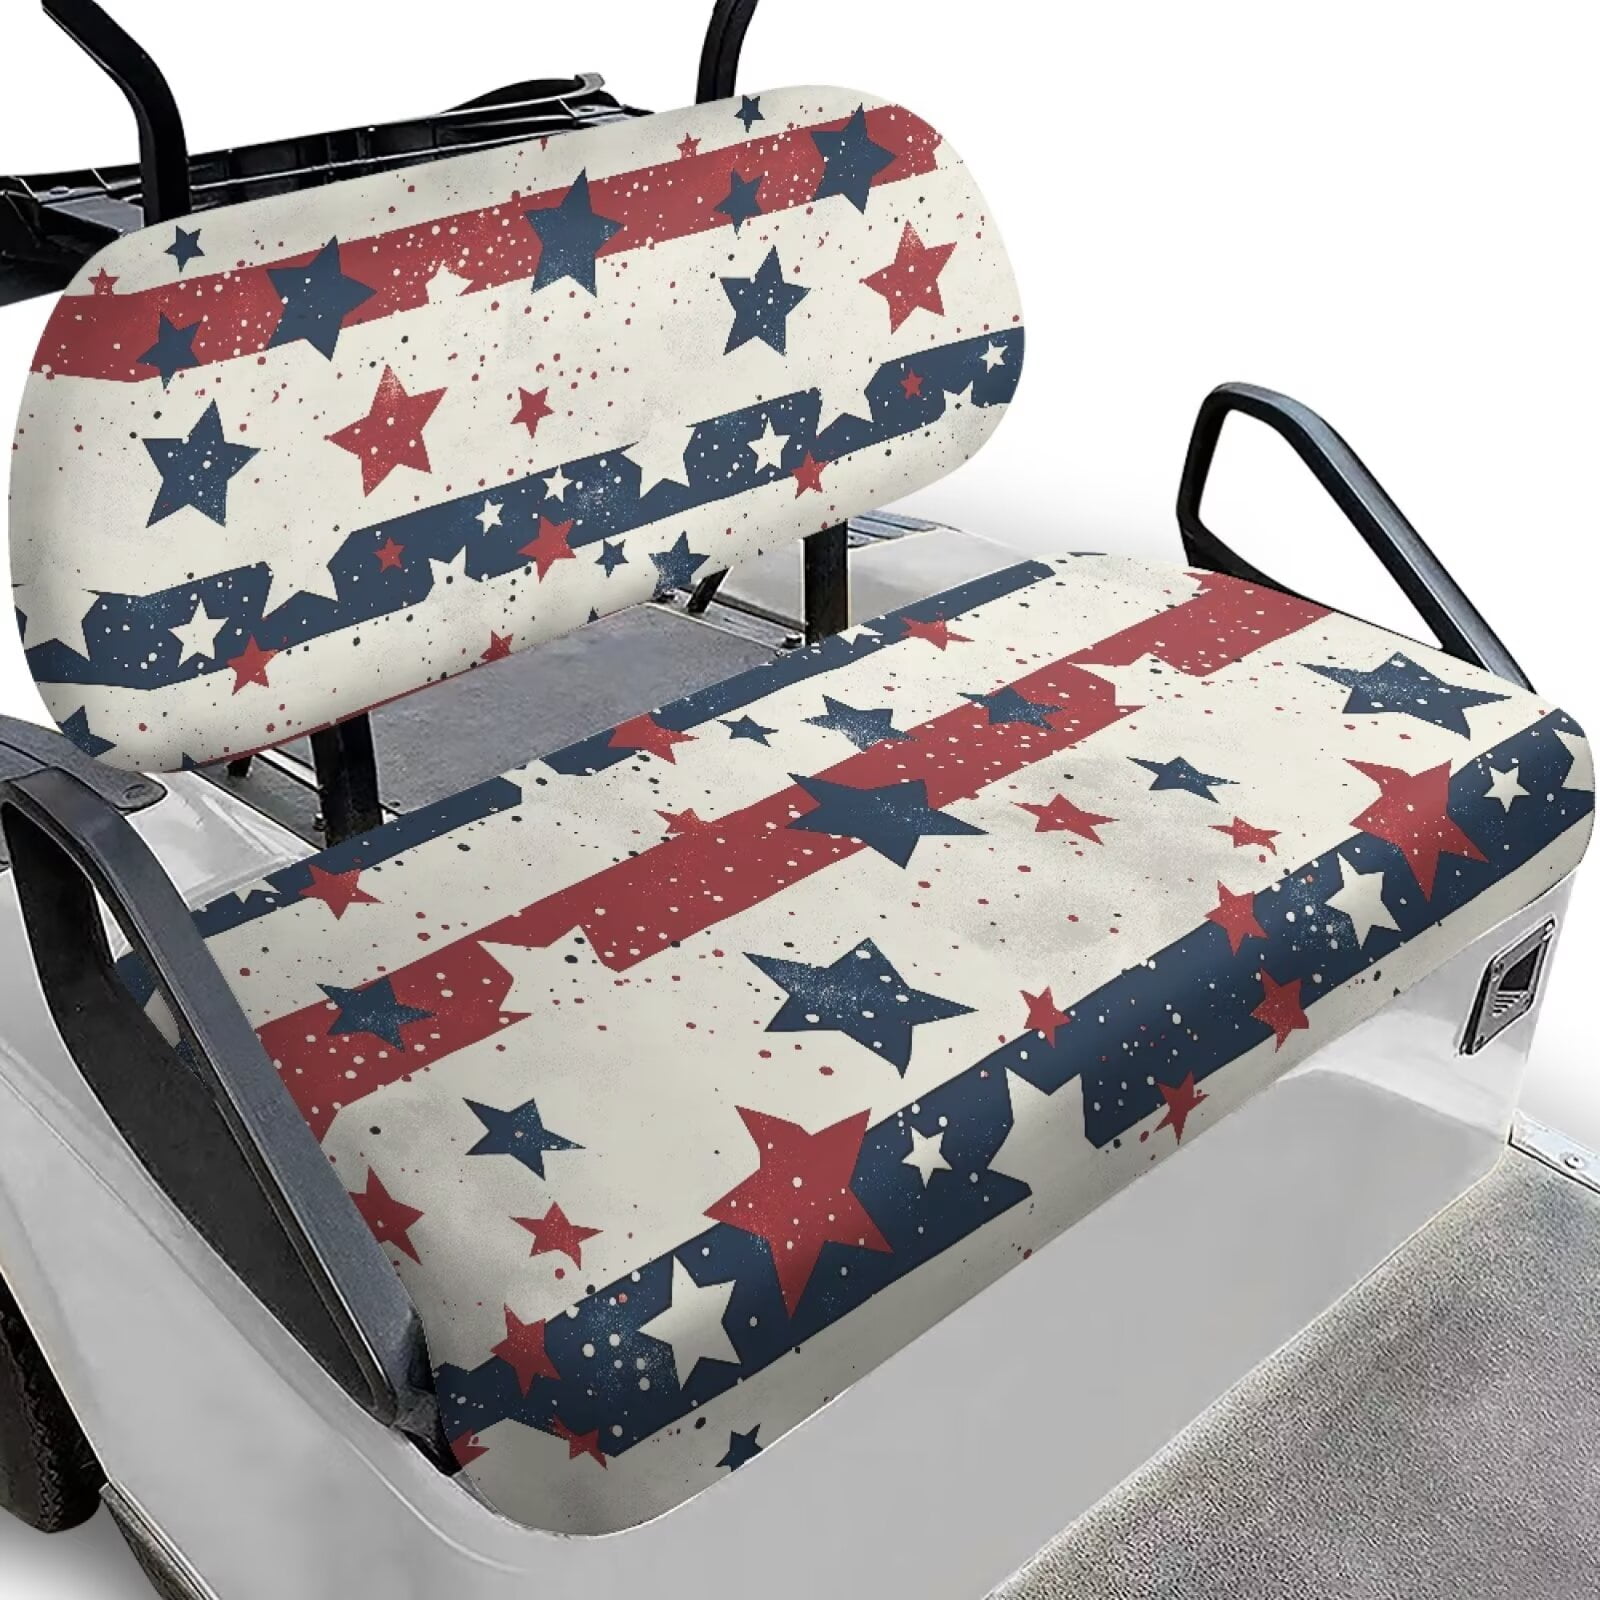
Seat covers are a canvas for a little creativity. Many manufacturers offer color‑matched stitching, embroidered logos or contrast piping. If you want something truly custom, look for printable fabric kits. Upload a design, and they’ll print it onto a durable polymer that can handle the outdoor elements.
Maintenance Tips to Keep Them Looking Fresh
Even the best cover will degrade over time if neglected. Here are a few low‑effort habits:
- Wipe spills immediately with a damp cloth.
- Apply a UV protectant spray every few months if the cover is vinyl.
- Vacuum the mesh or fabric regularly to lift dust from the weave.
- Store the cart under a cover during off‑season months to limit sun exposure.
Where to Buy Quality Covers
Online marketplaces are full of options, but a few retailers stand out for reliability:
- EZ‑GO Official Parts Store – Guarantees exact fit for 2016 models.
- Golf Cart Outfitters – Offers a wide range of fabrics and custom prints.
- Amazon – Good for quick shipping, but double‑check the seller’s size chart.
Read customer reviews for clues about durability and whether the fit is truly “plug‑and‑play.” A modest extra spend on a brand‑approved kit often saves headaches later.
Bottom Line
Updating the seat covers on a 2016 EZ‑GO golf cart is a small investment that pays off in comfort, style and longevity. Pick a material suited to your climate, measure carefully, and follow the simple installation steps. Within an hour you’ll have a refreshed ride that feels as good as the day it rolled off the lot.