Trezor Hardware Wallet Tutorial: A Beginner’s Guide to Cold Storage
If you have ever held a modest amount of cryptocurrency, the anxiety of digital theft is likely a familiar companion. The phrase "not your keys, not your coins" has become the mantra of the crypto-savvy, but for many newcomers, the concept of managing those keys feels like navigating a minefield without a map. This is where a hardware wallet comes in. Among the various options on the market, the Trezor brand has established itself as a foundational tool for self-custody.
Setting up a Trezor isn’t just about plugging in a USB drive; it is about establishing a secure boundary between your valuable digital assets and the potentially unsafe environment of your computer or smartphone. This guide walks you through the process of setting up a Trezor device, from unboxing the device to securely storing your backup seed phrase. We will focus on the essential steps that ensure your funds remain under your control, emphasizing security best practices along the way.
Why Hardware Wallets Matter
Before diving into the buttons and screens, it helps to understand what a device like Trezor actually does. It is not a storage unit in the traditional sense. Your Bitcoin or Ethereum doesn’t live inside the plastic casing. Instead, the hardware wallet holds your private keys offline. When you want to make a transaction, you connect the device to your computer, and it signs the transaction internally. The signed data is then sent to the blockchain. If your computer is compromised with malware, the sensitive private key never leaves the secure element of the wallet, rendering the theft attempt useless.
This "cold storage" method is significantly more secure than keeping funds on an exchange or in a software wallet on your phone. It removes the attack surface of the internet from your most sensitive cryptographic materials.
Unboxing and Initial Inspection
When you first receive your Trezor, your first task is inspection. This might sound paranoid, but it is a necessary step in the world of high-value asset protection. Check the serial number on the device against the number printed on the shipping card. If these numbers do not match, do not connect the device to your computer. Contact the manufacturer immediately. This step ensures that you are the first person handling the device, eliminating the risk of a man-in-the-middle attack where a malicious actor has intercepted your package and tampered with the firmware.
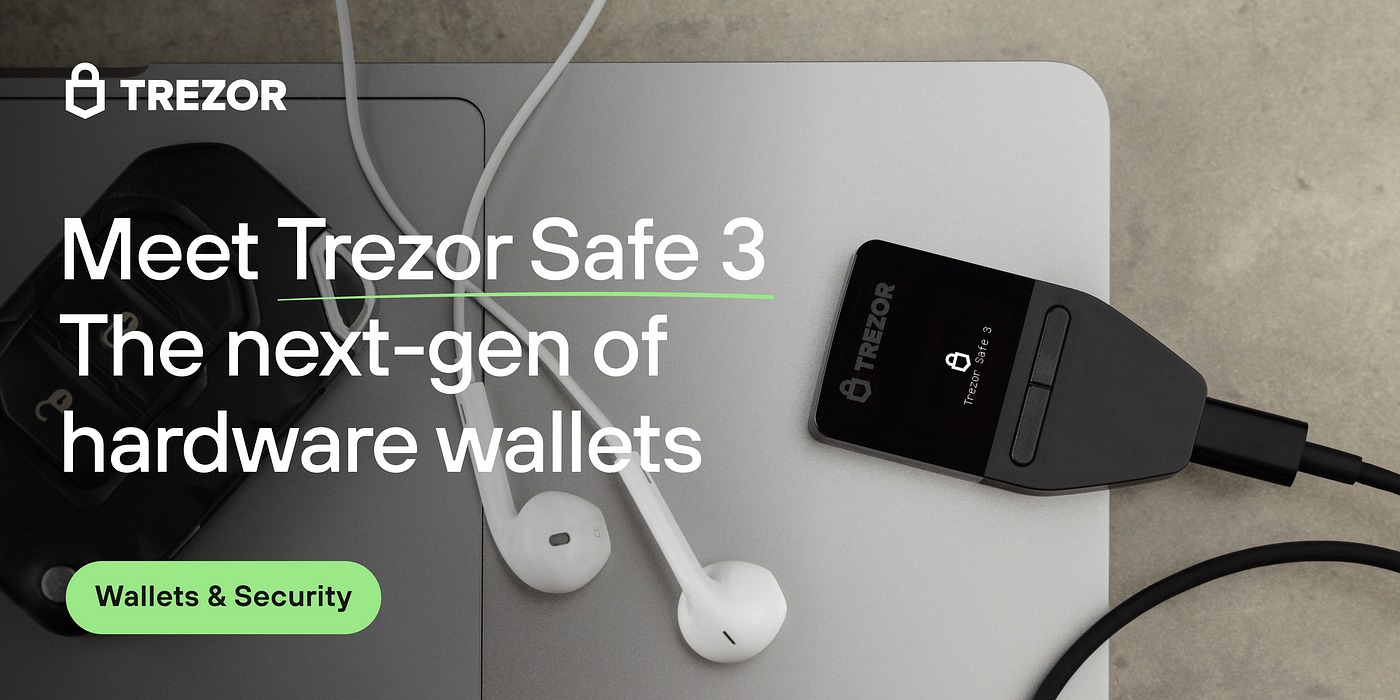
Once verified, power on the device using the small button located behind the screen. You will see the Trezor logo appear, followed by a prompt to set up your wallet. At this stage, you have a choice: create a new wallet or restore an existing one. For first-time users, selecting "Create a new wallet" is the only logical path forward.
Generating and Writing the Recovery Seed
Here is the most critical part of the entire process. The device will prompt you to write down your recovery seed. This is a sequence of 12 or 24 random words. Think of this phrase as the master password to your vault. If you lose this phrase, your funds are gone forever. If someone else finds this phrase, your funds are gone forever.
Use the provided card to write down the words exactly as they appear and in the order presented. Do this by hand. Do not take photos of the seed with your phone. Do not save it in a text file on your computer. Do not store it in your email or cloud storage. Digital traces of your seed phrase are vulnerable to hacking, phishing, and data breaches. The physical card is your last line of defense. Once you have written down the words, the device will ask you to re-enter them in a random order to confirm accuracy. This step might feel tedious, but it is a safeguard against simple transcription errors that could lock you out of your own assets.
Securing Your Device
After the seed phrase is verified, you will be prompted to set a PIN code. This PIN acts as an additional layer of security. If your device is lost or stolen, the thief cannot access your funds without this code. More importantly, after a certain number of incorrect PIN attempts, the device will automatically erase itself, rendering the theft useless. You can also choose to add a passphrase, which is essentially a 25th word to your seed phrase. This provides an extra layer of protection and allows you to hide wallets by using different passphrases, although this feature requires careful management to avoid losing access to hidden wallets.
Connecting to Trezor Suite
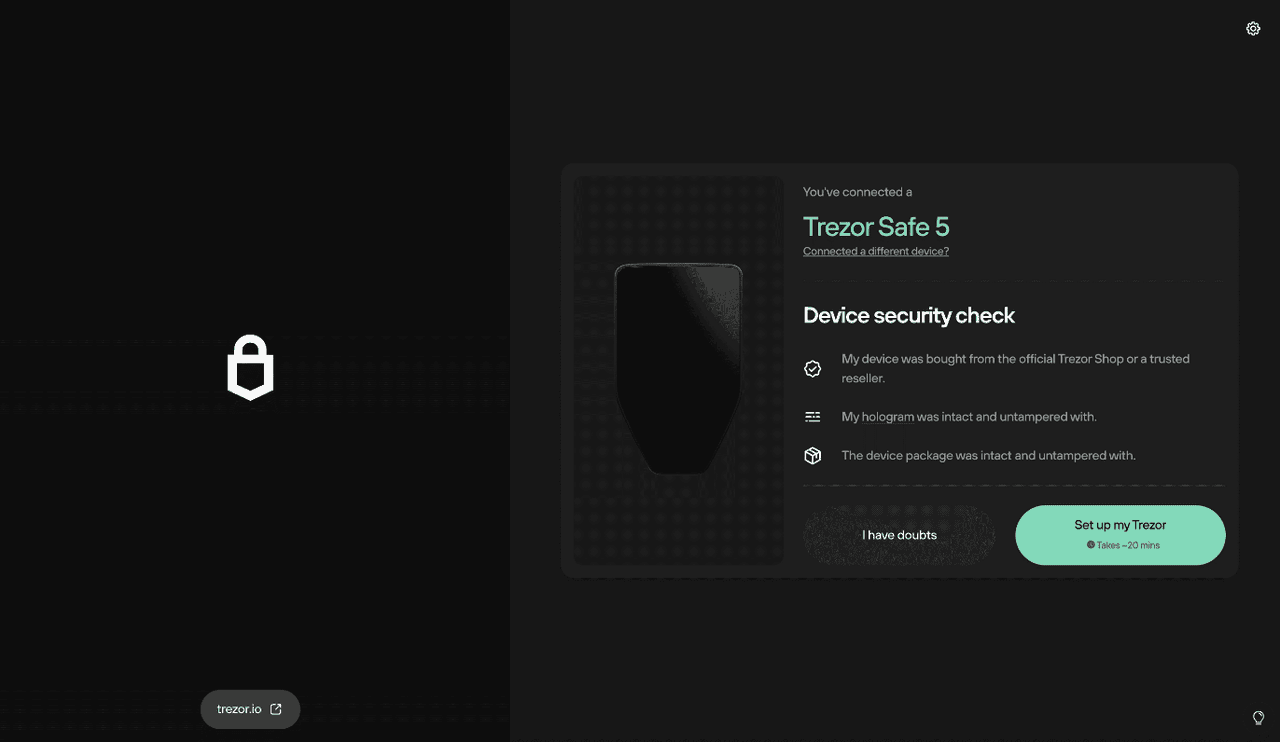
With the hardware setup complete, you need software to manage your assets. Trezor Suite is the recommended platform, available for desktop and mobile. Install the software from the official Trezor website. Never download third-party clients unless you are absolutely certain of their security. Connect your device via the USB cable provided. The software will detect the device and guide you through the final pairing process. From here, you can add your cryptocurrencies, send transactions, and monitor your portfolio.
The interface is designed to be intuitive, showing you balances and transaction histories. However, remember that any action requiring a signature must be confirmed on the physical device. Always double-check the recipient address and the amount on the Trezor’s screen before pressing both buttons to confirm. This physical confirmation is what prevents malware from altering transaction destinations or amounts.
Maintaining Security Long-Term
Setting up the wallet is only the beginning. Regularly update the firmware via Trezor Suite to patch any security vulnerabilities. Keep your recovery seed in a safe, fireproof, and waterproof location. Consider using a metal seed plate for long-term storage, as paper can degrade or be destroyed in a household fire. Avoid sharing your seed phrase with anyone, including customer support. Legitimate support teams will never ask for your 12 or 24-word recovery phrase.
By following these steps, you take control of your digital assets. The process requires attention to detail and a commitment to security, but the peace of mind that comes with true self-custody is worth the effort. Your funds are no longer dependent on the solvency of an exchange or the security of a hot wallet. They are secured by cryptography and your own diligence.
Frequently Asked Questions
What happens if I lose my Trezor device?
If you lose your physical Trezor device, you do not lose your funds. As long as you have your 12 or 24-word recovery seed, you can buy a new Trezor and restore your wallet using the seed phrase. The device is simply a tool to access the keys, not the storage of the keys themselves.
Is it safe to enter my PIN on my computer?
No, you should never enter your PIN on your computer’s keyboard. The PIN is entered directly on the Trezor device using its built-in buttons. This ensures that keyloggers or malware on your computer cannot capture your PIN code.
Can I use my Trezor with other wallets?
Yes, Trezor devices are compatible with many third-party software wallets, including Electrum and BlueWallet. However, Trezor recommends using their own Trezor Suite for the best security and user experience, as it is specifically designed to interface securely with their hardware.
How often should I update my firmware?
You should update your firmware whenever Trezor notifies you of a new version. Firmware updates often include security patches and new features that improve the safety and functionality of your device. Connect your device to Trezor Suite to check for and install updates.