How to Build Industrial Raspberry Pi Projects: Ideas & Guides
When factories start swapping out legacy PLCs for tiny, affordable computers, the phrase “industrial projects with Raspberry Pi” suddenly feels less like a novelty and more like a strategic move. The Pi’s low power draw, robust GPIO lineup, and thriving software ecosystem make it a surprisingly solid foundation for everything from predictive‑maintenance dashboards to autonomous material‑handling bots. Below you’ll find a mix of concepts, the bits you’ll need to get rolling, and a concrete walk‑through that shows how a modest hobby board can graduate to a production‑ready asset.
Why Raspberry Pi Is Gaining Ground in Industry
First, cost matters. A Pi 4 with 4 GB of RAM retails for under $100, yet it can run full‑featured Linux, host Docker containers, and stream video without breaking a sweat. Second, the community is massive—forums, GitHub repos, and commercial support channels mean you rarely have to reinvent the wheel. Third, the hardware is modular: add‑on HATs provide industrial‑grade I/O, relays, and even CAN‑bus interfaces, bridging the gap between hobbyist pins and rugged plant wiring. Finally, the software side is mature; libraries like pymodbus, OPC-UA servers, and Node‑RED give you ready‑made protocols that plants already trust.
Five Practical Industrial Raspberry Pi Ideas
1. Predictive‑Maintenance Sensor Hub
Mount a Pi near a critical motor, attach vibration and temperature sensors via an analog‑to‑digital HAT, and stream the data to a cloud‑based analytics platform. With a simple Python script you can flag out‑of‑range readings before a bearing fails.
2. Edge‑Based Vision System
Pair the Pi Camera Module with OpenCV to detect missing parts on a conveyor belt. The Pi can make binary decisions locally—stop the line, raise an alarm, or tag the defect for later review—keeping latency down and network traffic low.
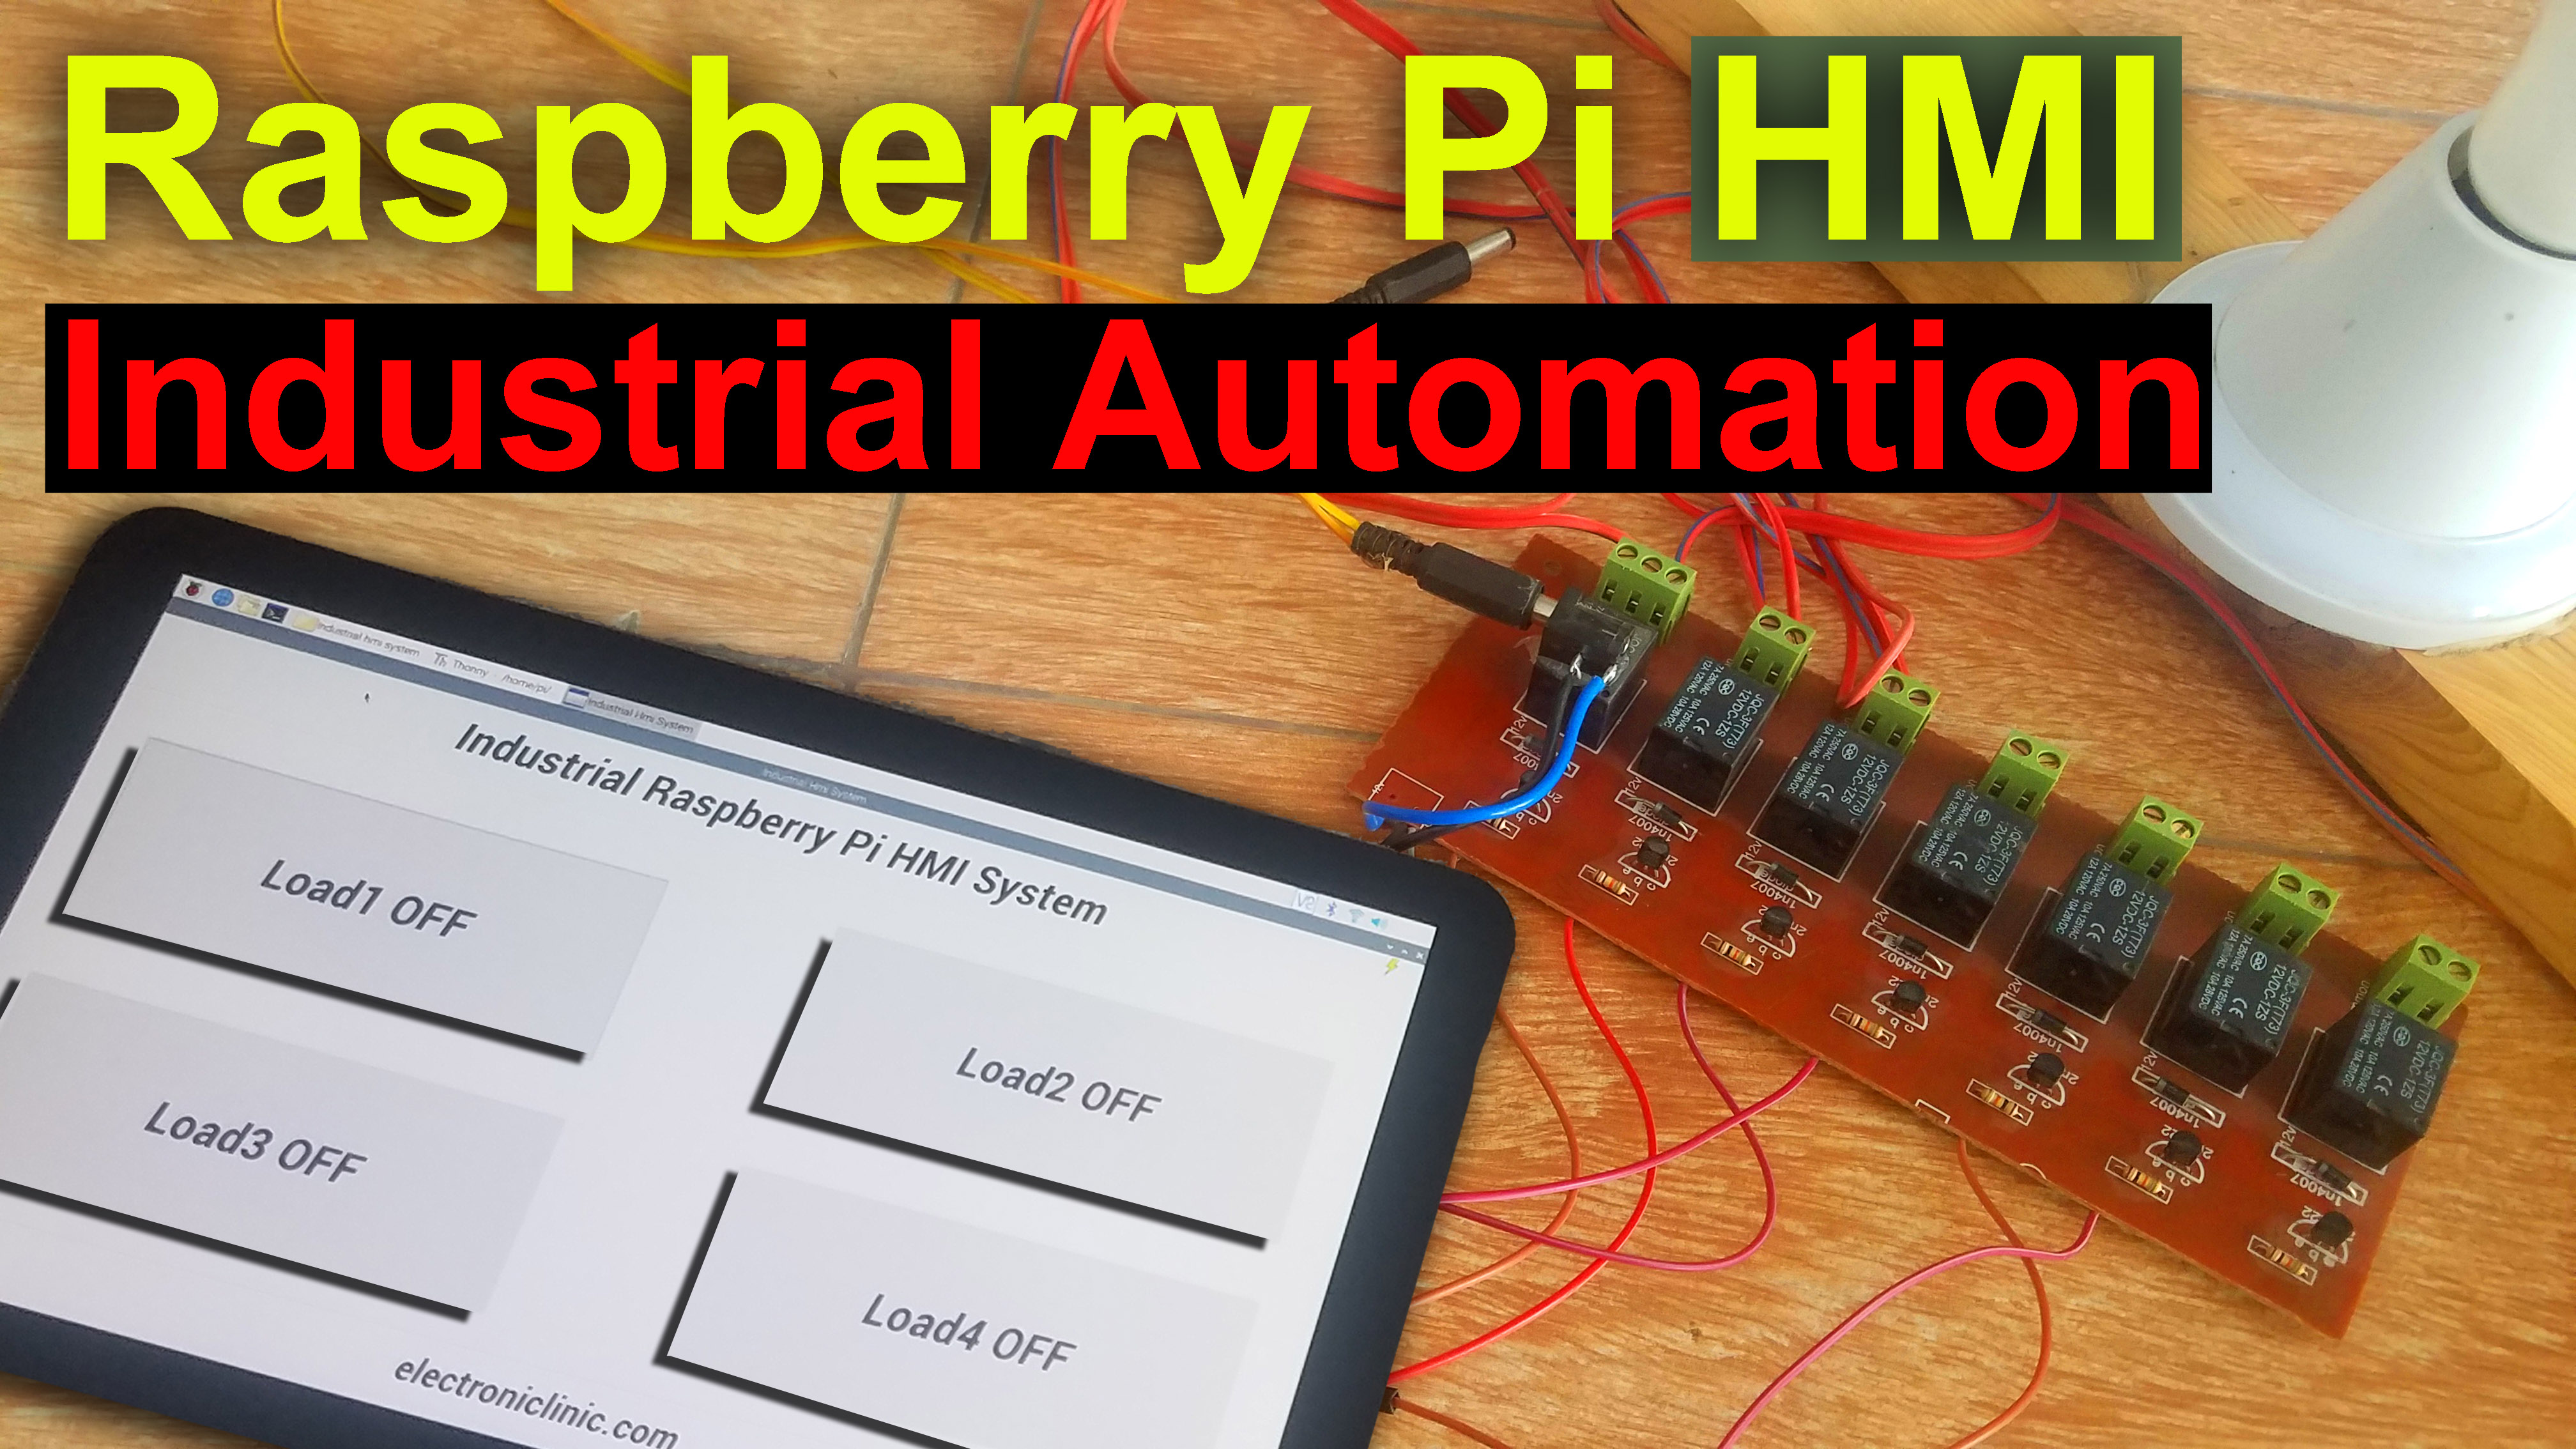
3. Remote PLC Gateway
Use a Pi as a protocol translator, converting Modbus‑RTU signals from legacy PLCs into MQTT messages that modern SCADA systems understand. This approach extends the life of older equipment without a costly full‑scale retrofit.
4. Automated Inventory Tracker
Attach RFID readers to a Pi and place it at warehouse entry points. As pallets pass, the Pi logs IDs, timestamps, and location data to a central database, providing real‑time stock visibility.
5. Energy‑Usage Dashboard
Connect current transformers to a Pi‑compatible ADC, aggregate power draw from multiple machines, and feed the numbers into a Grafana dashboard. Operators get a live view of consumption patterns and can spot waste instantly.
Getting Started – Essential Hardware and Software
Regardless of the idea you choose, the baseline kit looks similar:
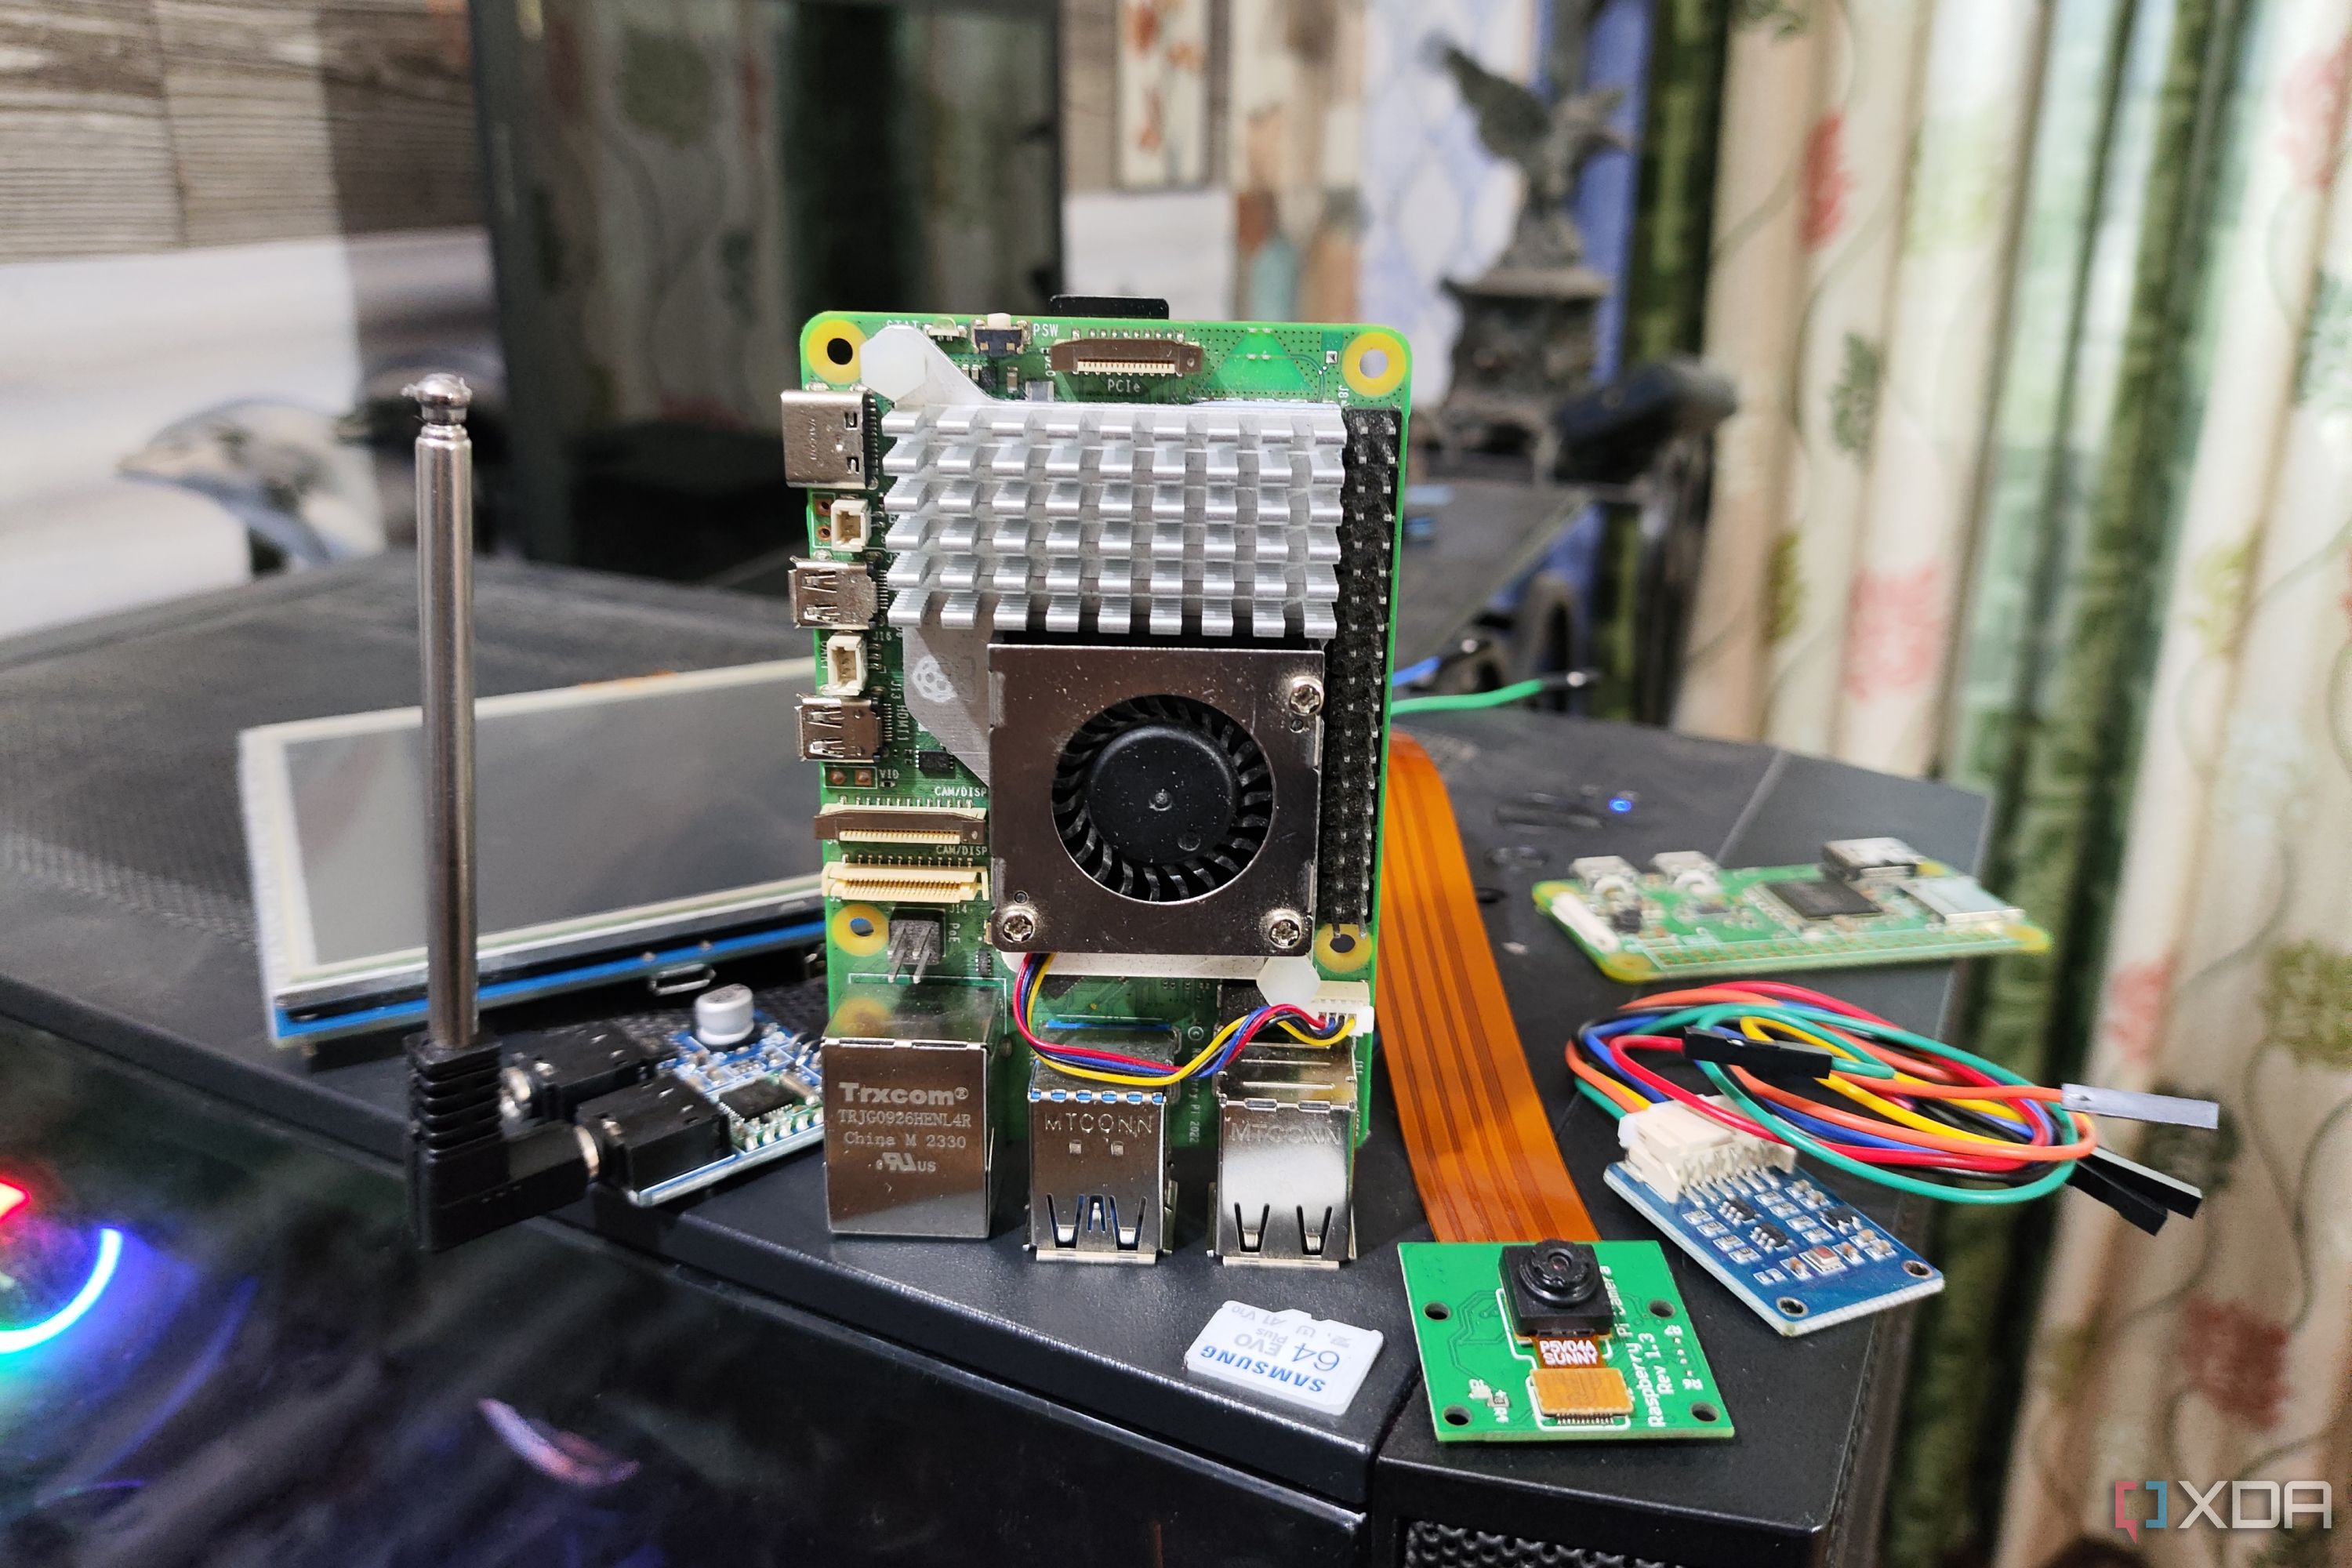
- Raspberry Pi 4 (4 GB or 8 GB) – the extra RAM helps when you run multiple containers or a graphical dashboard.
- Power supply (5 V / 3 A USB‑C) – stable voltage is crucial for industrial reliability.
- Industrial I/O HAT – options include the Pi‑Plate CAN‑bus, Automation HAT, or a custom breakout with opto‑isolated relays.
- SD card (32 GB or larger, Class 10) – install Raspberry Pi OS Lite for a lean headless setup.
- Enclosure – a metal or polycarbonate case rated for at least IP65 protects against dust and splashes.
Software-wise, start with Raspberry Pi OS Lite, enable SSH, and install Docker. Containers let you isolate a data‑collector service, an MQTT broker, and a web UI without worrying about dependency conflicts. For version control and repeatability, keep a docker-compose.yml file in a Git repository—this is the same practice you’d use on a full‑scale server.
Step‑by‑Step How‑To Example: Real‑Time Sensor Hub
Let’s walk through the predictive‑maintenance hub mentioned earlier. The goal is to read vibration (via an analog accelerometer) and temperature (via a digital thermocouple) and push the metrics to an InfluxDB instance.
Step 1 – Wire the Sensors
Plug the analog accelerometer into the ADC channels of an Automation HAT. Connect the thermocouple to a MAX31855 breakout, then stack the breakout onto the same HAT. Use the HAT’s screw terminals for secure, industrial‑style connections.
Step 2 – Prepare the OS
Flash Raspberry Pi OS Lite onto the SD card, boot, then run:
sudo apt update && sudo apt install -y docker.io docker-compose gitAdd the “pi” user to the Docker group so you can manage containers without sudo.
Step 3 – Deploy the Collector Service
Create a simple Python script (collector.py) that reads the ADC via gpiozero and the thermocouple via spidev, then publishes JSON to mqtt://localhost. Store the script in a Git repo, then write a Dockerfile that copies the code, installs paho‑mqtt, and sets the entrypoint.
Step 4 – Spin Up the Stack
In a docker-compose.yml file, define three services: collector, mosquitto (the MQTT broker), and influxdb. Bring everything up with docker-compose up -d. After a minute, you can verify data flow with:
docker exec -it mosquitto mosquitto_sub -t "#" -vIf the readings appear, you’ve just built a functional edge sensor.
Step 5 – Visualize
Point a Grafana instance (running on a separate workstation) at the InfluxDB endpoint, import a pre‑made dashboard template, and you’ll see temperature and vibration trends in real time. Set alerts for thresholds that indicate bearing wear, and you’ve closed the loop.
Scaling Up – From Prototype to Production
Prototype rigs often sit on a bench; production units need ruggedness. Here are three upgrades to consider before you roll out dozens of units:
- Power Redundancy – Add an industrial‑grade UPS or a PoE injector so a single cable can supply both power and network.
- Secure Boot & TPM – Enable the Pi’s built‑in TPM 2.0 module (available on the Compute Module) to verify firmware integrity and encrypt stored keys.
- Remote Management – Deploy a lightweight MDM solution like BalenaCloud; it lets you push OTA updates, monitor health, and roll back faulty releases without physical access.
Finally, document the Bill of Materials (BOM) in a spreadsheet, version the firmware in Git, and write a short SOP for field technicians. The extra paperwork feels bureaucratic, but it pays off when a plant manager asks for traceability during an audit.
FAQ
Can a Raspberry Pi replace a traditional PLC?
In many low‑to‑medium complexity tasks, yes—especially when you need flexibility or edge analytics. For safety‑critical loops that require certified hardware, a PLC is still the safer choice.
What’s the best way to protect a Pi from electrical noise on the shop floor?
Use shielded cables, opto‑isolated I/O, and a metal enclosure grounded to the plant’s chassis. Adding a small line‑filter on the power input also helps.
How do I ensure my Pi‑based system stays up‑to‑date without disrupting production?
Schedule OTA updates during planned maintenance windows and use Docker containers that can be restarted independently. A rolling update strategy—updating one unit at a time—keeps the overall line running.
Is Python fast enough for real‑time control?
For high‑frequency control loops (sub‑millisecond), Python may lag. In those cases, offload the time‑critical code to a C library or an auxiliary microcontroller that communicates with the Pi via SPI or UART.