How to Freeze Action: Essential Sports Photography Tips
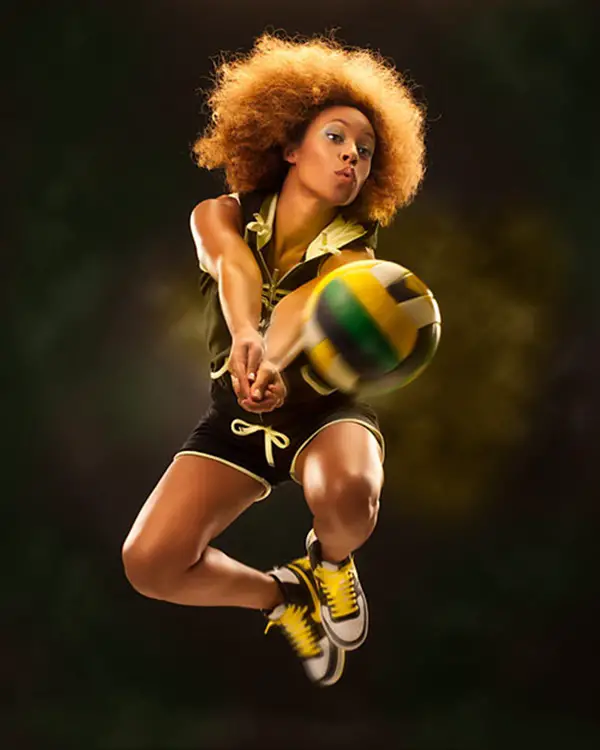
There’s something intoxicating about capturing a split‑second surge of speed, a arching jump, or the raw emotion on an athlete’s face. Yet the reality of nailing that perfect frame often feels more like chasing a ghost than snapping a picture. Below, we’ll walk through the fundamentals—from gear choices to on‑field tactics—so you can turn those fleeting moments into lasting images.
Choose the Right Gear Without Overcomplicating
It’s easy to believe you need the most expensive camera on the market, but the truth is a bit more nuanced. A capable DSLR or mirrorless body with a solid autofocus system will do the heavy lifting. Here’s a quick checklist:
- Camera body: Look for at least 9‑frame‑per‑second continuous shooting and a fast, reliable AF system.
- Lenses: Prime lenses in the 300‑400mm range offer superb reach and light-gathering ability, while a 70‑200mm f/2.8 is a versatile workhorse for indoor arenas.
- Memory cards: Go for UHS‑II or UHS‑III cards; you’ll thank yourself when you’re trying to dump a burst of 30‑plus RAW files.
- Accessories: A sturdy monopod, a circular polarizer for outdoor glare, and a weather‑sealed bag can make a difference on long event days.
Remember, the lens often matters more than the camera. If you’re on a budget, invest in a good light‑speed glass first.
Mastering Settings for Speed and Clarity
In the heat of a match, you won’t have time to fiddle with menus. Building muscle memory around a few key settings will keep you in the zone.
Shutter Speed
Fast action demands fast shutters. A rule of thumb: 1/1000 s for high‑speed sports (track, skating), 1/500 s for moderate motion (basketball, soccer). If you’re shooting under bright stadium lights, you can push even higher without blowing out highlights.
Aperture
A wide aperture (f/2.8‑f/4) isolates the subject and lets you keep ISO low enough to avoid noise. In tighter indoor spaces, you might need to close down to f/5.6 to maintain depth of field and keep the entire athlete in focus.
ISO
Modern sensors handle high ISO gracefully, but keep it as low as you can while still achieving proper exposure. Test your camera’s performance at 6400 and 12800 before the event.
Focus Techniques That Actually Work
Auto‑focus can be fickle when subjects dart across the frame. Here are three reliable methods:
- Continuous AF (AI‑Servo/AF‑C): Keeps tracking moving subjects once you lock on.
- Zone AF: Select a larger area where the athlete is likely to move; the camera will hunt within that zone.
- Back‑button focus: Decouples focusing from the shutter, giving you more control during bursts.
Practice is essential. Spend a few minutes before the game adjusting focus points; a quick check can be the difference between a crisp catch and a blurry blur.
Positioning Yourself for the Best Angle
Location matters almost as much as equipment. While a courtside seat offers an intimate view, a higher perch might let you capture the whole field and the tactical flow. Consider these tips:
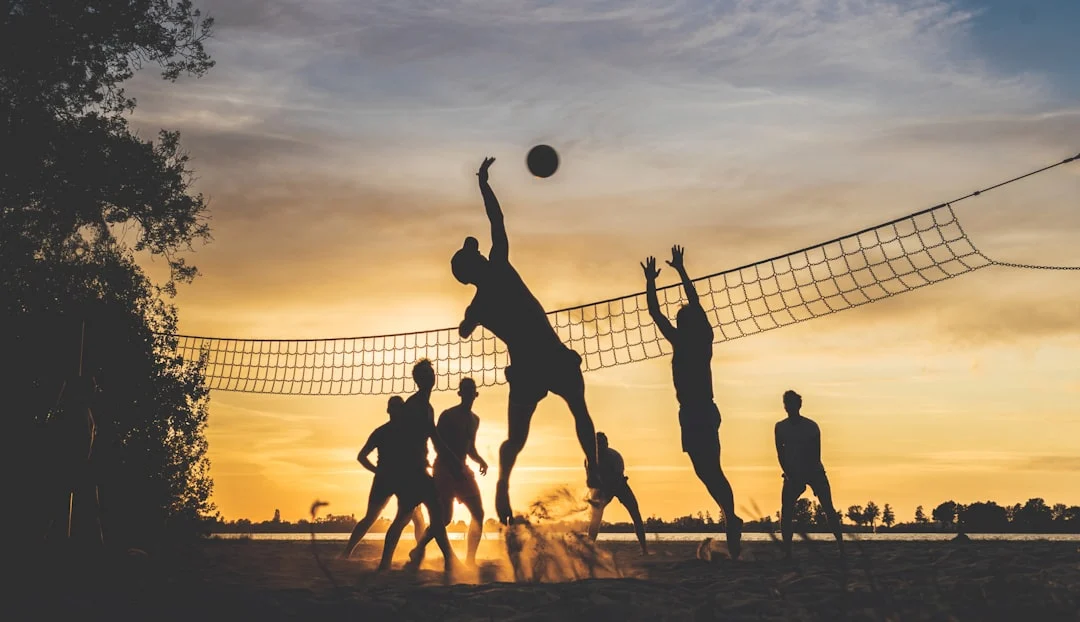
- Identify “hot zones” where action tends to cluster—think of the net in volleyball or the corner of the soccer penalty box.
- Move with the game when possible; a handheld approach gives you flexibility to chase a breakaway.
- Watch the lighting. Early morning or late afternoon sun can create dramatic shadows; position yourself to exploit the side light for texture.
Anticipation: The Invisible Skill
Technical know‑how only gets you so far. The best sports photographers often feel the game a half‑second ahead of the players. How to develop that intuition?
- Study the sport’s rhythm. A sprinter’s start, a tennis rally’s peak, a basketball fast break—all have recognizable patterns.
- Watch live or recorded games without a camera. Notice where the action erupts; then translate that to your shooting spot.
- Stay loose. A tense body reacts slower; loosen up your shoulders and keep your breathing steady.
Post‑Processing Without Over‑Editing
Even after you’ve captured that perfect freeze, a light touch in editing can elevate the image.
- Crop wisely: Tighten the frame to emphasize the athlete’s expression or motion, but avoid cutting off limbs unnaturally.
- Sharpen selectively: Apply a modest amount of sharpening to the athlete while leaving the background soft.
- Color grading: Boost contrast slightly and enhance skin tones; keep the overall look natural.
Remember, the goal is to preserve the moment’s authenticity, not to create a hyper‑real version of it.
Common Pitfalls and How to Dodge Them
Even seasoned shooters stumble. Keep an eye out for these typical mistakes:
- Ignoring the background: A cluttered or distracting backdrop can steal focus.
- Relying on auto‑exposure: Sports lighting changes fast; lock exposure once you’ve set it.
- Using too high a ISO in daylight: You’ll add unnecessary grain that can’t be removed later.
Spotting these issues early—often during the warm‑up—lets you adjust before the real action begins.
Final Thoughts on Capturing the Action
Combining the right equipment, solid settings, strategic positioning, and a dash of game sense will dramatically improve your sports photography. There’s no shortcut to practice, but with the guidelines above you’ll find yourself anticipating that perfect split‑second a little more confidently. So next time the whistle blows, raise your shutter and let the moment freeze forever.