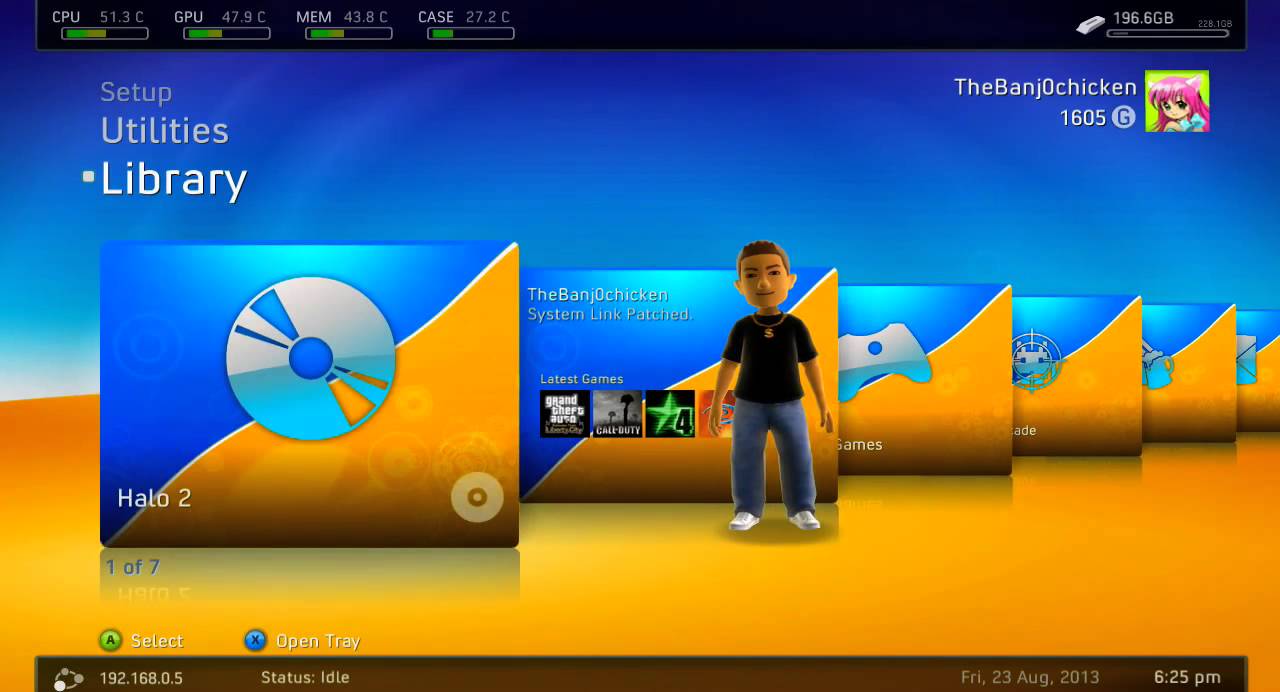
How to Use Freestyle File Manager on Xbox 360: A Homebrew Guide
If you’ve ever wanted to dig into the file system of your Xbox 360 without the official dashboard’s limits, you’ve probably heard of Freestyle File Manager. It’s the go‑to tool for anyone tinkering with homebrew—whether you’re moving game saves, installing indie titles, or just exploring what’s stored on your console. This guide walks you through everything from the initial setup to everyday tasks, with a few tips that even seasoned modders might appreciate.
What Makes Freestyle Different?
Unlike the stock Xbox 360 UI, Freestyle gives you direct access to the hard drive’s folders. Think of it as the Windows Explorer of the console world. It runs on the JTAG or Reset Glitch (RGH) hacks, so you’ll need a modified console first. Once you’re there, the manager’s clean interface and support for multiple file types make copying, renaming, and deleting as simple as a few button presses.
Preparing Your Xbox 360
Before you can launch Freestyle, your console must be running a compatible hack. Here’s a quick checklist:
- JTAG/RGH ready: Verify the NAND has been flashed and the appropriate dashboard (e.g., XexMenu) is installed.
- USB or external HDD: A formatted USB drive (FAT32) works for transferring the manager, but an external HDD gives you more space for large files.
- Stable power: The console should stay on during the flash process; a UPS can prevent accidental shutdowns.
If any of these steps feel fuzzy, a brief search for “Xbox 360 JTAG setup” will reveal detailed tutorials. The important part is arriving at a menu where you can launch unsigned code.
Downloading and Installing Freestyle
1. Grab the latest build. Head to the trusted homebrew site (e.g., xbdev.org or the official Freestyle GitHub). The file will be a .iso or .zip containing freestyle.xex.
2. Transfer to USB. Copy the freestyle.xex to the root of your USB stick. No need for subfolders; the manager expects the file at the top level.
3. Launch via XexMenu. Insert the USB, navigate to “Launch Unsigned Xbox Executable,” and select freestyle.xex. The manager should boot into its main screen.
If the console stalls at a black screen, double‑check the file’s integrity and ensure your hack supports the game region you’re using.
Interface Overview
Freestyle’s UI is deliberately sparse:
- File List: Shows the current directory’s contents. Highlight with the D‑pad.
- Action Bar: Bottom of the screen lists buttons (A = Open, B = Back, X = Copy, Y = Delete, LB/RB = Rename/Make Folder).
- Path Display: Top shows the full directory path, useful when navigating deep folders.
Navigation feels a lot like the Xbox 360 dashboard, so you’ll pick it up quickly.
Common Tasks
Copying Saves Between Drives
Want to back up your game progress? Follow these steps:
- Select the save file (usually under
Content\{titleId}\00000001\). - Press X to copy.
- Navigate to the destination folder—perhaps an external HDD’s
Backupsdirectory. - Press A to confirm. Freestyle will display a progress bar.
Once finished, you can safely swap drives and restore the save by reversing the process.
Installing Homebrew Games
Many indie titles come as .iso or .xex files. To get them running:
- Place the game file in a folder labeled “Games” on your HDD.
- Navigate to that folder in Freestyle and press A on the game file.
- If the title requires a custom dashboard, you might need to edit
default.xexsettings—something the manager can do via the “Properties” menu.
The game should then appear in XexMenu under “Launch Unsigned Xbox Executable.”
Cleaning Up Unused Files
Over time, leftover demos and failed installs can clutter the drive. Use Freestyle’s bulk delete:
- Hold RB to toggle multi‑selection mode.
- Mark the unwanted files, then press Y to delete.
- Confirm with A. The manager will ask if you want to wipe the recycle bin (if you’ve enabled one).
This not only frees space but can also improve loading times for frequently used titles.
Advanced Tips
Batch Renaming. If you’ve dumped a bunch of demos with generic names, hold LB to open the rename dialog, then type a pattern (e.g., “Demo_01”). Freestyle will apply it sequentially.
Hidden Files. Some homebrew tools hide configuration files (prefixed with a dot). Press View on the controller to toggle hidden items on or off.
Network Transfer. With a LAN adapter, you can map a shared folder on your PC and copy files directly, bypassing the USB altogether. The manager treats the network share like any other drive, though latency can make large transfers feel sluggish.
Troubleshooting Common Issues
Freestyle won’t launch. A frequent culprit is an outdated dashboard that blocks newer XEX versions. Updating XexMenu or flashing a fresh NAND usually solves it.
Copy operation stalls at 0%. Verify that both source and destination drives use the same file system (FAT32 vs. NTFS). The Xbox 360 can only write to FAT32, so an NTFS external HDD will need reformatting.
Saved games disappear after a reboot. Check that you’re not accidentally writing to a volatile partition (e.g., Temp). Always save to the main Content folder unless you know the side effects.
Staying Safe While Homebrewing
Homebrew opens exciting possibilities, but it also bypasses Microsoft’s security checks. A few best practices go a long way:
- Keep backups of your NAND and any important save files before making changes.
- Only download files from reputable sources—malicious XEX files have been known to brick consoles.
- Regularly update Freestyle; newer builds fix bugs and improve compatibility with the latest dashboards.
With these precautions, you’ll enjoy the freedom of a modded Xbox 360 without the nightmare of a hard reset.
Wrapping Up
Freestyle File Manager isn’t just a utility; it’s the backbone of a robust Xbox 360 homebrew ecosystem. Whether you’re a casual modder looking to back up a few saves or a developer testing indie builds, mastering this tool will make the whole process smoother. Dive in, experiment, and remember that a little patience—plus a reliable backup—goes a long way.