Installing Linux Mint 32-bit: A Step-by-Step Guide
Linux Mint is one of the most popular and user-friendly Linux distributions available, and installing it on your computer can be a straightforward process. In this article, we will walk you through the steps to install Linux Mint 32-bit on your machine.
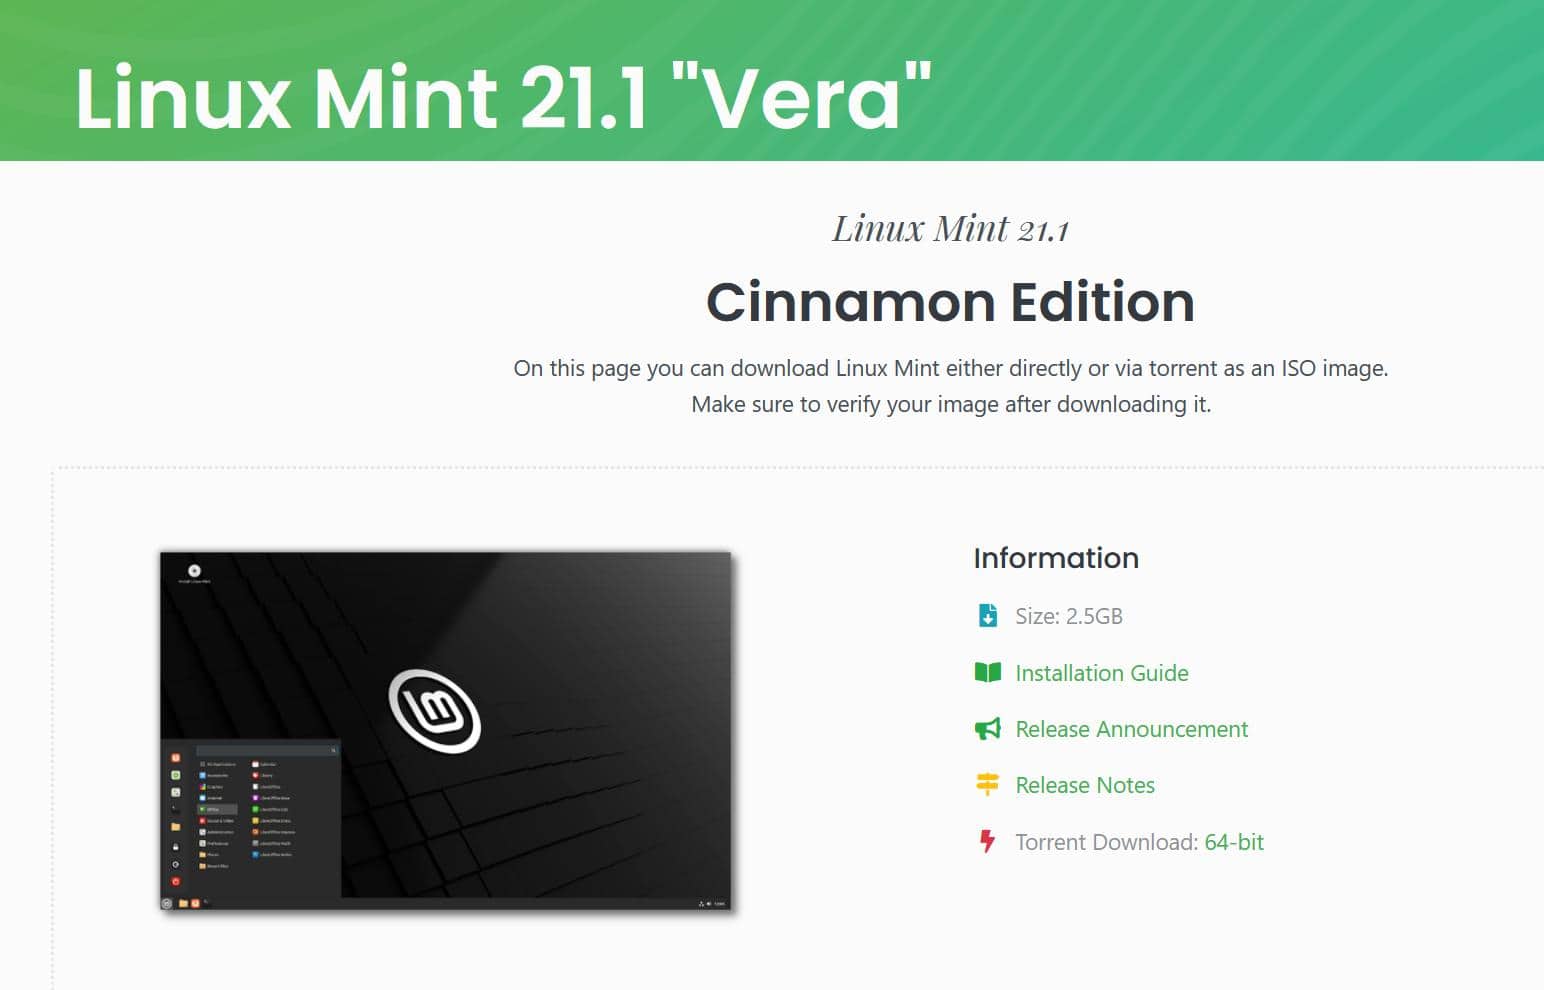
Before you start, make sure you have a few things ready. You will need a computer with a 32-bit processor, a USB drive with at least 4GB of free space, and a copy of the Linux Mint 32-bit ISO file. You can download the ISO file from the official Linux Mint website.
Step 1: Create a Bootable USB Drive
To create a bootable USB drive, you will need to download a tool such as Rufus or Etcher. These tools will help you to create a bootable USB drive from the Linux Mint ISO file. Once you have downloaded the tool, follow the instructions to create the bootable USB drive.
Here are the general steps to create a bootable USB drive using Rufus:
- Download and install Rufus on your computer.
- Insert the USB drive into your computer.
- Open Rufus and select the USB drive from the list of available devices.
- Click on the "Select" button and choose the Linux Mint ISO file.
- Click on the "Start" button to create the bootable USB drive.
Step 2: Boot from the USB Drive
Once you have created the bootable USB drive, you need to boot your computer from it. To do this, restart your computer and enter the BIOS settings. The BIOS settings are usually accessed by pressing a key such as F2, F12, or Del.
In the BIOS settings, look for the "Boot" or "Boot Order" section and set the USB drive as the first boot device. Save the changes and exit the BIOS settings.
Your computer should now boot from the USB drive. You will see the Linux Mint logo and a menu with several options. Select the "Start Linux Mint" option to continue with the installation process.
Step 3: Select the Language and Keyboard Layout
Once Linux Mint has started, you will be prompted to select the language and keyboard layout. Choose your preferred language and keyboard layout from the list of available options.
Click on the "Continue" button to proceed with the installation process.
Step 4: Prepare the Disk
In this step, you need to prepare the disk for the installation. You can choose to erase the entire disk and install Linux Mint, or you can choose to install it alongside an existing operating system.
Choose the option that best suits your needs and click on the "Continue" button.
Step 5: Create a User Account
In this step, you need to create a user account for yourself. Enter your name, username, and password, and choose a username and password for the root account.
Click on the "Continue" button to proceed with the installation process.
Step 6: Install Linux Mint
Once you have completed the previous steps, Linux Mint will start installing on your computer. This process may take several minutes, depending on the speed of your computer and the size of the installation.
Once the installation is complete, you will be prompted to restart your computer. Remove the USB drive and click on the "Restart Now" button to restart your computer.
Step 7: Boot into Linux Mint
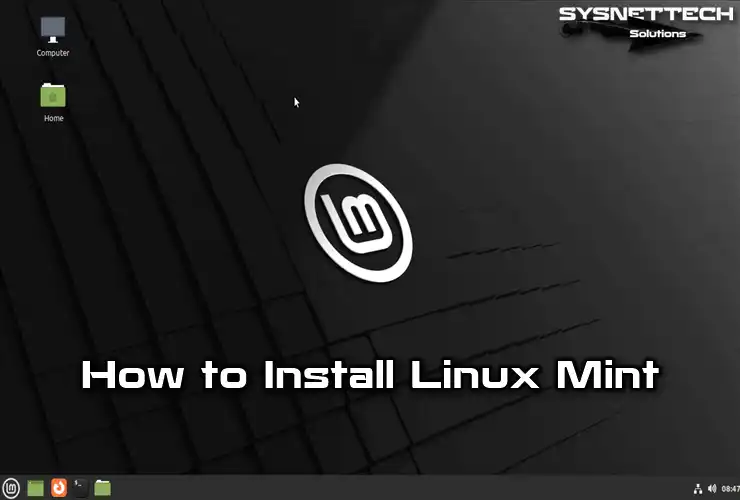
Once your computer has restarted, you should see the Linux Mint login screen. Enter your username and password to log in to your new Linux Mint installation.
Congratulations, you have successfully installed Linux Mint 32-bit on your computer!
Tips and Tricks
Here are a few tips and tricks to help you get started with Linux Mint:
- Update your system regularly to ensure you have the latest security patches and updates.
- Install additional software and tools to customize your Linux Mint installation.
- Explore the Linux Mint community and documentation to learn more about the operating system and its features.
Installing Linux Mint 32-bit is a relatively straightforward process, and with these steps, you should be able to get up and running in no time. Remember to always follow the instructions carefully and take your time to ensure a successful installation.